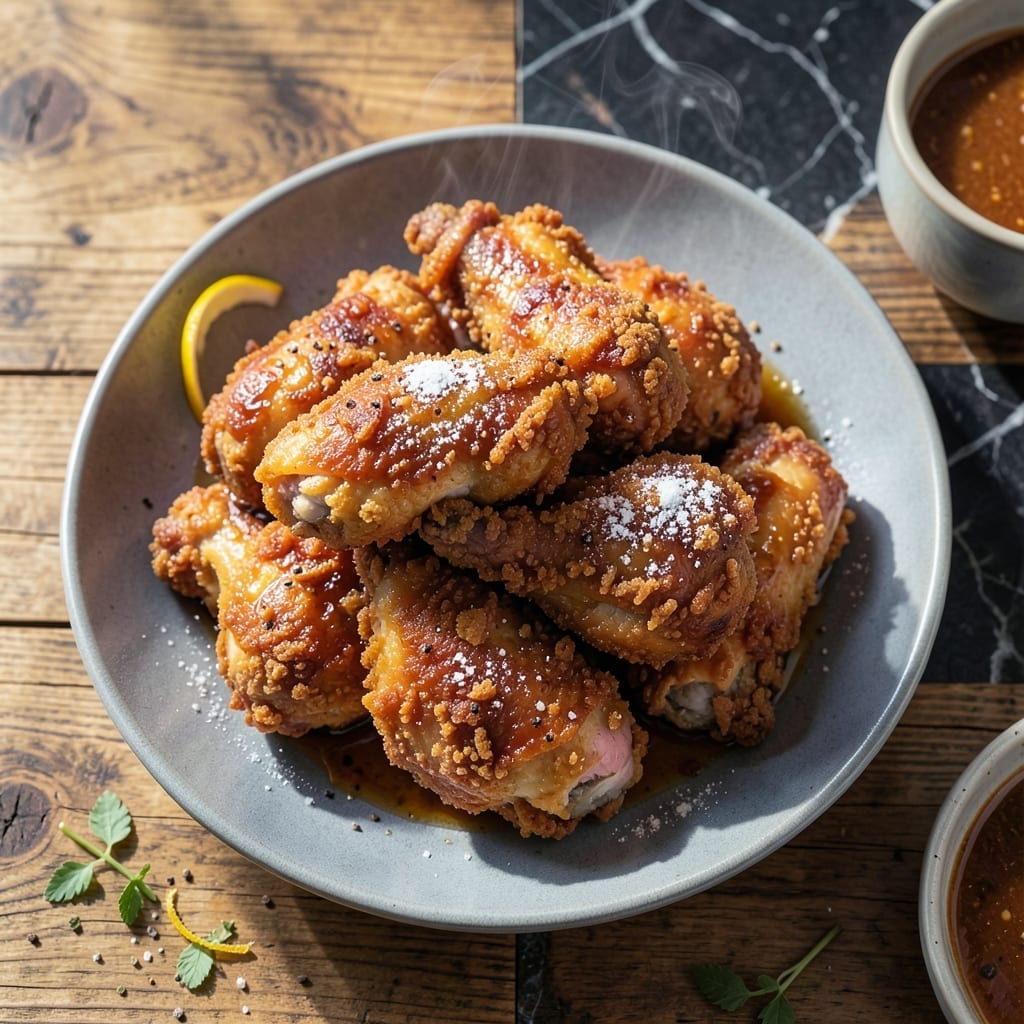
This Korean-style fried chicken achieves ultra-crispy perfection through a wet batter technique that locks in moisture while creating an irresistible crunch.
I developed this method after testing countless variations, focusing on double-frying for maximum crispness without drying the meat. The result is golden, shatteringly crisp chicken that stays juicy inside.
Ingredients for Wet Batter Fried Chicken
Ultra-crispy perfection starts with these carefully selected ingredients for the dish.
| Ingredient | Amount | Notes |
|---|---|---|
| Chicken Thighs 🍗 | 2 lb | Boneless, skin-on preferred |
| All-Purpose Flour 🌾 | 1 ½ cups | For initial dredging |
| Cornstarch 🌾 | ½ cup | Creates ultra-crispy coating |
| Cold Water 💧 | 1 ¼ cups | Ice cold for batter |
| Baking Powder 🧂 | 1 tbsp | For extra crispiness |
| Soy Sauce 🫒 | 2 tbsp | Adds umami depth |
| Gochujang 🌶️ | 1 tbsp | Korean chili paste |
| Garlic Cloves 🧄 | 4 cloves | Minced for batter |
| Fresh Ginger 🌿 | 1 tbsp | Grated for flavor |
| Vegetable Oil 🫒 | 4 cups | For deep frying |
| Salt 🧂 | 1 ½ tsp | Divided for seasoning |
| Black Pepper 🌶️ | 1 tsp | Freshly ground |
| Green Onions 🧅 | 4 whole | Sliced for garnish |
| Sesame Seeds 🌿 | 1 tbsp | Toasted for topping |
[recipe_ingredient_scaler]
The chicken thighs are non-negotiable here. Skin-on, boneless gives you that perfect juicy interior with maximum crunch potential. Most Asian markets carry high-quality thighs, but standard grocery store options work too—just look for even sizing. The cornstarch is what sets this apart from regular fried chicken; Bob’s Red Mill has a reliable version if your store doesn’t stock it in bulk.
No gochujang on hand? Sriracha mixed with a touch of miso paste can work in a pinch (use half the amount). For a gluten-free version, rice flour at a one-to-one ratio replaces the all-purpose. The baking powder might seem unusual, but it’s the secret to that shatteringly crisp texture—Clabber Girl is a trusted brand. If you’re avoiding deep-frying, an air fryer at 400°F works, though the texture won’t be identical.
The battered chicken is best eaten immediately, but leftovers keep surprisingly well. Store in an airtight container in the fridge for up to 3 days—reheat in a 375°F oven for 10-12 minutes to restore some crispness. Freezing isn’t recommended; the texture suffers too much upon thawing.
Why You’ll Love This Recipe
- No Fuss Mixing: Honestly, just toss the flour, cornstarch, and cold water together—no resting time, no complicated steps.
- Crispy Outside, Juicy Inside: The baking powder in the batter gives it that perfect crunch while keeping the chicken thighs ridiculously tender.
- Feeds a Hungry Crowd: I’ve served this at parties and weeknight dinners alike. It disappears either way.
- Budget-Friendly Winner: Chicken thighs stay affordable, and a little batter goes a long way—leftovers (if there are any) reheat beautifully.
Step-by-Step Instructions for Korean-Style Wet Batter Fried Chicken
Master the technique that creates shatteringly crisp layers with every bite.
Step 1: Prepare the Chicken and Dry Coating
Pat the 2 lb Chicken Thighs thoroughly dry with paper towels. This removes excess moisture that could prevent the coating from adhering properly. Season both sides with 1 tsp Black Pepper and ½ tsp Salt from the 1.5 tsp Salt total.
In a shallow dish, combine the 1.5 cups All-Purpose Flour and 0.5 cup Cornstarch. The cornstarch is essential for creating that signature ultra-crispy texture. Dredge each piece of chicken in the flour mixture, pressing gently to ensure full coverage. Shake off any excess—thick clumps will create uneven cooking.
Step 2: Create the Wet Batter with Flavor Base
In a large bowl, whisk together the 1.25 cups Cold Water, 1 tbsp Baking Powder, 2 tbsp Soy Sauce, 1 tbsp Gochujang, minced 4 cloves Garlic Cloves, and grated 1 tbsp Fresh Ginger. The baking powder adds lift, creating tiny air pockets for extra crunch.
Add the remaining 1 tsp Salt to the batter. The mixture should be smooth with a pale orange hue from the gochujang. Its consistency should coat the back of a spoon but still be thin enough to drip easily—this ensures a light, crispy shell rather than a heavy breading.
Step 3: Double-Coat and Rest for Maximum Crisp
Dip each floured chicken piece into the wet batter, letting any excess drip off for 10 seconds. Return it to the flour-cornstarch mixture for a second coating. This double-dredging technique creates multiple layers that crisp up beautifully during frying.
Place the coated chicken on a wire rack set over a baking sheet. Let it rest for 10-15 minutes at room temperature. This resting period allows the coating to hydrate fully and adhere tightly to the chicken, preventing it from falling off during frying.
Step 4: Deep-Fry to Golden Perfection
Heat the 4 cups Vegetable Oil in a deep, heavy-bottomed pot to 350°F. Use a deep-fry thermometer for accuracy—oil temperature is critical. The oil should be deep enough to submerge the chicken pieces completely for even cooking.
Carefully lower 2-3 pieces of chicken into the hot oil at a time to avoid crowding, which would lower the oil temperature. Fry for 8-10 minutes, turning occasionally, until the coating is deep golden brown and the internal temperature reaches 165°F. The coating should be crisp and audibly crackle when removed from the oil.
Transfer the fried chicken to a wire rack or paper towel-lined plate to drain. Maintain the oil temperature between batches—if it drops below 325°F, let it return to 350°F before adding more chicken.
Step 5: Garnish and Serve Immediately
While the chicken is still hot, sprinkle with sliced 4 whole Green Onions and 1 tbsp Sesame Seeds. The residual heat will lightly toast the sesame seeds, enhancing their nutty aroma. Serve immediately—the coating is at its crispiest right out of the fryer.
For the best experience, arrange the chicken on a serving platter with extra green onions and sesame seeds scattered on top. The contrast of the crispy exterior with the juicy interior is most pronounced when served fresh.
Pro Tips For Making Wet Batter Fried Chicken
- Use Ice-Cold Water: The colder the water, the crispier the coating—I learned this the hard way after my first few batches turned out gummy. Aim for water straight from the fridge, about 35-40°F.
- Double-Fry for Crisp: Fry once at 325°F until cooked through, then again at 375°F for 2-3 minutes. My grandmother swore by this, and she was right: it’s the only way to get that shatteringly crisp shell without overcooking the thigh meat.
- Skip the Overmixing: Stir the batter just until it comes together—lumps are fine. After burning three batches to a dense, gluey mess, I finally figured out that overworking the flour activates too much gluten.
- Rest the Chicken: Let the battered thighs sit for 10 minutes before frying—yes, even if you’re impatient like me. This lets the coating adhere better and prevents it from sliding off in the oil.
Pro Cooking Tips for This Recipe
Oil Temperature Control
I can’t stress this enough: maintain 350°F oil temperature religiously. Use a deep-fry thermometer—I trust Taylor Precision models. If the oil drops below 325°F, your coating will absorb grease instead of crisping. 🌡️
Double-Fry Secret
For that Korean-style extra crunch, fry once at 325°F for 6 minutes, rest for 5 minutes, then fry again at 375°F for 3-4 minutes. This technique creates that signature shatter when you bite into it.
Batter Consistency
Your wet batter should coat the back of a spoon but still drip easily. If it’s too thick, add 1-2 tbsp ice water. Too thin? Mix in 1 tbsp cornstarch. The right consistency is key to that lacy, crispy texture.
Resting Between Coats
After the second dredge, let the chicken rest on a wire rack for 10-15 minutes. This allows the coating to hydrate fully and adhere properly. Skip this step and you’ll lose half your crunch to the fryer.
Frying in Batches
Never crowd your pot—fry 2-3 pieces at a time in 4 cups oil. Overcrowding drops the temperature too much. I use a Dutch oven for its deep, stable heat distribution.
Draining Properly
Place fried chicken on a wire rack, not paper towels. This keeps the coating crisp by allowing air circulation. Paper towels trap steam, which makes your beautiful crunch soggy. 💡
Nutrition Facts
Frequently Asked Questions
Why use cold water in the batter?
Cold water prevents the coating from absorbing too much oil during frying. It creates a barrier that helps achieve that shatteringly crisp texture while keeping the chicken juicy inside.
Can I use chicken breasts instead of thighs?
You can, but thighs are recommended for their higher fat content. If using breasts, reduce frying time to 6-8 minutes to prevent dryness. Brining them first helps maintain moisture.
How do I keep the coating crispy longer?
Place fried chicken on a wire rack, not paper towels. This allows air circulation to prevent steam from making the coating soggy. Reheat in an oven at 375°F for 10 minutes if needed.
What if my batter is too thin?
Add 1 tbsp cornstarch at a time until it coats the back of a spoon but still drips easily. The right consistency is crucial for that lacy, crispy texture.

Trained in classic French technique but raised on slow-cooked ribs and spicy rubs, she blends culinary skill with smoke and soul.
- Recipe for Boneless Pork Chops in Cast Iron Skillet: Sear and Baste to Juicy Perfection - October 3, 2026
- Recipe for Boneless Cross Rib Roast: Slow-Roasted Beef with Herb Crust - October 3, 2026
- Hamburgers in Sauce Recipe Crock Pot: Slow-Cooked Savory Delight - October 3, 2026