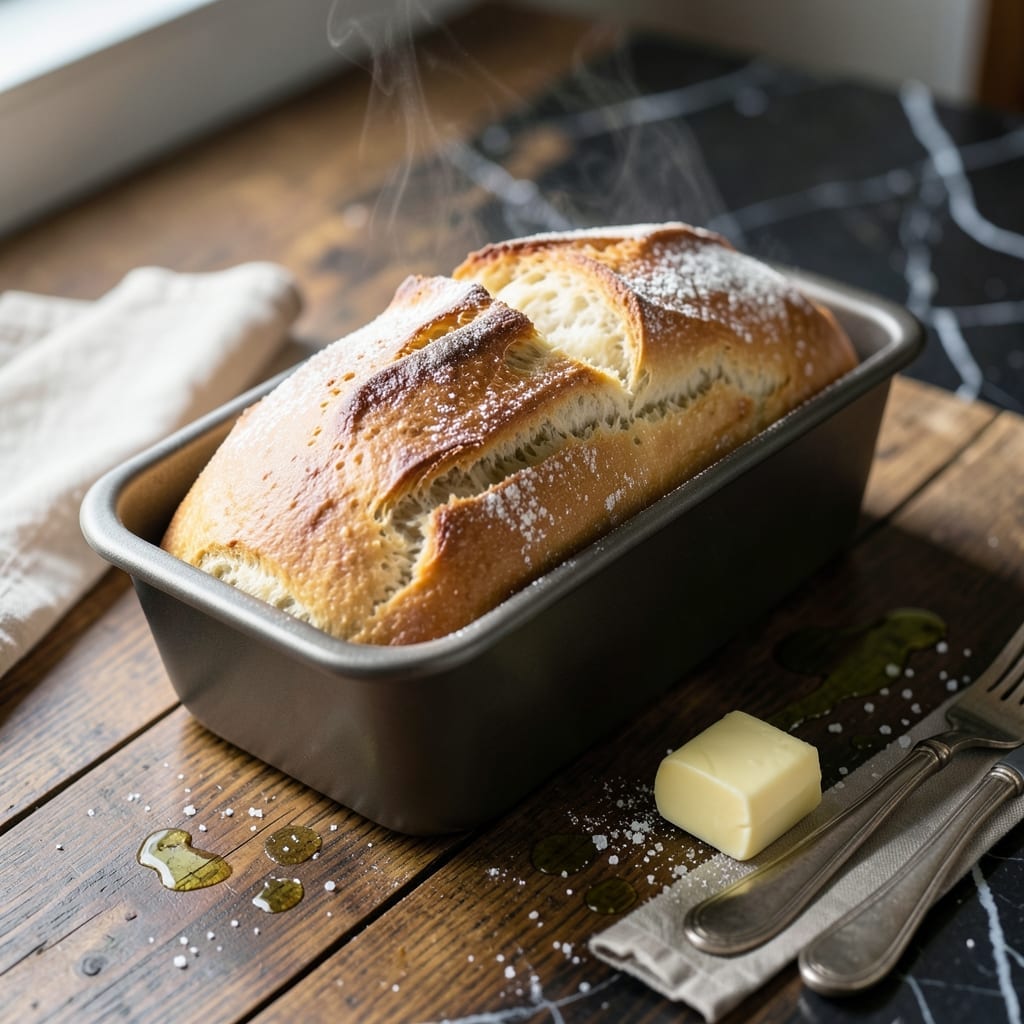
There’s nothing like the smell of fresh bread filling your kitchen, and this recipe makes it effortless. A bread machine handles all the work, delivering a perfectly soft loaf with minimal effort.
With precise measurements and the right settings, you’ll achieve a golden crust and airy texture every time. It’s the foolproof way to enjoy homemade bread without the hassle.
Ingredients for White Bread Recipe for the Bread Machine
Just a handful of pantry staples for the most foolproof loaf you’ll ever make.
| Ingredient | Amount | Notes |
|---|---|---|
| Bread Flour 🌾 | 3 cups | All-purpose works in a pinch |
| Warm Water 💧 | 1 ¼ cups | 110°F to 115°F ideal temperature |
| Granulated Sugar 🍚 | 2 tbsp | Feeds the yeast for rising |
| Active Dry Yeast 🍞 | 2 ¼ tsp | One packet, check expiration date |
| Salt 🧂 | 1 ½ tsp | Enhances flavor and yeast control |
| Unsalted Butter 🧈 | 2 tbsp | Softened or melted for richness |
| Non-Fat Dry Milk 🥛 | 2 tbsp | For tender crumb texture |
| Vital Wheat Gluten 🌾 | 1 tbsp | Optional for extra chewiness |
| Large Egg 🥚 | 1 whole | Room temperature for even mixing |
| Vegetable Oil 🫒 | 1 tbsp | For greasing bread pan |
[recipe_ingredient_scaler]
The flour is non-negotiable here—King Arthur Bread Flour is my go-to for consistent rise and texture. Bread flour’s higher protein content gives you that airy, soft crumb the intro promises. Yeast matters too: Fleischmann’s or SAF instant yeast work every time. Check the expiration date though—old yeast won’t wake up. I grab mine from the baking aisle at Whole Foods, but any well-stocked grocery store works.
Out of bread flour? All-purpose will work (the loaf will be slightly denser, that’s all). No dry milk? Skip it or use powdered buttermilk—the texture difference is minimal. Butter can be swapped for vegetable oil at the same amount, but you’ll miss that rich flavor. The egg is optional too—adds color and softness, but 1 tbsp extra water plus 1 tbsp oil mimics it if you’re out.
Store flour and yeast in airtight containers (I use OXO Good Grips canisters) in a cool, dark place. They’ll keep for 6-12 months unopened, 3-6 months once opened. Freshness is key here—don’t let old ingredients ruin your foolproof loaf.
Why You’ll Love This Recipe
- Set It and Forget: I dump the flour, water, sugar, yeast and salt in the machine and walk away—no kneading, no watching, just perfect bread hours later.
- Simple Sweetness: The sugar and yeast work magic together, giving that classic soft, slightly sweet white bread flavor that’s hard to resist.
- Sandwich Hero: Honestly, this is my go-to for school lunches, toast, or even French toast the next day.
- Penny-Wise Loaf: A bag of bread flour and a few pantry staples make more loaves than the store for a fraction of the cost.
Step-by-Step Instructions for White Bread in the Bread Machine
Here is my reliable method for a perfect, hands-off loaf every single time.
Step 1: Prepare the Bread Pan and Liquid Ingredients
Begin by removing the bread pan from your machine and greasing it with 1 tablespoon Vegetable Oil, making sure to coat all surfaces evenly. This prevents sticking and ensures easy removal after baking. Place the pan back into the bread machine.
Pour 1.25 cups Warm Water into the pan first, followed by the large egg. I prefer to crack the egg directly into the water to avoid any shell fragments. The water should be between 110°F to 115°F—too hot will kill the yeast, too cold will slow activation.
Step 2: Add Dry Ingredients in Layers
Next, add the dry ingredients in this specific order to prevent premature yeast activation: 3 cups Bread Flour, 2 tablespoons Granulated Sugar, 2 tablespoons Non-Fat Dry Milk, and 1 tablespoon Vital Wheat Gluten. Use a small spoon to level off the flour—packing it down can lead to a dense loaf.
In one corner of the pan, create a small well and add 2.25 teaspoons Active Dry Yeast. In the opposite corner, add 1.5 teaspoons Salt. This separation is crucial—salt can inhibit yeast growth if they come into direct contact too early.
Step 3: Incorporate the Butter and Start the Machine
Cut 2 tablespoons Unsalted Butter into small pieces and place them in separate corners of the pan, away from the yeast and salt. Softened butter works best, but cold butter can be used in a pinch. Close the lid of your bread machine securely.
Select the “Basic” or “White Bread” setting on your machine. Choose a 1.5 or 2-pound loaf size and your preferred crust color—medium is ideal for this recipe. Press start and let the machine take over. The kneading process should begin within 5-10 minutes.
Step 4: Monitor the Dough and Adjust if Needed
About 10 minutes into the kneading cycle, check the dough through the machine’s window. It should form a smooth, elastic ball that pulls away from the sides of the pan. If it looks too wet, add additional bread flour 1 tablespoon at a time.
If the dough appears too dry and crumbly, add warm water 1 teaspoon at a time. Avoid opening the lid during the first kneading cycle, as this can disrupt the rising process. The dough should be slightly tacky but not sticky.
Step 5: Complete the Cycle and Cool the Loaf
Once the baking cycle completes (typically 3-4 hours depending on your machine), the bread machine will beep. Use oven mitts to carefully remove the bread pan from the machine. Gently shake the pan to loosen the loaf, then turn it out onto a wire rack.
Let the bread cool for at least 30 minutes before slicing. This cooling period allows the crumb structure to set properly. If you cut into it too soon, the loaf may appear gummy. The finished bread should have a golden-brown crust and a soft, tender interior with a slight chew from the vital wheat gluten.
Pro Tips For Making White Bread Recipe For The Bread Machine
- Test Your Yeast: I learned this the hard way—always proof your yeast in the warm water with sugar first. If it doesn’t foam within 5-10 minutes, your bread won’t rise, no matter how long you wait.
- Weigh Your Flour: Scooping flour from the bag packs it down, so use a scale for accuracy. 1 cup of bread flour should weigh about 120 grams—this makes a real difference in texture.
- Salt Last: Add the salt in a separate corner of the bread pan, away from the yeast. Direct contact can slow down activation, and your loaf might turn out dense.
- Use Bread Flour: Sounds obvious, but all-purpose flour won’t give you that perfect chewy structure. The higher protein content in bread flour is non-negotiable for a good rise.
Common Mistakes When Making This Dish
Incorrect Liquid Temperature
Using water that’s too hot (above 120°F) will kill the yeast instantly, while too cold (below 105°F) slows activation. I always use a kitchen thermometer to verify 110-115°F—this range ensures proper yeast proofing without damage. 🌡️
Wrong Ingredient Order
Adding yeast and salt directly together can inhibit rising. Always layer dry ingredients first, then create separate wells for yeast and salt. I place yeast in one corner and salt in the opposite to prevent contact until mixing begins.
Overpacking Flour
Scooping flour directly from the bag compacts it, leading to dense bread. Instead, spoon flour into your measuring cup and level it off. For this recipe, 3 cups should be light and airy, not packed down.
Ignoring Dough Consistency
About 10 minutes into kneading, check the dough. If it’s too wet, add flour 1 tbsp at a time. If too dry, add warm water 1 tsp at a time. The perfect dough should be smooth but slightly tacky.
Early Slicing
Cutting before the loaf cools (30 minutes minimum) results in a gummy texture. I resist the temptation by setting a timer—this allows the crumb structure to fully set and moisture to redistribute evenly. 💡
Skipping Pan Greasing
Even non-stick pans need a light coating of vegetable oil. Without it, your loaf may stick and tear when removed. I use a paper towel to spread 1 tbsp evenly across all surfaces before adding ingredients.
Nutrition Facts
Frequently Asked Questions
What setting should I use on my bread machine?
Select the Basic or White Bread setting for this recipe. Choose 1.5 or 2-pound loaf size and medium crust color for best results. The cycle typically takes 3-4 hours to complete.
Can I use all-purpose flour instead of bread flour?
Yes, but the texture will be slightly denser. Bread flour’s higher protein content creates a lighter, airier crumb. If substituting, use the same 3 cups measurement.
Why did my bread turn out dense?
Dense loaves usually mean the yeast didn’t activate properly. Check your water temperature (110-115°F) and yeast freshness. Also, avoid packing down the flour when measuring.
How do I store leftover bread?
Keep it in an airtight container at room temperature for 2-3 days. For longer storage, slice and freeze for up to 3 months. Thaw slices as needed.

Trained in classic French technique but raised on slow-cooked ribs and spicy rubs, she blends culinary skill with smoke and soul.
- Recipe for Boneless Pork Chops in Cast Iron Skillet: Sear and Baste to Juicy Perfection - October 3, 2026
- Recipe for Boneless Cross Rib Roast: Slow-Roasted Beef with Herb Crust - October 3, 2026
- Hamburgers in Sauce Recipe Crock Pot: Slow-Cooked Savory Delight - October 3, 2026