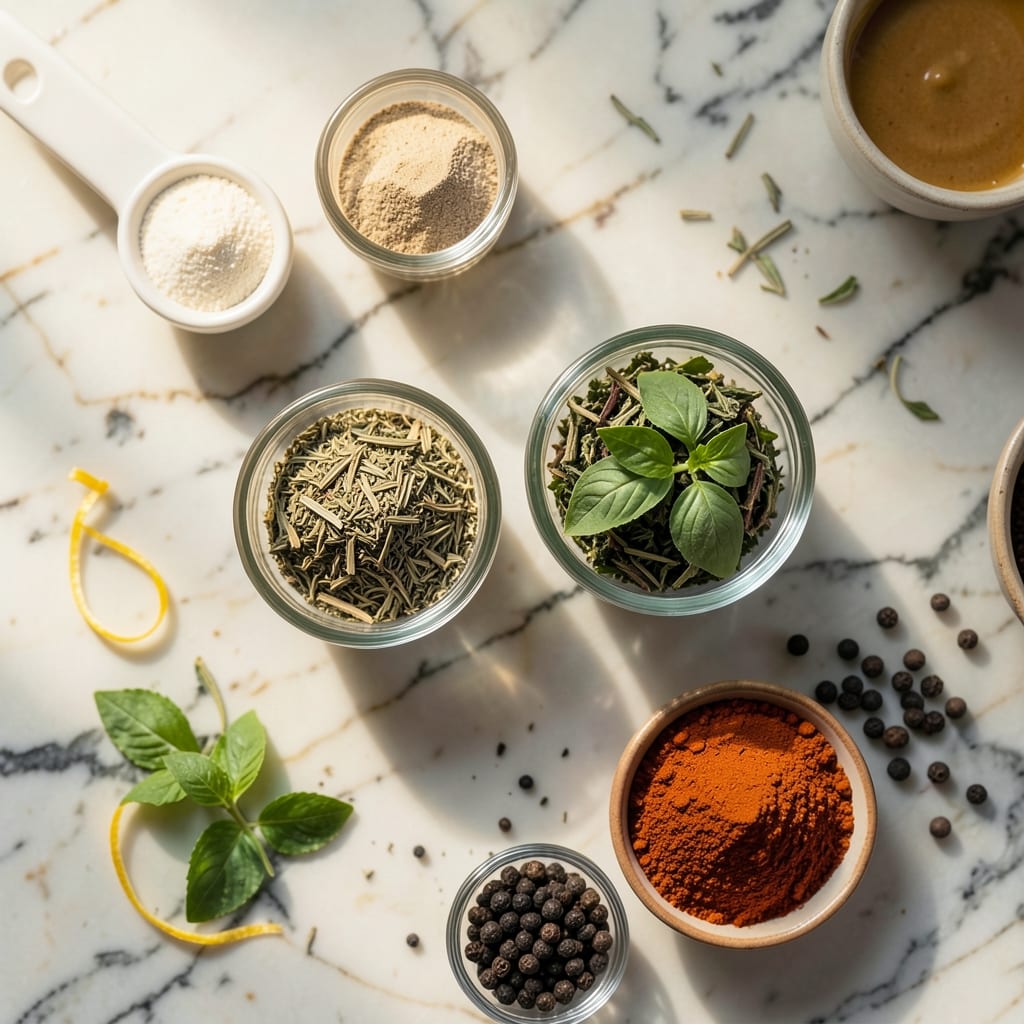
There’s nothing like the aroma of herb-infused chicken sizzling over hot coals. This method transforms a simple bird into a centerpiece with a charcoal-kissed crust.
My years of pitmaster experience taught me that proper heat control and fresh herbs make all the difference. The result is juicy meat with a perfectly crisp exterior every time.
Ingredients for Whole Grill Chicken
Fresh herbs, a good bird, and charcoal are all you need here. Simple enough.
| Ingredient | Amount | Notes |
|---|---|---|
| Whole Chicken 🍗 | 4 lb | Fresh, giblets removed, patted dry |
| Fresh Rosemary 🌿 | 3 tbsp | Finely chopped, stems discarded |
| Fresh Thyme 🍃 | 3 tbsp | Finely chopped, stems discarded |
| Garlic Cloves 🧄 | 6 cloves | Minced for maximum flavor infusion |
| Lemon 🍋 | 1 whole | Zested and juiced, divided |
| Extra-Virgin Olive Oil 🫒 | ½ cup | High quality for basting and marinade |
| Kosher Salt 🧂 | 2 tbsp | Diamond Crystal preferred for even seasoning |
| Freshly Ground Black Pepper 🌶️ | 1 tbsp | Coarse grind for texture |
| Unsalted Butter 🧈 | ¼ cup | Melted for basting, adds richness |
| Charcoal Briquettes ⚫ | 5 lb | Natural lump charcoal for best flavor |
| Onion Powder 🧅 | 1 tsp | For depth in dry rub |
| Smoked Paprika 🌶️ | 1 tsp | Adds subtle smokiness to crust |
[recipe_ingredient_scaler]
The chicken is the star here. Whole, fresh birds (4-5 lbs) cook more evenly than frozen—look for plump skin with no tears. I grab mine from Whole Foods or a local butcher; their selection is usually higher quality. Pat it dry before seasoning (the good stuff, not the pre-brined kind). The skin should look smooth, not shriveled. For charcoal, natural lump burns hotter and cleaner than briquettes, but either works in a pinch.
No fresh rosemary or thyme? Dried herbs at one-third the amount work, but fresh really shines here. Short on garlic? Garlic powder at half the quantity (2 tsp) gets you close. Lemon swap? Lime works too, though it’s slightly more bitter. The olive oil can be any neutral oil, but extra-virgin adds depth. Butter’s non-negotiable for that rich, golden crust—don’t skip it. For heat control, a chimney starter is worth the investment.
Leftovers keep 3-4 days in the fridge—reheat gently to avoid drying out. The herb mix can be prepped 1 day ahead (store covered in the fridge). Charcoal? Keep it in a dry place, sealed tight. This dish tastes even better the next day, especially if you baste it with the leftover juices before serving.
Why You’ll Love This Recipe
- Set It and Forget: I toss the chicken on the grill with rosemary, thyme, and lemon, then let the flames do all the work.
- Herb-Kissed Crisp: The garlic and fresh herbs seep into every bite while the skin turns irresistibly crispy.
- Feeds the Gang: One bird, endless options—dinner tonight, sandwiches tomorrow, or tacos the next day.
- Budget Hero: A whole chicken costs less than pre-cut parts, and I stretch it into three meals without trying.
Step-by-Step Instructions for Whole Grill Chicken
Here’s the method that delivers that perfect charcoal-kissed crust with juicy, herb-infused meat.
Step 1: Prepare the Herb Marinade and Season the Chicken
In a bowl, combine the 0.5 cup extra-virgin olive oil, 3 tbsp fresh rosemary, 3 tbsp fresh thyme, minced 6 cloves garlic cloves, lemon zest, 2 tbsp kosher salt, 1 tbsp freshly ground black pepper, 1 tsp onion powder, and 1 tsp smoked paprika. This creates a potent herb blend that will infuse every bite.
Rub this mixture all over the 4 lb whole chicken, making sure to get under the skin and into the cavity. I always let it marinate for at least 30 minutes at room temperature while the grill heats—this ensures the flavors penetrate deeply.
Step 2: Set Up the Charcoal Grill for Indirect Heat
Arrange the 5 lb charcoal briquettes in a two-zone fire: pile them on one side of the grill for direct heat and leave the other side empty. This setup allows you to sear the chicken first, then finish cooking with indirect heat to prevent burning the herbs.
Once the coals are covered with white ash (about 15-20 minutes), you’re ready. Place the grate on and close the lid to preheat fully. The temperature should stabilize around 375-400°F—hot enough to create a crust but not so hot it chars the herbs.
Step 3: Sear and Slow-Roast the Chicken
Place the chicken directly over the coals, breast-side up. Sear for 5-7 minutes until the skin turns deep golden brown and begins to crisp. Watch for flare-ups from the dripping marinade, and move the chicken to the cooler side if the flames get too high.
After searing, move the chicken to the indirect heat side. Cover the grill and adjust the vents to maintain a steady 350°F. Melt the 0.25 cup unsalted butter and baste the chicken every 10-15 minutes—this keeps the meat moist and builds layers of flavor.
Step 4: Finish and Rest for Maximum Juiciness
The chicken is done when the internal temperature reaches 165°F in the thickest part of the thigh. This usually takes 45-60 minutes total, depending on your grill’s heat. If you notice the skin darkening too quickly, tent the chicken loosely with foil.
Once done, transfer the chicken to a cutting board and let it rest for 10-15 minutes before carving. This resting period allows the juices to redistribute, ensuring every slice is tender and flavorful. Squeeze the lemon juice over the top just before serving for a bright, citrusy finish.
Pro Tips For Making Whole Grill Chicken
- Preheat the Grill: Get your grill screaming hot—400°F minimum—before the chicken goes on. I learned this the hard way when my first few birds stuck and tore instead of getting that perfect char.
- Butter Under Skin: Loosen the skin over the breasts and thighs, then stuff a mix of butter, minced garlic, and chopped rosemary underneath. Sounds weird, but it works: the meat stays juicy and picks up way more flavor.
- Skip the Cold Chicken: Pull your chicken out of the fridge 30-45 minutes before grilling. After burning three batches, I finally figured out that room-temp birds cook more evenly and don’t seize up on the grill.
- Rest Before Carving: Give it a solid 10 minutes under foil after grilling—yes, even if you’re impatient like me. The juices redistribute, and you’ll actually get to eat them instead of watching them pool on the cutting board.
Essential Equipment for This Dish
Charcoal Grill
A sturdy kettle grill is my go-to—I swear by Weber Original for its heat control and durability. The 22-inch model gives plenty of space for indirect heat setup. Look for one with adjustable vents for precise temperature management. 🔥
Heat Management Tools
Invest in a chimney starter—it gets coals hot faster without lighter fluid. I use Weber’s Rapidfire model. A grill thermometer is essential; I clip a ThermoWorks Smoke to the grate for accurate readings.
Long-Handled Tools
Long-handled tongs and a basting brush keep your hands safe from the heat. I prefer 18-inch stainless steel tongs for maneuvering the chicken. A silicon brush works best for butter basting—no bristles to worry about.
Fuel and Flavor
Natural lump charcoal burns hotter and cleaner than briquettes. I grab Royal Oak from my local hardware store. For extra smokiness, toss in 2-3 wood chunks—hickory or applewood complement chicken beautifully.
Safety Essentials
Never skip heat-resistant gloves and a fire extinguisher nearby. I keep a grill mat under my workspace too—it catches drips and prevents flare-ups. Honestly, these small investments prevent big headaches.
Resting Station
Have a large cutting board and aluminum foil ready for resting. I use a bamboo board with a juice groove to catch all those flavorful drippings. A meat thermometer is crucial for confirming doneness before resting. 💡
Nutrition Facts

Trained in classic French technique but raised on slow-cooked ribs and spicy rubs, she blends culinary skill with smoke and soul.
- Recipe for Boneless Pork Chops in Cast Iron Skillet: Sear and Baste to Juicy Perfection - October 3, 2026
- Recipe for Boneless Cross Rib Roast: Slow-Roasted Beef with Herb Crust - October 3, 2026
- Hamburgers in Sauce Recipe Crock Pot: Slow-Cooked Savory Delight - October 3, 2026