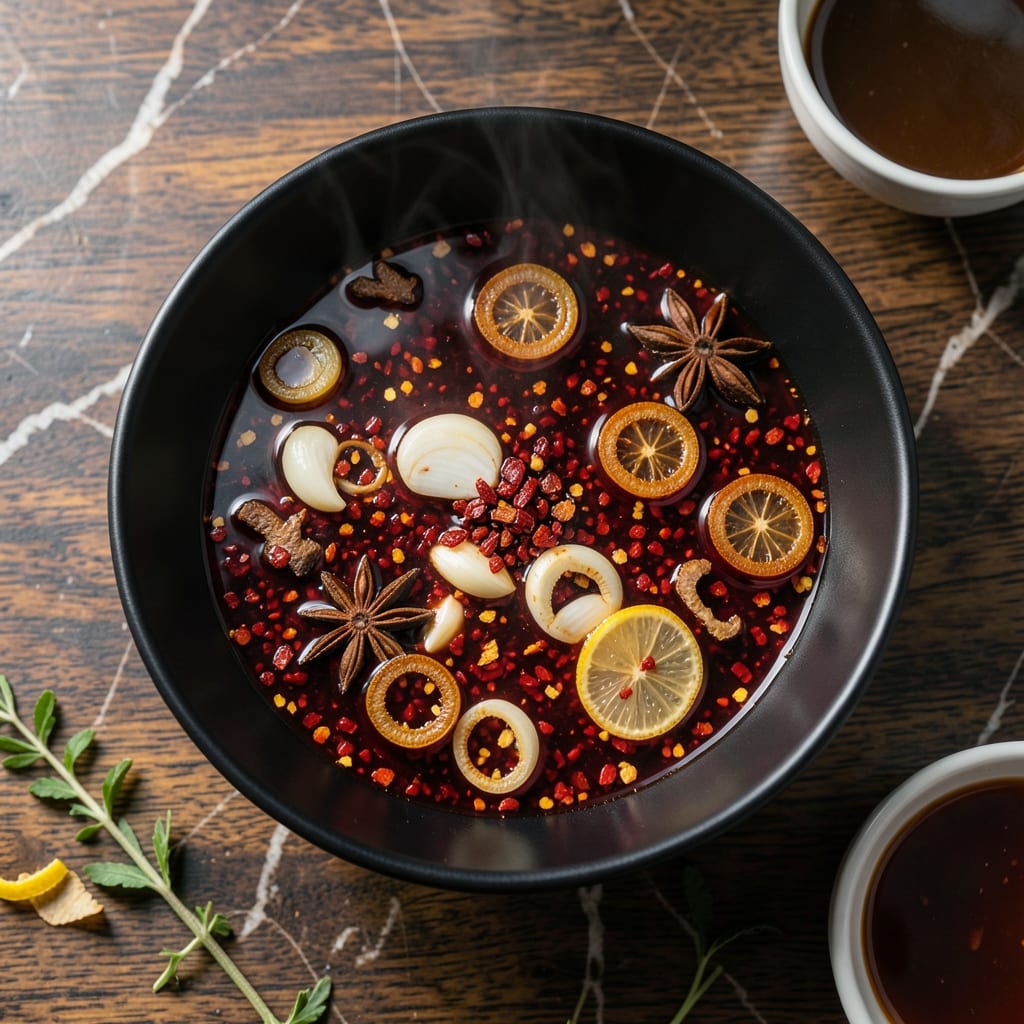
This chili oil recipe transforms simple ingredients into a crispy, umami-packed condiment that elevates any dish. I developed it after tasting similar versions in local Boston markets, determined to recreate that depth of flavor at home.
The secret lies in the double-infusion process: first heating the oil with aromatics, then steeping the chili flakes. This creates layers of flavor while maintaining that signature crispy texture from the fried garlic and shallots.
You’ll end up with a versatile oil that’s perfect for drizzling over noodles, dumplings, or soups. The aromatics become golden and crispy, while the chili flakes infuse the oil with their signature heat and color.
Store it in a clean jar at room temperature for up to a month. Here’s how to make this pantry staple.
Ingredients for Yeung Man Cooking Chili Oil
Nine ingredients create this aromatic, umami-rich oil with signature crispy elements.
| Ingredient | Amount | Notes |
|---|---|---|
| Dried Red Chili Flakes 🌶️ | ½ cup | Adjust for heat preference |
| Neutral Cooking Oil 🫒 | 2 cups | High smoke point required |
| Garlic Cloves 🧄 | 8 cloves | Thinly sliced for crisping |
| Shallots 🧅 | 2 whole | Thinly sliced into rings |
| Fresh Ginger 🌿 | 1 whole | Peeled, sliced into coins |
| Star Anise Pods ✨ | 2 whole | Lightly crushed |
| Sichuan Peppercorns 🌿 | 1 tsp | Optional for numbing effect |
| Soy Sauce 💧 | 1 tbsp | For umami depth |
| Sesame Seeds 🌾 | 2 tbsp | Toasted for garnish |
[recipe_ingredient_scaler]
The oil base is critical here. Neutral oils like avocado or peanut oil handle high heat without burning, preserving the chili’s vibrant color. For the chili flakes, Asian markets often carry higher-quality, more potent varieties than standard grocery stores. The star anise and Sichuan peppercorns can be found in the spice aisle of H Mart or 99 Ranch—avoid old stock with faded aroma.
No Sichuan peppercorns? Skip them—the dish remains delicious. Fresh ginger is non-negotiable though; dried won’t infuse properly. For a milder version, reduce chili flakes to 1/4 cup and add 1 tsp sugar to balance. The soy sauce can be substituted with tamari for gluten-free needs. Shallots can be replaced with red onion, though the flavor profile shifts slightly.
Store in a clean, dry glass jar at room temperature. The oil keeps for 1 month if fully submerged. The crispy aromatics soften over time but remain edible. Refrigeration extends shelf life to 2 months but may cause clouding.
Why You’ll Love This Recipe
- One-Pot Wonder: I just dump everything in a saucepan and let the oil work its magic with the chili, garlic, and ginger.
- Umami Bomb: That first hit of garlic and shallots in the oil with a slow chili burn is ridiculously good.
- Fridge Staple: I drizzle this on noodles, eggs, even pizza—it saves me from bland meals all week.
Step-by-Step Instructions for Yeung Man Cooking Chili Oil
Master the technique of infusing oil with aromatic spices to achieve a crispy, umami-rich finish.
Step 1: Prepare and Toast the Aromatics
Thinly slice the 8 cloves garlic cloves into uniform pieces for even cooking. Peel and slice the 1 whole fresh ginger into thin coins. Slice the 2 whole shallots into delicate rings for maximum surface area and crispiness.
Lightly crush the 2 whole star anise pods to release their fragrant oils. This step ensures the spices infuse the 2 cups neutral cooking oil thoroughly while maintaining their structural integrity during cooking.
Step 2: Infuse the Oil with Whole Spices
In a medium saucepan, combine the 2 cups neutral cooking oil with the crushed star anise pods and 1 tsp Sichuan peppercorns. Heat over medium-low until the oil reaches 250°F—this gentle warmth extracts the spices’ essential oils without burning them.
Allow the spices to infuse for 5-7 minutes until the oil turns a pale golden hue and releases a fragrant aroma. Watch closely; overheating will cause the spices to scorch and turn bitter, ruining the delicate balance of flavors.
Step 3: Crisp the Aromatics in the Infused Oil
Increase the heat to medium and add the sliced garlic cloves, shallots, and fresh ginger. Stir gently and cook for 6-8 minutes until the garlic and shallots turn golden brown and crispy. The ginger will darken slightly at the edges, signaling its flavors are fully developed.
This step is critical for achieving the promised crispy texture. Maintain a steady temperature to ensure even cooking without burning. The aromatics should sizzle steadily but not smoke aggressively.
Step 4: Add Chili Flakes and Soy Sauce
Remove the saucepan from heat and immediately stir in the 0.5 cup dried red chili flakes. The residual heat will bloom the chili’s color and flavor without scorching. Add the 1 tbsp soy sauce for a deep umami base that complements the aromatic spices.
Let the mixture steep off heat for 10 minutes, allowing the chili flakes to infuse the oil fully. The oil will turn a vibrant red, and the chili’s heat will intensify, creating a rich, layered flavor profile.
Step 5: Finish and Store the Chili Oil
Once cooled slightly, stir in the 2 tbsp sesame seeds for added texture and a nutty finish. Transfer the chili oil to a clean, airtight jar, ensuring all crispy aromatics are submerged in the oil to preserve their texture.
Let it cool completely to room temperature before sealing. The oil will continue to develop in flavor over 24-48 hours, with the chili heat and aromatic notes deepening. Store in a cool, dark place for up to 1 month.
Pro Tips For Making Yeung Man Cooking Chili Oil
- Heat Oil Slowly: Start on medium-low and let the oil warm gradually—tossing chili flakes into smoking oil will burn them in seconds, and I learned this the hard way after ruining two batches.
- Dry Your Chilies: Spread the dried chili flakes on a plate and microwave for 10-15 seconds to remove moisture before frying. Sounds weird, but it works: they crisp up faster and won’t turn bitter.
- Skip Overcrowding: Fry garlic, shallots, and ginger in batches if needed—overcrowding the pan drops the oil temp, and you’ll end up with sad, soggy aromatics instead of crispy, fragrant bits.
- Cool Before Storing: Let the chili oil cool completely to room temp before jarred it—adding hot oil to a sealed container can create condensation, and nobody wants watery chili oil.
Wine and Beer Pairings for This Recipe
Beer Pairings
Light lagers like Tsingtao or Sapporo cut through the heat beautifully. Their crisp, clean profiles won’t compete with the chili oil’s bold flavors. I always keep a few bottles in my Boston fridge for this exact purpose. 🍺
White Wine Options
Off-dry whites such as Riesling or Gewürztraminer work wonders. The slight sweetness balances the spice while the acidity cleanses your palate. Serve slightly chilled for best results.
Red Wine Choices
For red lovers, try a fruity Beaujolais or Pinot Noir. Their lower tannins won’t clash with the chili’s heat. I discovered this pairing at a local Italian deli in Boston’s North End.
Sparkling Options
Prosecco or other dry sparkling wines offer a refreshing contrast. The bubbles help dissipate the heat while the crispness complements the oil’s richness. Chill to 45°F before serving.
Non-Alcoholic Pairings
For non-drinkers, ginger beer or hibiscus iced tea provide excellent alternatives. The ginger’s spiciness mirrors the chili, while hibiscus adds a floral contrast that’s surprisingly effective.
Nutrition Facts
Frequently Asked Questions
Can I use a different oil instead of neutral cooking oil?
Stick with neutral oils like avocado or peanut oil. Their high smoke point prevents burning and preserves the chili’s vibrant color. Stronger oils like olive can overpower the delicate flavors.
How do I adjust the spice level?
Start with 1/4 cup chili flakes for mild heat, or increase to 3/4 cup for extra spice. For a balanced version, use 1/2 cup and add 1 tsp sugar to mellow the heat.
Why did my aromatics turn bitter?
This happens when the oil is overheated. Keep the temperature at 250°F during infusion and watch closely. Once the aromatics turn golden brown, remove them immediately.
How long does it keep fresh?
Store in a clean, dry glass jar at room temperature for up to 1 month. For longer storage, refrigerate for up to 2 months, though the oil may cloud slightly.

Trained in classic French technique but raised on slow-cooked ribs and spicy rubs, she blends culinary skill with smoke and soul.
- Recipe for Boneless Pork Chops in Cast Iron Skillet: Sear and Baste to Juicy Perfection - October 3, 2026
- Recipe for Boneless Cross Rib Roast: Slow-Roasted Beef with Herb Crust - October 3, 2026
- Hamburgers in Sauce Recipe Crock Pot: Slow-Cooked Savory Delight - October 3, 2026