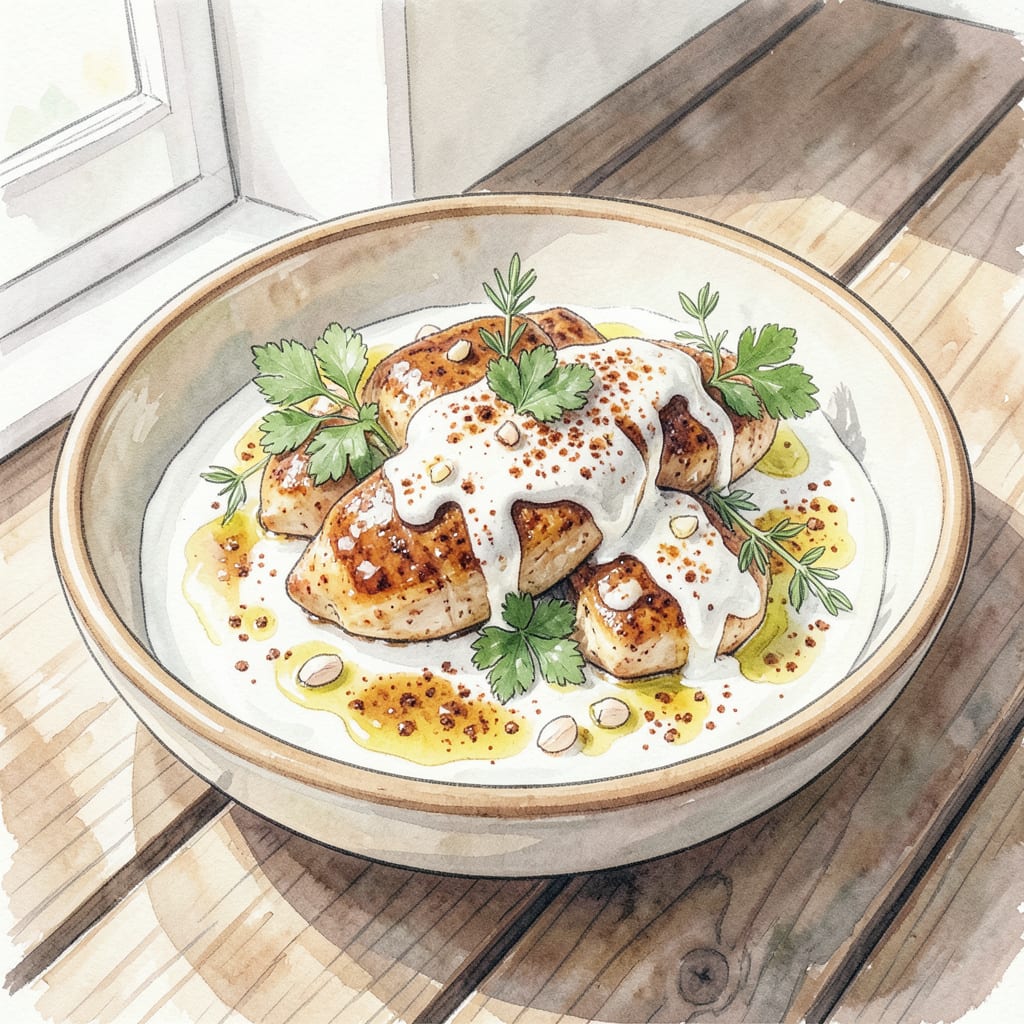
I’ve perfected a yogurt BBQ marinade that tenderizes grilled meats beautifully. 🔥 This tangy blend combines yogurt’s creaminess with classic BBQ flavors, creating a marinade that’s both effective and delicious.
The yogurt helps to tenderize the meat, while the BBQ spices add depth and complexity. Use this marinade on chicken, beef, or lamb for a tender and flavorful result. Store it in the fridge for up to a week, making it perfect for meal prep.
Ingredients for Yogurt Bbq Marinade
Gather these simple ingredients to create a tangy yogurt BBQ marinade.
| Ingredient | Amount | Notes |
|---|---|---|
| Plain Greek Yogurt 🥛 | 1 cup | Full-fat for best results |
| Olive Oil 🫒 | 2 tbsp | Extra-virgin preferred |
| Lemon Juice 🍋 | 2 tbsp | Freshly squeezed |
| Garlic Cloves 🧄 | 3 cloves | Minced |
| Smoked Paprika 🌶️ | 1 tsp | For smoky flavor |
| Brown Sugar 🍮 | 1 tbsp | Packed |
| Chili Powder 🌶️ | 1 tsp | Adjust to taste |
| Salt 🧂 | ½ tsp | Kosher or sea salt |
| Black Pepper 🌶️ | ¼ tsp | Freshly ground |
[recipe_ingredient_scaler]
For the best flavor, use high-quality Greek yogurt—full-fat gives the best results. You can find this in most grocery stores, usually in the dairy section near other yogurts. If you’re looking for a specific brand, Chobani or Fage are solid choices. Fresh garlic makes a big difference—mince it just before mixing.
No smoked paprika? Regular paprika works, but you’ll lose that deep smoky flavor. For a spicier kick, increase the chili powder to 1.5 teaspoons or more to taste. If you prefer a sweeter marinade, add an extra tablespoon of brown sugar. The lemon juice adds brightness, so don’t skip it.
Store this marinade in an airtight container in the fridge for up to 1 week. Give it a good stir before using. You can freeze it for up to 3 months—just thaw in the fridge overnight when you’re ready to use it.
Step-by-Step Instructions for Yogurt BBQ Marinade
Let’s create this tangy tenderizer that’ll make your grilled meats shine.
👨🍳 Step 1: Combine Wet Ingredients
In a medium bowl, whisk together the 1 cup Plain Greek Yogurt and 2 tbsp Lemon Juice until smooth. You’ll notice the mixture starts to emulsify, creating a creamy base for your marinade. Make sure to use full-fat yogurt for best results.
The acidity in the yogurt and lemon juice works together to tenderize meat while keeping it moist. I like to use freshly squeezed lemon juice for the brightest flavor.
👨🍳 Step 2: Add Aromatics and Spices
Add the 3 cloves minced Garlic Cloves to the yogurt mixture and whisk until well combined. The garlic will distribute evenly throughout the marinade, infusing your meat with deep flavor. Be sure to mince the garlic finely so it doesn’t leave any chunky texture.
Next, add 2 tbsp Olive Oil while continuously whisking. This helps create an emulsion that coats the meat evenly. The olive oil also adds richness and helps the marinade cling to the surface of your chosen protein.
👨🍳 Step 3: Mix in Dry Spices
In a small bowl, combine 1 tsp Smoked Paprika, 1 tbsp Brown Sugar, 1 tsp Chili Powder, 0.5 tsp Salt, and 0.25 tsp Black Pepper. Whisk these dry spices together to ensure they’re evenly distributed before adding them to the wet mixture.
Pour the dry spice mixture into the yogurt mixture and whisk until you achieve a smooth, consistent marinade. The smoked paprika adds a deep, smoky flavor while the brown sugar provides a touch of sweetness to balance out the heat from the chili powder.
🥘 Step 4: Marinate Your Chosen Protein
Place your chosen protein (chicken, beef, or lamb work well) in a large zip-top bag or a non-reactive container. Pour the prepared marinade over the meat, making sure it’s fully coated. Seal the bag or cover the container.
Refrigerate for at least 2 hours, though 4-6 hours or overnight (8-12 hours) yields the best results. The longer it marinates, the more tender and flavorful your meat will be. Just be sure to flip the meat halfway through the marinating time to ensure even coating.
Essential Equipment for This Dish
Essential Tools for Marinade Preparation
To make this yogurt BBQ marinade, you’ll need some basic kitchen tools. Start with a medium-sized bowl—stainless steel or glass works best as they won’t react with the acidic ingredients. I prefer using my Cuisinart stainless steel bowl as it makes whisking easy and cleanup a breeze.
Whisking Essentials
A sturdy whisk is crucial for emulsifying the marinade. Look for one with a comfortable handle and balanced weight—I swear by my KitchenAid wire whisk. The wire construction helps incorporate air and blend ingredients smoothly.
Measuring Tools
Accurate measurements matter in marinade recipes. Use stainless steel measuring cups and adjustable measuring spoons for precision. I keep my OxO measuring cups handy as they have clear markings that are easy to read.
Storage Containers
After making your marinade, you’ll need a proper storage container. I recommend using glass jars with tight-fitting lids—Pyrex or Anchor Hocking are excellent brands that won’t absorb flavors or odors. Make sure the container is clean and dry before storing your marinade in the refrigerator.
Additional Helpful Tools
For mincing garlic, a microplane grater or garlic press can be very helpful. If you’re using a lot of marinade, consider having large zip-top bags or non-reactive containers on hand for marinating your protein. These tools make the process smoother and more efficient. 🔥
Tips for Choosing Equipment
When selecting equipment, consider durability and ease of cleaning. Stainless steel and glass are generally good choices as they’re non-reactive and easy to maintain. For whisks, look for sturdy wire construction that won’t bend easily during use.

Trained in classic French technique but raised on slow-cooked ribs and spicy rubs, she blends culinary skill with smoke and soul.
- Recipe for Boneless Pork Chops in Cast Iron Skillet: Sear and Baste to Juicy Perfection - October 3, 2026
- Recipe for Boneless Cross Rib Roast: Slow-Roasted Beef with Herb Crust - October 3, 2026
- Hamburgers in Sauce Recipe Crock Pot: Slow-Cooked Savory Delight - October 3, 2026