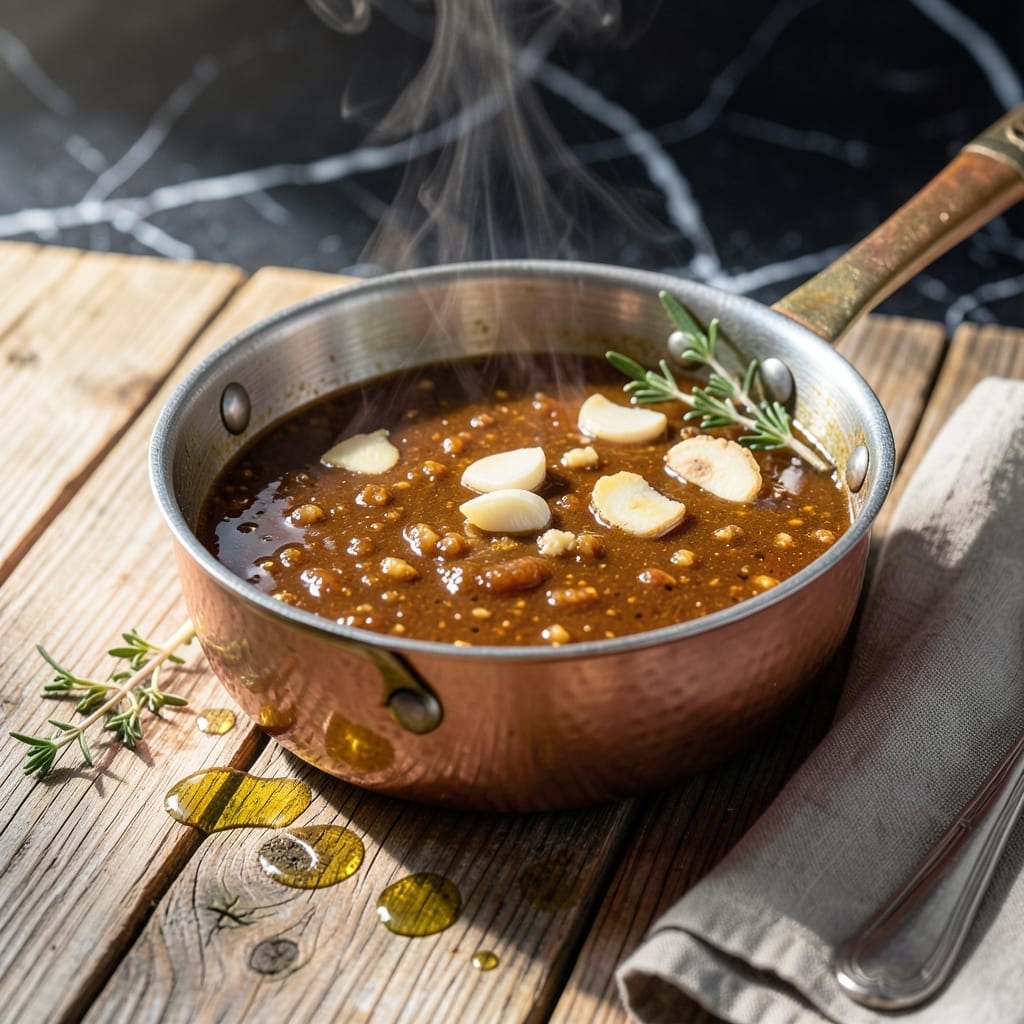
This Hawaiian-inspired sauce captures the perfect balance of sweet, tangy, and umami flavors that elevate any dish. I developed this version after testing countless store-bought marinades, always finding them either too sweet or lacking depth.
The secret lies in combining soy sauce, brown sugar, and pineapple juice for that signature island taste. Unlike commercial versions, this homemade take lets you control the sweetness and sodium content while maintaining authentic flavor.
Use it as a marinade for chicken, beef, or pork, or brush it on vegetables before grilling. The versatile sauce also doubles as a dipping sauce or glaze for finished dishes.
This recipe makes enough for several meals and keeps well in the refrigerator for up to two weeks.
Ingredients for Yoshida’s Marinade
Nine ingredients for that signature island flavor balance you know and love.
| Ingredient | Amount | Notes |
|---|---|---|
| Soy Sauce 🥢 | ¾ cup | Low-sodium preferred for control |
| Brown Sugar 🍚 | ¾ cup | Packed, light or dark |
| Pineapple Juice 🍍 | 1 cup | 100% juice, no added sugar |
| Apple Cider Vinegar 🍏 | ¼ cup | For tangy brightness |
| Garlic Cloves 🧄 | 4 cloves | Minced for depth |
| Fresh Ginger 🌿 | 1 tbsp | Grated, peeled first |
| Onion Powder 🧅 | 1 tsp | For savory base notes |
| Red Pepper Flakes 🌶️ | ½ tsp | Adjust for heat preference |
| Black Pepper 🌶️ | ½ tsp | Freshly ground preferred |
[recipe_ingredient_scaler]
The pineapple juice is non-negotiable here—Dole or Del Monte at any grocery store works, just make sure it’s 100% juice without added sugar. The soy sauce is your umami backbone; Kikkoman or Yamasa are my go-tos. Brown sugar adds depth, and I always use Domino or C&H (packed tight, not loose). Fresh ginger and garlic? Worth the extra minute for that bright, authentic kick.
No pineapple juice? Crushed pineapple blended smooth works in a pinch (strain out pulp first). Short on brown sugar? White sugar plus 1 tbsp molasses per cup. Apple cider vinegar can be swapped for rice vinegar if that’s what’s in the pantry. The red pepper flakes are optional—skip if you’re sensitive to heat, or add a dash of cayenne for extra warmth.
This keeps beautifully in a sealed jar in the fridge for up to 2 weeks. The flavors actually deepen after 24 hours. Freezes for 3 months too—portion into ice cube trays for single-serving needs.
Why You’ll Love This Recipe
- 5-Minute Mix: I dump everything in a bowl—soy sauce, brown sugar, pineapple juice, vinegar, garlic—and it’s ready before I finish cleaning the measuring spoons.
- Sweet-Tangy Magic: The brown sugar caramelizes while the vinegar and pineapple juice cut through it, giving that sticky, crave-worthy glaze on anything I grill.
- Grill or Oven, No Fuss: I’ve used this on chicken thighs, pork chops, even tofu, and it works whether I’m firing up the grill or just baking indoors.
- Stretches for Days: One batch marinates enough for a weeknight dinner and still leaves leftovers to freeze for next time. Honestly, it’s my meal prep shortcut.
Step-by-Step Instructions for Hawaiian-Style Marinade
Here’s my tested method for balancing the sweet, salty, and tangy flavors perfectly.
Step 1: Combine the Liquid Base
In a medium saucepan, pour in the 0.75 cup Soy Sauce, 0.75 cup Brown Sugar, 1 cup Pineapple Juice, and 0.25 cup Apple Cider Vinegar. Use a whisk to stir these together until the brown sugar begins to dissolve. The liquid should have a deep amber color with some sugar crystals still visible at first.
This base creates the foundation of your marinade. I always use low-sodium soy sauce here because it gives you better control over the final saltiness. The pineapple juice adds natural sweetness and a subtle tropical note that defines this Hawaiian-style sauce.
Step 2: Incorporate the Aromatics
Add the 4 cloves Garlic Cloves (minced), 1 tbsp Fresh Ginger (grated), 1 tsp Onion Powder, 0.5 tsp Red Pepper Flakes, and 0.5 tsp Black Pepper to the saucepan. Stir well to distribute these flavor powerhouses evenly throughout the liquid.
The garlic and ginger should be freshly prepared – their sharp, bright flavors mellow beautifully during the cooking process. Onion powder adds depth without the texture of fresh onions, while the red pepper flakes bring just enough heat to balance the sweetness. Freshly ground black pepper always tastes more vibrant than pre-ground.
Step 3: Simmer and Reduce
Place the saucepan over medium-high heat and bring the mixture to a gentle boil. Then reduce the heat to medium-low and let it simmer for 8-10 minutes. You’ll notice the liquid darken slightly and become more syrupy as it reduces.
During this time, stir occasionally with a wooden spoon to prevent sticking. The sugar in the mixture can burn easily, so keep an eye on it. The marinade is ready when it coats the back of a spoon and has thickened enough that you can see the pan bottom when you drag a spoon through it.
Step 4: Cool and Store
Remove the saucepan from heat and let the marinade cool to room temperature. This should take about 20-30 minutes. You’ll notice the flavors meld and deepen as it cools, with the garlic and ginger becoming more pronounced.
Transfer the cooled marinade to an airtight container. It will keep in the refrigerator for up to 2 weeks. The flavors actually improve after a day or two as everything continues to marry together. For best results, make this a day ahead of when you plan to use it.
Pro Tips For Making Yoshida’S Marinade
- Simmer, Don’t Boil: Heat the marinade just until the brown sugar dissolves—boiling it makes the soy sauce too salty and can curb the pineapple’s brightness.
- Crush the Garlic: Press or finely mince the garlic cloves instead of leaving them whole; it releases more flavor into the marinade and prevents harsh raw bites later.
- Skip the Metal: Use a glass or plastic bowl for marinating, not metal—reactive containers can turn the soy sauce bitter and discolor the mix.
- Rest Before Using: Let the marinade cool completely before adding meat; hot marinade starts cooking the surface and can make it tough instead of tender.
Storing and Reheating yoshidas marinade
Refrigerator Storage
Let the marinade cool completely before transferring to an airtight container. I use mason jars from my Boston neighborhood market—they’re perfect for this. Store at 40°F or below for up to 2 weeks. The flavors deepen after 24 hours. ❄️
Freezer Storage
For longer storage, freeze in ice cube trays or small containers for up to 3 months. Once frozen solid, transfer cubes to a freezer bag. This way, you can thaw only what you need. Leave ½ inch headspace in containers for expansion.
Thawing the Marinade
To thaw, move the container to the fridge overnight. For quick thawing, place the sealed container in a bowl of cold water, changing the water every 30 minutes. Never microwave or thaw at room temperature.
Using After Storage
Stir well before using as ingredients may separate. If the marinade seems too thick after refrigeration, thin with 1-2 tbsp pineapple juice. Taste and adjust seasoning if needed—I often add a pinch of black pepper. 💡
Safety Reminder
Never reuse marinade that has touched raw meat unless you boil it for 3 minutes first. When in doubt, make a fresh batch—it’s quick and ensures safety. I always err on the side of caution in my tiny kitchen.
Nutrition Facts
Frequently Asked Questions
Can I use honey instead of brown sugar?
Yes, swap ¾ cup honey for the brown sugar. Reduce pineapple juice by 2 tablespoons to balance the extra liquid. Honey adds floral notes but may darken faster when cooking.
How long should I marinate chicken?
For boneless pieces, 4-6 hours is ideal. Whole chickens or bone-in pieces can handle 12-24 hours. Any longer and the acidity starts breaking down the meat texture.
Is this marinade gluten-free?
Only if you use tamari instead of regular soy sauce. Check that all other ingredients (like onion powder) are certified gluten-free.
Can I boil leftover marinade for sauce?
but only if it hasn’t touched raw meat. If it has, boil for a full 3 minutes to kill bacteria. This works well for basting or dipping.

Trained in classic French technique but raised on slow-cooked ribs and spicy rubs, she blends culinary skill with smoke and soul.
- Meatball Curry Recipe Kerala Style: Coconut-Spiced Gravy With Tender Bites - October 3, 2026
- Recipe for Curried Tofu: Aromatic Spices With Crispy Edges - October 3, 2026
- Recipe for Dumplings in Crock Pot: Fluffy Pillows with Minimal Effort - October 3, 2026