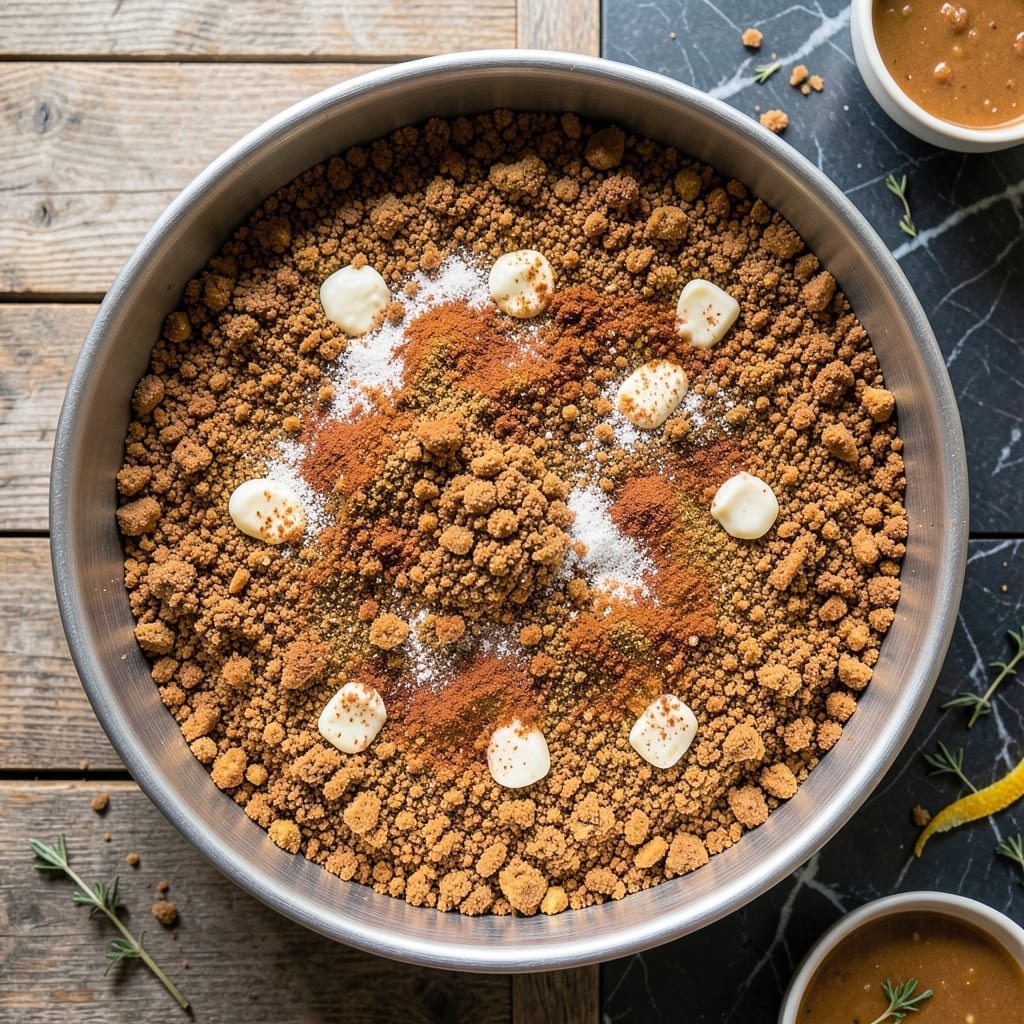
This no-bake graham cracker crust delivers a foolproof base for your favorite desserts without turning on the oven. The combination of crushed crackers and melted butter creates a stable, crispy foundation that holds up perfectly under fillings.
I’ve refined this method over years of pie-making to ensure it presses evenly into a 9×13 pan and sets firmly. It’s the ideal shortcut for cheesecakes, bars, or any dessert needing a sturdy, flavorful crust.
Ingredients for 9 X 13 Graham Cracker Crust
Five basic ingredients for a crispy, no-bake crust that holds up perfectly under any filling.
| Ingredient | Amount | Notes |
|---|---|---|
| Graham Crackers 🍪 | 3 cups | Finely crushed, about 24 squares |
| Unsalted Butter 🧈 | ¾ cup | Melted and cooled slightly |
| Granulated Sugar 🍚 | ¼ cup | Optional, for extra sweetness |
| Ground Cinnamon 🌿 | ½ tsp | For warm spice flavor |
| Salt 🧂 | 0.125 tsp | Balances sweetness |
[recipe_ingredient_scaler]
The graham crackers are the backbone here. Honey Maid or store brand both work—just make sure they’re finely crushed (a rolling pin or food processor does the trick). I grab mine from Walmart or Target in bulk. The butter should be unsalted so you control the salt level. Land O’Lakes is my go-to, but any brand melts the same.
No graham crackers? Digestive biscuits or vanilla wafers swap in just fine (adjust sugar to taste). Want it gluten-free? Gluten-free graham crackers or crushed nuts work too. The cinnamon is optional but adds a nice warmth—skip it if you prefer plain. Sugar can be reduced or swapped for brown sugar for a deeper flavor.
This crust sets up in the fridge in about 30 minutes. Keeps for 3 days covered at room temp or 1 week refrigerated. Press it into the pan and chill before adding fillings—this prevents sogginess.
Why You’ll Love This Recipe
- 5-Minute Base: I crush the graham crackers in the bag with a rolling pin, melt the butter, and press—done before the oven even heats up.
- Buttery Cinnamon Magic: That warm cinnamon swirled into the buttery crumbs makes every bite taste like childhood nostalgia.
- Potluck Hero: I take this crust to every gathering, and it works for cheesecakes, bars, or even just a snackable pan of goodness.
- Pantry Staples Only: Between us, I always have these five ingredients on hand, so dessert is never more than 10 minutes away.
Step-by-Step Instructions for 9 X 13 Graham Cracker Crust
No oven required—just mix, press, and chill for a perfect crust every time.
Step 1: Crush the Graham Crackers to Fine Crumbs
Place the 3 cups Graham Crackers in the bowl of a food processor. Pulse in 5-second bursts until they’re reduced to fine, even crumbs with no large pieces remaining. You should have about 2½ cups of tightly packed crumbs.
If you don’t have a food processor, seal the Graham Crackers in a zip-top bag and crush them with a rolling pin. The crumbs need to be consistently fine for the crust to hold together properly. This step takes about 2-3 minutes of steady work.
Step 2: Mix Crumbs with Sugar, Spices, and Butter
Transfer the Graham Cracker crumbs to a large bowl. Add the 0.25 cup Granulated Sugar, 0.5 tsp Ground Cinnamon, and 0.125 tsp Salt. Stir with a fork until everything is evenly distributed throughout the crumbs.
Pour in the 0.75 cup Unsalted Butter while stirring. Continue mixing until all the crumbs are evenly moistened and the mixture resembles wet sand. If you squeeze a handful, it should hold together briefly before falling apart. This consistency ensures the crust will press together and set properly.
Step 3: Press the Mixture Firmly into the Pan
Dump the mixture into a 9 x 13-inch baking dish. Use the bottom of a measuring cup or drinking glass to press the crumbs firmly and evenly into the bottom of the pan. Apply steady pressure—this compacts the crust so it holds together when sliced.
Pay special attention to the edges and corners, pressing the mixture up the sides if you want a slight rim. The crust should be uniformly about ¼-inch thick across the entire pan. Don’t skimp on the pressure; a well-pressed crust won’t crumble when you serve it.
Step 4: Chill to Set the Crust
Place the pan in the refrigerator and chill for at least 1 hour. This resting time allows the butter to solidify, binding all the crumbs together into a firm, sliceable base.
For best results, I recommend chilling for 2 hours or even overnight. The longer it sets, the better it will hold its shape when you add fillings. Once fully chilled, your crust is ready to use as the base for pies, cheesecakes, or any other no-bake desserts.
Pro Tips For Making 9 X 13 Graham Cracker Crust
- Chill the Crust: Press the mixture into the pan and refrigerate for at least 30 minutes—I learned this the hard way after my first crust crumbled when I tried to cut it.
- Melt Butter Slowly: Use low heat to melt the butter so it doesn’t separate or burn, which can make the crust greasy or bitter.
- Crush Evenly: Pulse the graham crackers in a food processor until they’re fine crumbs, about 1 to 1.5 cups for a 9×13 pan—skip the big chunks or the texture will be uneven.
- Press Firmly: Use the bottom of a glass to compact the crumbs tightly into the pan, especially along the edges, so it holds together when sliced.
Troubleshooting This Recipe
Crumbly Crust
If your crust falls apart when sliced, it likely didn’t have enough butter or wasn’t pressed firmly enough. I always use the full 0.75 cup Unsalted Butter and press with a measuring cup for 2-3 minutes. Chill for the full 2 hours to ensure it sets properly. 💡
Soggy Bottom
A soggy crust usually means it didn’t chill long enough before adding fillings. Always refrigerate for at least 1 hour first. If your filling is particularly wet, blind-bake the crust at 350°F for 8-10 minutes to create a moisture barrier.
Uneven Thickness
Use the bottom of a flat measuring cup to press the crumbs evenly across the 9 x 13-inch pan. I find this works better than my hands for consistent ¼-inch thickness. Focus on the edges first, then work your way to the center.
Butter Separation
If butter pools on top, your crumbs might be too coarse or the mixture too warm. Pulse graham crackers to fine, even crumbs and let melted butter cool slightly before mixing. The texture should resemble wet sand, not soup.
Sticking to Pan
Line your pan with parchment paper before pressing in the crust. This prevents sticking and makes removal easier. I also lightly grease the parchment with butter for extra insurance. No parchment? Use nonstick spray.
Weak Flavor
Boost flavor with the full 0.5 tsp Ground Cinnamon and 0.25 cup Granulated Sugar. For extra depth, add a pinch of nutmeg or use brown sugar. The cinnamon adds warmth that pairs perfectly with most dessert fillings.
Nutrition Facts
Frequently Asked Questions
Can I use salted butter instead of unsalted?
Yes, but reduce the added salt to a pinch. Salted butter contains about ¼ tsp salt per ½ cup, so adjust accordingly. The crust will still set properly, just with a slightly saltier flavor.
How long can I store the crust before using?
Covered tightly, it keeps for 3 days at room temperature or 1 week refrigerated. For best texture, add fillings within 24 hours of making.
What’s the best way to press the crust evenly?
Use a flat-bottomed glass or measuring cup. Press firmly in small sections, working from edges to center. Aim for ¼-inch thickness throughout.
Can I bake this crust instead of chilling?
Yes! Bake at 350°F for 8-10 minutes until golden. This creates a firmer base, ideal for wet fillings like cheesecake. Let cool completely before adding toppings.

Trained in classic French technique but raised on slow-cooked ribs and spicy rubs, she blends culinary skill with smoke and soul.
- Recipe for Boneless Pork Chops in Cast Iron Skillet: Sear and Baste to Juicy Perfection - October 3, 2026
- Recipe for Boneless Cross Rib Roast: Slow-Roasted Beef with Herb Crust - October 3, 2026
- Hamburgers in Sauce Recipe Crock Pot: Slow-Cooked Savory Delight - October 3, 2026