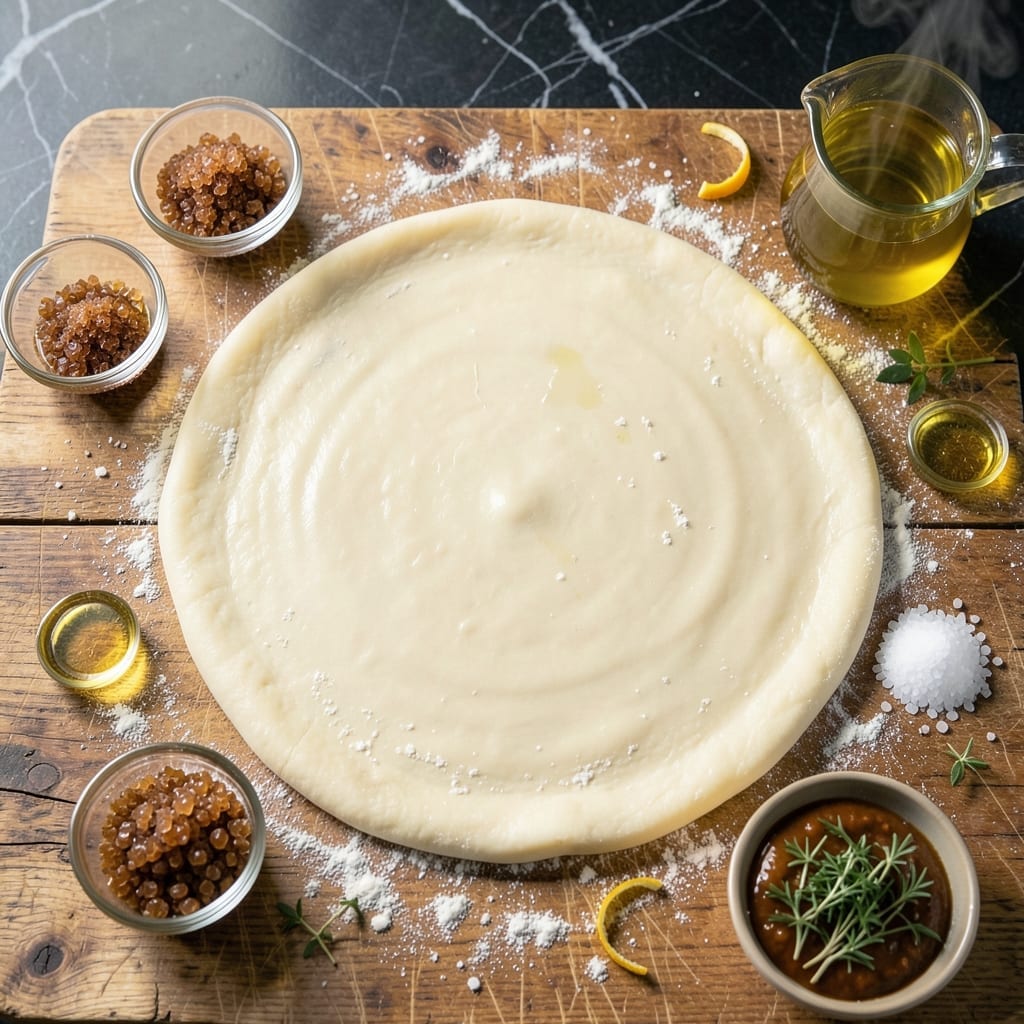
This grill-ready dough delivers charred depth that transforms any pizza night into an outdoor cooking experience. The key lies in a high-hydration formula that creates airy texture while withstanding direct heat.
I developed this method after years of perfecting wood-fired crusts. The result is a sturdy yet tender base that holds up to bold BBQ toppings while picking up smoky flavor from the grill.
Ingredients for All Things Bbq Pizza Dough
High-hydration dough with grill-ready structure for charred, airy BBQ pizza crust.
| Ingredient | Amount | Notes |
|---|---|---|
| Bread Flour 🌾 | 3 ½ cups | High-protein for structure |
| Active Dry Yeast 🍞 | 2 ¼ tsp | One 0.25 oz packet |
| Granulated Sugar 🧂 | 1 tsp | Feeds the yeast |
| Kosher Salt 🧂 | 1 ½ tsp | Diamond Crystal preferred |
| Extra-Virgin Olive Oil 🫒 | 2 tbsp | Divided for dough and bowl |
| Warm Water 💧 | 1 ½ cups | 110-115°F for yeast activation |
| Cornmeal 🌽 | ½ cup | For dusting grill surface |
| All-Purpose Flour 🌾 | ¼ cup | For work surface dusting |
| Honey 🍯 | 1 tbsp | Optional for slight sweetness |
| Garlic Powder 🧄 | 1 tsp | Enhances savory depth |
| Dried Oregano 🌿 | 1 tsp | Classic pizza herb |
| Semolina Flour 🌾 | ¼ cup | For crispier crust texture |
[recipe_ingredient_scaler]
The flour is critical here. King Arthur Bread Flour delivers the high protein content (12-14%) needed for structure under direct heat. Bob’s Red Mill works too, but avoid all-purpose—this isn’t the time for shortcuts. Yeast freshness matters; check the expiration date and store unopened packets in the freezer. The olive oil should be high-quality—you’ll taste the difference in the finished crust.
No bread flour? All-purpose plus vital wheat gluten (1 tbsp per cup) gets you close. Substitute the honey with sugar or agave if needed. For a more pronounced flavor, instant yeast at the same quantity works without proofing. The cornmeal can be swapped for semolina or polenta—just ensure your grill is well-oiled to prevent sticking.
Dough keeps in the fridge for 2-3 days (it develops more flavor) or freezes for 1 month. Divide into balls before freezing for easy portioning. Bring to room temperature before grilling—cold dough won’t stretch properly and may tear.
Why You’ll Love This Recipe
- No-Fuss Mixing: I can prep this dough in one bowl with just bread flour, yeast, and a drizzle of olive oil—no fancy equipment needed.
- Crisp Chewy Bite: The olive oil gives it this incredible crisp edge with a tender center that holds up to all my BBQ toppings.
- Weeknight Hero: Honestly, it’s my go-to for last-minute dinners when I need something satisfying fast.
- Budget Stretch: One batch makes two large pizzas, so I get two meals out of what costs less than takeout.
Step-by-Step Instructions for All Things BBQ Pizza Dough
This method ensures a perfectly charred, grill-ready crust with professional results every time.
Step 1: Activate the Yeast and Begin the Dough
In a large mixing bowl, combine the 2.25 tsp Active Dry Yeast, 1 tsp Granulated Sugar, and 1.5 cups Warm Water at 110-115°F. Let it sit for 5 minutes until the mixture becomes foamy and cloudy—this confirms the yeast is active and ready to work.
Stir in 1 tbsp Honey, 2 tbsp Extra-Virgin Olive Oil, 1.5 tsp Kosher Salt, 1 tsp Garlic Powder, and 1 tsp Dried Oregano. These ingredients build the flavor foundation of your dough. The yeast should now be bubbling vigorously, indicating it’s ready for the flour.
Step 2: Mix and Knead the Dough
Gradually add 3.5 cups Bread Flour to the yeast mixture, stirring until a shaggy dough forms. Turn the dough out onto a surface lightly dusted with 0.25 cup All-Purpose Flour. Knead for 8-10 minutes until the dough is smooth, elastic, and slightly tacky but not sticky.
If the dough feels too wet, add a little more all-purpose flour, but avoid over-flouring, as this can make the crust dense. The dough should spring back slowly when pressed with a finger. This texture ensures it will hold up on the grill while still being tender.
Step 3: First Rise and Preparation for Grilling
Lightly coat a clean bowl with 1 tbsp Extra-Virgin Olive Oil (reserved from the 2 tbsp total) and place the dough inside. Cover with a damp towel and let it rise in a warm, draft-free area for 1-2 hours, or until doubled in volume. The dough should be puffy and jiggle slightly when gently shaken.
Punch down the dough to release the air, then divide it into 4 equal portions for individual pizzas. Shape each portion into a ball, cover, and let rest for an additional 15-20 minutes. This second rest relaxes the gluten, making the dough easier to stretch.
Step 4: Shape, Dust, and Pre-Grill Preparation
On a surface dusted with 0.25 cup Semolina Flour, roll out each dough ball into your desired pizza shape, about ¼-inch thick. The semolina adds texture and prevents sticking while also contributing to a crispier crust.
Lightly brush the side of the dough that will touch the grill with 1 tbsp Extra-Virgin Olive Oil (remaining) and sprinkle with 0.5 cup Cornmeal. This creates a barrier between the dough and the grill, adding flavor and preventing it from sticking.
Step 5: Grill to Charred Perfection
Preheat your grill to medium-high heat (around 450-500°F). Place the dough on the grill, cornmeal-side down, and cook for 2-3 minutes until the underside is lightly charred and the dough puffs slightly.
Flip the dough using tongs and immediately add your toppings. Close the grill lid and cook for another 3-5 minutes, until the crust is golden brown with distinct grill marks and the cheese is melted. Remove from the grill and let rest for 2 minutes before slicing. The crust should be crisp on the outside with a chewy interior.
Pro Tips For Making All Things Bbq Pizza Dough
- Proof the Yeast: Always bloom your active dry yeast in warm water (110°F) with a pinch of sugar first—I learned this the hard way after wasting a batch with dead yeast.
- Use Bread Flour: Skip all-purpose flour; the higher protein in bread flour gives that chewy, sturdy crust that holds up to BBQ toppings.
- Don’t Rush the Rise: Give the dough a full 1-2 hours to double in size, or it’ll taste dense and flat, no matter how much olive oil you drizzle.
- Oil the Bowl: Coat your rising bowl with about 1 tablespoon of extra-virgin olive oil before the first rise—makes a real difference when you go to punch it down.
Common Mistakes When Making This Dish
Skipping the Proof
I’ve seen too many cooks rush the 1-2 hour rise. Cold dough or short proofing leads to dense, gummy crust that won’t char properly. Always let it double in volume—you’ll see the difference in texture and grill marks. 🔥
Over-Flouring the Surface
Adding too much all-purpose flour while kneading or rolling makes the dough tough. Use just enough to prevent sticking—the semolina and cornmeal will handle the rest on the grill.
Grill Temperature Too Low
Your grill needs to hit 450-500°F for that signature char. Anything lower and the dough steams instead of crisping. I always preheat for 15 minutes to ensure even heat distribution.
Stretching Too Thin
Aim for ¼-inch thickness. Thin dough tears on the grill and burns before toppings cook. Use your fingers to press from the center outward, leaving a slightly thicker rim for structure.
Ignoring the Flip Timing
Cook the first side for 2-3 minutes until lightly charred. Flip too soon and the dough sticks; too late and it overcooks. Watch for those telltale grill marks and slight puffing.
Toppings go on immediately after flipping—this is your only chance to add them before the second side finishes cooking.
Nutrition Facts

Trained in classic French technique but raised on slow-cooked ribs and spicy rubs, she blends culinary skill with smoke and soul.
- Recipe for Boneless Pork Chops in Cast Iron Skillet: Sear and Baste to Juicy Perfection - October 3, 2026
- Recipe for Boneless Cross Rib Roast: Slow-Roasted Beef with Herb Crust - October 3, 2026
- Hamburgers in Sauce Recipe Crock Pot: Slow-Cooked Savory Delight - October 3, 2026