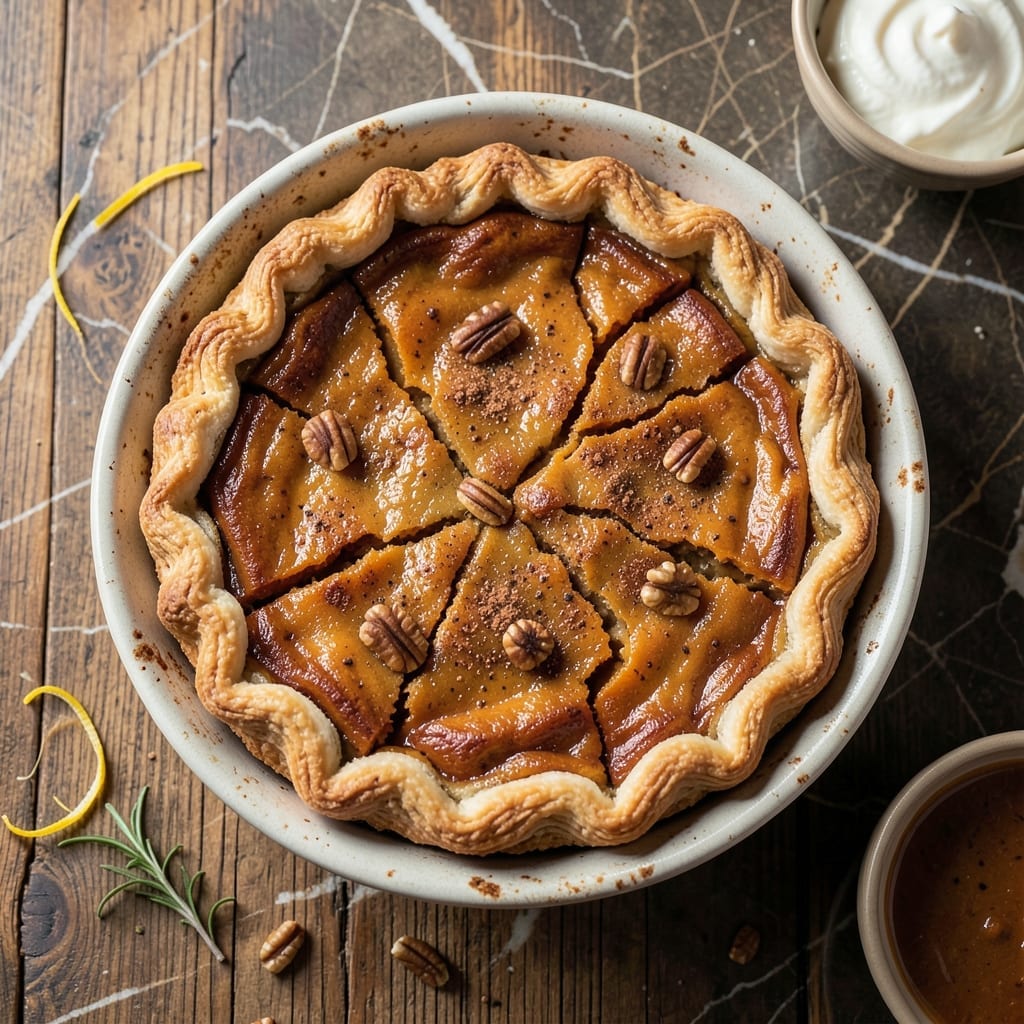
This sweet potato pie delivers the perfect balance of creamy custard and warm spices in a flaky, buttery crust. I developed this version to capture that signature Mission BBQ comfort in every slice.
The filling blends roasted sweet potatoes with cinnamon, nutmeg, and vanilla for depth, while the crust bakes to golden perfection. It’s a dessert that feels both nostalgic and refined.
Ingredients for Mission Bbq Sweet Potato Pie
A few simple ingredients deliver that nostalgic, spiced comfort in every slice.
| Ingredient | Amount | Notes |
|---|---|---|
| Sweet Potatoes 🍠 | 2 ½ lb | Roasted until tender |
| All-Purpose Flour 🌾 | 1 ½ cups | For flaky pie crust |
| Unsalted Butter 🧈 | ¾ cup | Cold, cubed for crust |
| Granulated Sugar 🍚 | ¾ cup | For sweetening filling |
| Brown Sugar 🟤 | ½ cup | Packed, for depth |
| Large Eggs 🥚 | 3 whole | For custard texture |
| Evaporated Milk 🥛 | 1 can | 12 oz can, full-fat |
| Ground Cinnamon 🌿 | 1 ½ tsp | Warm spice essential |
| Ground Nutmeg 🌰 | ½ tsp | Freshly grated preferred |
| Vanilla Extract 💧 | 1 tbsp | Pure for best flavor |
| Salt 🧂 | ½ tsp | Divided between crust and filling |
| Ice Water 💧 | ¼ cup | For crust dough |
[recipe_ingredient_scaler]
The sweet potatoes are key here. Look for firm, deep orange ones—they’ve got the most natural sweetness and creamy texture. I grab mine from Whole Foods or the farmers market when they’re in season. For the butter, Plugra or Kerrygold give that rich, flaky crust Mission BBQ is known for. Don’t skip the chilling step (worth the extra minute).
No evaporated milk? Whole milk works in a pinch—just reduce the sugar slightly since it’s less concentrated. Short on spices? Apple pie spice blend at 2 tsp covers the cinnamon and nutmeg. If you’re out of brown sugar, white sugar plus 1 tbsp molasses does the trick. The crust can be store-bought (no shame), but homemade really takes it over the top.
This pie keeps 4-5 days covered at room temp—actually tastes better the next day. Freeze slices for up to 3 months (thaw overnight). The filling sets as it cools, so resist slicing for at least 2 hours. Leftovers? Reheat in the oven to crisp the crust.
Why You’ll Love This Recipe
- One-Bowl Wonder: I love that I can mix the sweet potatoes, butter, and sugars in a single bowl—no fancy equipment, just a whisk and a little elbow grease.
- Rich, Spiced Sweetness: The combo of brown and granulated sugar with the natural sweetness of the potatoes hits that perfect balance—warm, caramelized, and just sweet enough.
- Holiday or Tuesday: Honestly, this pie fits anywhere: Thanksgiving dessert, a Sunday supper treat, or even a random Tuesday craving.
- Budget-Friendly Crowd Pleaser: A few cheap pantry staples and sweet potatoes stretch into a dessert that feeds eight—leftovers taste even better the next day.
Step-by-Step Instructions for Sweet Potato Pie With Buttery Crust
This method delivers a flaky crust and silky-smooth filling that’s worth every minute.
Step 1: Prepare the Flaky Pie Crust
In a large bowl, cut the 0.75 cup unsalted butter (cold and cubed) into the 1.5 cups all-purpose flour using a pastry cutter or fork until the mixture resembles coarse crumbs with pea-sized butter pieces visible. This texture is crucial—those butter pieces create the flaky layers as the crust bakes.
Sprinkle in 0.25 cup ice water and ¼ teaspoon salt, then gently mix with a fork just until the dough comes together. Don’t overwork it, or the crust will turn tough. The dough should hold when pressed but still look shaggy. Wrap it in plastic and refrigerate for 30 minutes while you prep the filling.
Step 2: Roast and Mash the Sweet Potatoes
Peel and cube the 2.5 lb sweet potatoes, then spread them on a baking sheet. Roast at 400°F for 25-30 minutes until they’re fork-tender and slightly caramelized at the edges. This deepens their natural sweetness and adds complexity to the filling.
Let them cool slightly, then mash until completely smooth. You should have about 3 cups of purée. Any lumps will show up in the final pie, so take your time here. Set the purée aside to cool completely before mixing it into the filling—hot potatoes can curdle the eggs.
Step 3: Mix the Spiced Custard Filling
In a large bowl, whisk together the 3 whole large eggs, 0.75 cup granulated sugar, 0.5 cup brown sugar, 1 can evaporated milk, 1.5 tsp ground cinnamon, 0.5 tsp ground nutmeg, 1 tbsp vanilla extract, and remaining ¼ teaspoon salt until fully combined and smooth.
Gradually whisk in the cooled sweet potato purée until no streaks remain. The mixture should be velvety and pourable, like a thick milkshake. If it looks curdled, keep whisking—it’ll come together. Let the filling rest for 10 minutes to allow the flavors to meld.
Step 4: Assemble and Bake the Pie
On a lightly floured surface, roll out the chilled dough to fit a 9-inch pie dish. Transfer it to the dish, trim the edges, and crimp decoratively. Pour the filling into the crust—it should come just below the rim. Bake at 375°F for 50-60 minutes until the center is set with just a slight jiggle.
If the crust starts browning too quickly, cover the edges with foil. The pie is done when a knife inserted in the center comes out clean. Let it cool completely on a wire rack for at least 2 hours—this prevents the filling from cracking as it sets.
Pro Tips For Making Mission Bbq Sweet Potato Pie
- Roast, Don’t Boil: I learned this the hard way—roasting sweet potatoes at 400°F until caramelized brings out a deeper flavor than boiling, which just waters them down. It takes about 45 minutes, but the concentrated sweetness is worth it.
- Brown the Butter: Sounds weird, but it works: browning the unsalted butter before mixing it into the filling adds a nutty depth that pairs perfectly with the brown sugar. Just don’t let it burn—pull it off the heat when it turns golden.
- Skip Cold Ingredients: Make sure your butter, eggs, and even the sweet potato puree are room temperature before mixing. Cold ingredients can cause the filling to curdle or bake unevenly, and nobody wants a lumpy pie.
- Blind Bake the Crust: After burning three batches, I finally figured out that pre-baking the crust for 10 minutes (with pie weights or dried beans) prevents a soggy bottom. It’s the thing that matters most for that perfect flaky base.
Serving Suggestions for This Recipe
Classic Presentation
Serve this pie warm or at room temperature for the best texture. The filling sets beautifully as it cools, so I recommend letting it sit for at least 2 hours before slicing. A dusting of powdered sugar on top adds a simple, elegant finish. 💫
Whipped Toppings
Top each slice with a dollop of homemade whipped cream for a light contrast. I whip 1 cup heavy cream with 2 tbsp powdered sugar and 1 tsp vanilla extract until soft peaks form. The cool cream balances the pie’s warm spices perfectly.
Ice Cream Pairing
A scoop of vanilla bean ice cream alongside a slice turns this into a decadent dessert. The cold ice cream melts slightly against the warm pie, creating a luxurious contrast. I love using Jeni’s Splendid for its rich, creamy texture.
Spiced Garnish
Sprinkle a pinch of ground cinnamon or nutmeg on top before serving to enhance the spice profile. For extra flair, add a few toasted pecans or candied ginger pieces for crunch and depth.
Beverage Pairings
Pair this pie with a cup of hot coffee or spiced chai tea to complement the warm flavors. For a festive touch, serve with a glass of bourbon or whiskey—the caramel notes in the liquor echo the pie’s sweetness. 🍷
Holiday Serving
This pie shines at gatherings. Cut into 8 even slices and serve on a wooden board with a sprig of fresh rosemary for a rustic touch. It’s a crowd-pleaser that feels both comforting and special.
Nutrition Facts

Trained in classic French technique but raised on slow-cooked ribs and spicy rubs, she blends culinary skill with smoke and soul.
- Recipe for Boneless Pork Chops in Cast Iron Skillet: Sear and Baste to Juicy Perfection - October 3, 2026
- Recipe for Boneless Cross Rib Roast: Slow-Roasted Beef with Herb Crust - October 3, 2026
- Hamburgers in Sauce Recipe Crock Pot: Slow-Cooked Savory Delight - October 3, 2026