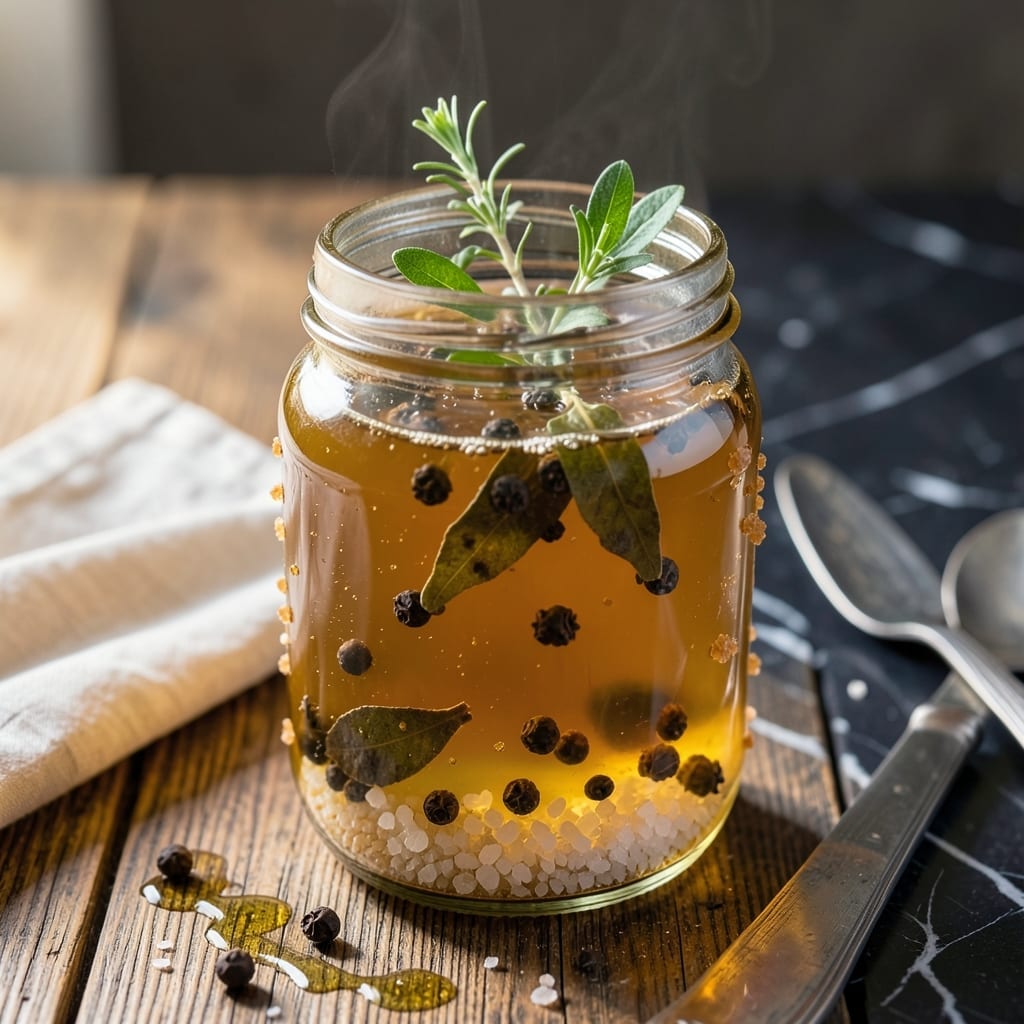
This brine transforms proteins from good to unforgettable. My years of pitmaster experience prove that a proper soak makes all the difference.
Simple ingredients create a juicy result every time, with apple cider vinegar adding the perfect tangy depth to your meats.
Ingredients for Apple Cider Vinegar Brine
Nine simple ingredients for a brine that transforms every cut of meat.
| Ingredient | Amount | Notes |
|---|---|---|
| Apple Cider Vinegar 🍏 | 4 cups | Raw, unfiltered preferred |
| Water 💧 | 4 cups | Filtered or distilled |
| Kosher Salt 🧂 | ½ cup | Diamond Crystal preferred |
| Brown Sugar 🍚 | ½ cup | Light or dark variety |
| Black Peppercorns 🌶️ | 1 tbsp | Lightly crushed |
| Bay Leaves 🌿 | 4 whole | Dried, whole leaves |
| Garlic Cloves 🧄 | 6 cloves | Smashed, unpeeled |
| Yellow Mustard Seeds 🌿 | 1 tbsp | Optional for depth |
| Red Pepper Flakes 🌶️ | ½ tsp | Adjust for heat preference |
[recipe_ingredient_scaler]
The vinegar is the star here. Bragg’s raw apple cider vinegar is my go-to—it’s unfiltered and has that tangy depth we want. Water should be filtered (tap water can have off-flavors that affect the brine). I grab my salt from Costco in bulk—Diamond Crystal is the brand I trust for consistent results (the grains dissolve perfectly).
No apple cider vinegar? White vinegar in a pinch, but it’s sharper—add an extra tablespoon of sugar to balance. Brown sugar can be swapped for white, but the molasses notes in brown really complement the tang. Skip the mustard seeds if you don’t have them, but they add a nice subtle depth. Fresh garlic cloves are non-negotiable—don’t use the jarred stuff.
This brine keeps for 1 week in the fridge (the flavors just get better). I usually make a double batch—use half now, save half for next time. Always store in a non-reactive container (glass or stainless steel).
Why You’ll Love This Recipe
- 5-Minute Mix: I just dump vinegar, water, salt, sugar, and peppercorns in a pot—no chopping, no fuss.
- Tangy Sweet Balance: The brown sugar rounds out the vinegar’s sharpness, and the peppercorns add a subtle bite.
- Brines Anything: I’ve used it for chicken, pork, even veggies—same brine, totally different results every time.
- Pantry Staples Only: Honestly, I always have these ingredients on hand, so it’s a zero-trip-to-the-store kind of recipe.
Step-by-Step Instructions for Apple Cider Vinegar Brine
Here’s the method that transforms ordinary proteins into juicy, flavorful masterpieces every time.
Step 1: Combine Liquids and Sweeteners
In a large pot, pour in all 4 cups Apple Cider Vinegar and 4 cups Water. The raw, unfiltered vinegar adds complexity with its natural cloudiness and sediment. Add the 0.5 cup Kosher Salt—Diamond Crystal is my preferred brand because it dissolves evenly and seasons consistently.
Next, stir in the 0.5 cup Brown Sugar. Light or dark both work, but dark adds a deeper molasses note. Heat over medium-high heat and stir until both the salt and sugar are completely dissolved—you shouldn’t see any grains at the bottom of the pot. This usually takes 3-5 minutes.
Step 2: Toast and Bloom the Spices
Lightly crush the 1 tbsp Black Peppercorns with the flat side of a knife or a mortar and pestle—just enough to crack them open. Add them to the pot along with 4 whole Bay Leaves, 1 tbsp Yellow Mustard Seeds, and 0.5 tsp Red Pepper Flakes.
Reduce the heat to medium and let the mixture simmer for 5 minutes. You’ll start to smell the spices blooming—that’s the aromatic oils releasing into the brine. The mustard seeds will plump slightly, and the red pepper flakes will deepen in color as they infuse the liquid.
Step 3: Add Aromatics and Cool
Add the 6 cloves Garlic Cloves—smashed but left unpeeled. The cloves will impart their flavor through the skin without falling apart, and you can easily remove them later if desired. Stir everything together and let it simmer for another 2-3 minutes.
Remove the pot from heat and let the brine cool to room temperature before using. This step is crucial—adding hot brine to raw meat can start cooking the exterior, leading to uneven texture. The cooling process usually takes 1-2 hours at room temperature, or you can speed it up by placing the pot in an ice bath.
Step 4: Submerge and Brine
Once cooled, transfer the brine to a container large enough to submerge your protein completely. I like to use a large zip-top bag placed in a bowl for stability. Add your meat—whether it’s chicken, pork, or turkey—and ensure it’s fully submerged in the liquid. Squeeze out any air before sealing.
Refrigerate and brine for the recommended time based on your protein: 2-4 hours for chicken pieces, 4-8 hours for whole chickens, or 12-24 hours for larger cuts like pork shoulder. The acid in the vinegar works quickly, so don’t exceed these times or the texture can become mealy.
Pro Tips For Making Apple Cider Vinegar Brine
- Heat the Brine: Bring the mixture to a gentle boil first—this dissolves the brown sugar and salt completely, so you don’t end up with gritty bits clinging to your meat.
- Use Raw Vinegar: Skip the pasteurized stuff; raw, unfiltered apple cider vinegar has the mother strain that actually changes the flavor and texture of what you’re brining.
- Cool Completely: I learned this the hard way—adding meat to hot brine starts cooking it unevenly and gives you a weird, mealy texture on the outside.
- Crush the Peppercorns: Lightly crushing the black peppercorns before adding them releases way more flavor into the brine than leaving them whole.
Troubleshooting Great apple cider vinegar brine
Cloudy Brine Solution
If your finished brine looks cloudy, don’t worry—this is normal with raw apple cider vinegar. The “mother” in unfiltered vinegar creates that natural haze. I actually prefer it this way, as it means you’re getting all those beneficial enzymes. 💡
Too Salty Taste
If you accidentally oversalted your brine, don’t discard it. Simply add more water and apple cider vinegar in equal parts until the saltiness mellows. Remember, Diamond Crystal kosher salt dissolves differently than table salt, so stick to the recipe measurements.
Spice Sediment
Finding undissolved spices at the bottom? That’s the black peppercorns and mustard seeds doing their thing. Just give the brine a stir before using—those whole spices continue infusing flavor even as they settle.
Garlic Overpowering
If the garlic flavor becomes too strong after 12-24 hours, you likely used pre-minced garlic or left it too long. Stick to whole smashed cloves and remove them after 8 hours of brining for a more balanced taste.
Vinegar Too Sharp
When the vinegar taste overpowers, it’s often because you skipped the simmering step. Heating mellows the acidity. If it’s still too tangy, add 1-2 tbsp brown sugar to balance the flavors. I learned this trick at my first local BBQ competition. 🔥
Short Brining Time
In a rush? For chicken pieces, you can brine for just 1 hour in a pinch. Use half the salt in this case, as the shorter time won’t allow for full penetration. Always pat dry before cooking for the best sear.
Nutrition Facts
Frequently Asked Questions
How long can I store the brine?
Store in a non-reactive container in the fridge for up to 1 week. The flavors deepen over time, making it even better for your next batch of proteins.
Can I use this for vegetables?
This works wonderfully for pickling veggies like cucumbers, carrots, or red onions. Reduce brining time to 30 minutes to 2 hours for crisp results.
What if I don’t have raw apple cider vinegar?
Regular apple cider vinegar works fine, though raw adds extra depth. In a pinch, use white vinegar but add an extra 1 tablespoon of sugar to balance the sharper taste.
Why cool the brine before using?
Hot brine starts cooking the meat’s exterior, leading to uneven texture. Always cool to room temperature first to ensure even flavor absorption.

Trained in classic French technique but raised on slow-cooked ribs and spicy rubs, she blends culinary skill with smoke and soul.
- Recipe for Oven Baked Halibut: Buttery White Fish with Zesty Lemon Topping - October 3, 2026
- Meatball Curry Recipe Kerala Style: Coconut-Spiced Gravy With Tender Bites - October 3, 2026
- Recipe for Curried Tofu: Aromatic Spices With Crispy Edges - October 3, 2026