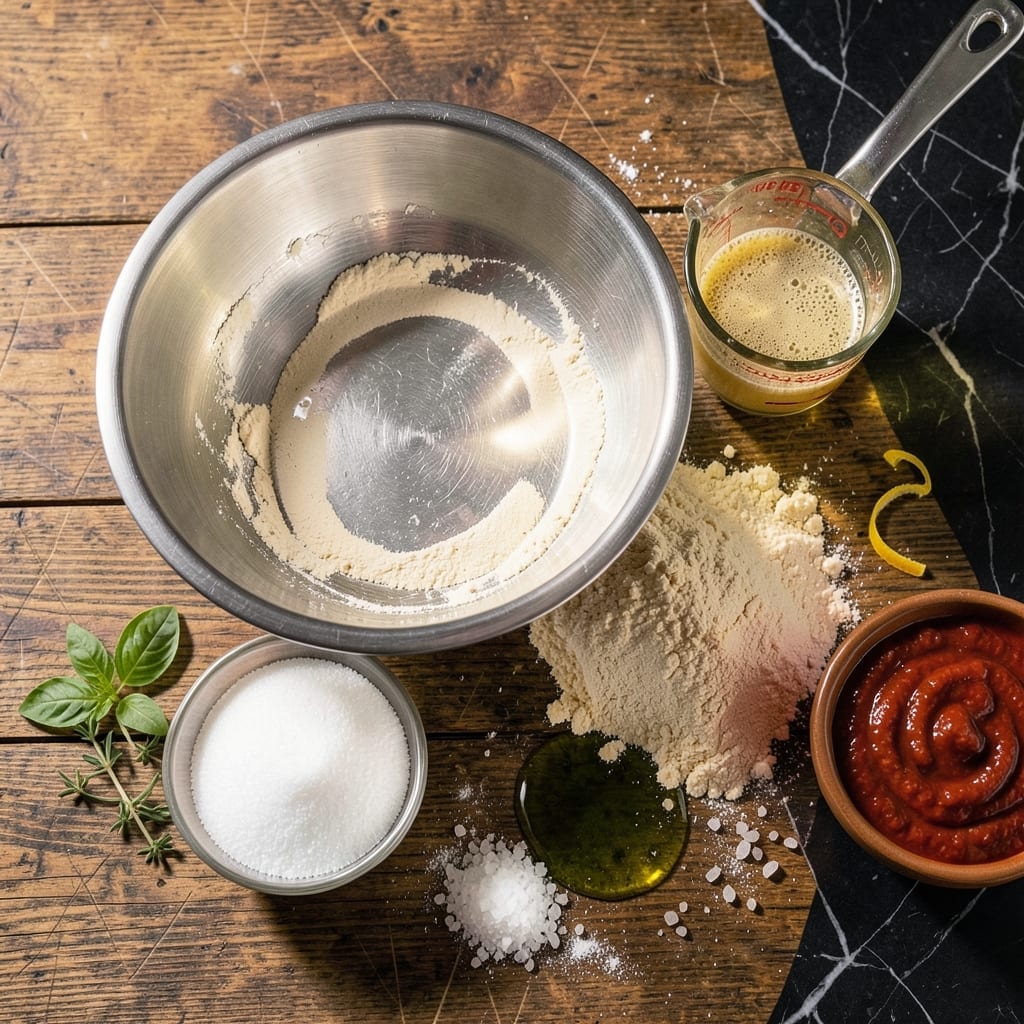
This pizza dough delivers chewy texture with a subtle smoky depth from the grill. I developed it for outdoor cooking, where the flame adds that extra layer of complexity.
With a slow fermentation, it builds flavor overnight. The result is a crust that holds up to bold toppings while keeping that perfectly tender bite.
Ingredients for Atbbq Pizza Dough
Nine ingredients for that smoky, chewy grill-perfect crust we all crave.
| Ingredient | Amount | Notes |
|---|---|---|
| Bread Flour 🌾 | 3 ½ cups | High-protein for chewiness |
| Active Dry Yeast 🍞 | 1 tsp | Instant yeast works too |
| Granulated Sugar 🍚 | 1 tsp | Feeds the yeast activation |
| Kosher Salt 🧂 | 1 ½ tsp | Diamond Crystal preferred |
| Olive Oil 🫒 | 2 tbsp | Extra-virgin for flavor depth |
| Lukewarm Water 💧 | 1 ¼ cups | 110-115°F for yeast |
| Cornmeal 🌽 | ¼ cup | For dusting grill surface |
| Smoked Paprika 🌶️ | ½ tsp | Optional for extra smokiness |
| Garlic Powder 🧄 | ½ tsp | Enhances savory notes |
| Dried Oregano 🍃 | ½ tsp | Italian seasoning alternative |
[recipe_ingredient_scaler]
The flour is non-negotiable here—bread flour gives you that elastic chew. King Arthur is my go-to (the red bag), but any high-protein brand works. Yeast freshness matters: check the expiration date and store it in the freezer if you won’t use it within 6 months. The olive oil should be something you’d actually eat—no old, bitter stuff from the back of the cabinet.
No bread flour? All-purpose plus 1 tbsp vital wheat gluten per cup gets close. Swap sugar for honey (one-for-one) if that’s what you’ve got. The smoked paprika is optional but highly recommended for that grill-kissed flavor. If you’re out of cornmeal, semolina or extra flour works for dusting (just don’t skip it—prevents sticking).
The dough ferments best overnight in the fridge (12-24 hours), but room temp works in a pinch (1-2 hours). Keeps in the fridge for 3 days or freeze for 1 month in an airtight bag. Let it come to room temp before shaping.
Why You’ll Love This Recipe
- No-Fuss Mixing: I toss the bread flour, yeast, sugar, salt, and olive oil in a bowl, let it rise, and boom—dough’s ready with barely any effort.
- Crispy Chewy Perfection: That olive oil in the dough gives it the most satisfying crisp edges with a soft, airy center every single time.
- Endless Topping Potential: Honestly, this dough handles anything from a classic margherita to loaded BBQ chicken without falling apart.
- Pocketbook Friendly: A bag of bread flour and a few pantry staples make enough dough for two pizzas—way cheaper than takeout.
Step-by-Step Instructions for ATBBQ Pizza Dough
Here’s the method for achieving that perfect chewy texture with grill-ready flavor.
Step 1: Activate the Yeast and Mix Dry Ingredients
In a small bowl, whisk together the 1.25 cups lukewarm water, 1 tsp active dry yeast, and 1 tsp granulated sugar. Let this sit for 5-10 minutes until the mixture becomes foamy and cloudy—this confirms your yeast is active and ready to work.
While that sits, combine the 3.5 cups bread flour, 1.5 tsp kosher salt, 0.5 tsp smoked paprika, 0.5 tsp garlic powder, and 0.5 tsp dried oregano in a large mixing bowl. Whisk these dry ingredients until evenly distributed. The spices add subtle depth that’ll shine through when grilled.
Step 2: Combine Wet and Dry for a Shaggy Dough
Once your yeast is activated, pour the mixture into the bowl with your dry ingredients. Add the 2 tbsp olive oil. Using a wooden spoon or dough whisk, mix until you’ve formed a shaggy dough that pulls away from the sides of the bowl.
This initial mixing doesn’t need to be perfect—you’re just getting everything incorporated. The dough will look rough and uneven, which is exactly what you want at this stage. Don’t be tempted to add more flour; the high-protein bread flour will absorb the liquid as it rests.
Step 3: Knead Until Smooth and Elastic
Turn the dough out onto a lightly floured surface. Knead for 8-10 minutes by hand, pushing the dough away with the heel of your hand and folding it back over itself repeatedly. The dough will be slightly sticky at first but will become smooth as you work it.
You’ll know it’s ready when the dough passes the windowpane test: stretch a small piece between your fingers and it should be thin enough to see light through without tearing. This gluten development is what gives your crust that perfect chew. The dough should be soft but not sticky at this point.
Step 4: First Rise Until Doubled
Place the kneaded dough in a lightly oiled bowl, turning once to coat all sides. Cover with a damp towel or plastic wrap. Let it rise in a warm place for 1-2 hours, or until doubled in size.
I like to preheat my oven to 100°F for 10 minutes, then turn it off and place the bowl inside for the perfect rising environment. The dough is ready when it’s puffy and an indent made with your finger springs back slowly.
Step 5: Shape, Dust with Cornmeal, and Prepare for Grilling
Punch down the risen dough to release the air. Turn it out onto a surface dusted with 0.25 cup cornmeal. Divide into portions based on your preferred pizza size—this recipe makes enough for four 12-inch pizzas.
Shape each portion into a ball, then roll or stretch into your desired thickness. The cornmeal not only prevents sticking but adds a subtle crunch and helps create that authentic grill texture. Let the shaped dough rest for 15 minutes before grilling to relax the gluten for easier stretching.
Pro Tips For Making Atbbq Pizza Dough
- Warm Your Water: Use 110°F water for the yeast—any hotter kills it, any cooler slows activation. I learned this the hard way after a few doughs that never rose.
- Measure Flour Right: Spoon bread flour into your measuring cup and level it off—scooping directly packs it down and makes dense dough. About 22-23 oz per 5 cups works for this recipe.
- Skip Cold Proofing: Let the dough rise in a warm spot (like a turned-off oven with the light on) for 1-2 hours. Cold proofing overnight actually changes the outcome, and not always for better texture here.
- Oil the Bowl: Coat the rising bowl with about 1 tbsp olive oil before adding dough—this prevents sticking and makes punching down easier. Sounds simple, but it saves a mess every time.
Make-Ahead Tips for atbbq pizza dough
Overnight Fermentation
After kneading, place the dough in an oiled bowl, cover tightly, and refrigerate for 12-24 hours. This slow fermentation develops complex flavors that make your crust taste like it came from a wood-fired oven. I always notice the difference when I skip this step. 💪
Room Temperature Rise
If you’re short on time, let the dough rise at room temperature for 1-2 hours until doubled. I preheat my oven to 100°F for 10 minutes, then turn it off and place the bowl inside for a warm, draft-free environment.
Portion and Pre-Shape
Divide the risen dough into 4 equal portions (about 7 oz each) for 12-inch pizzas. Shape each into a tight ball, place on a floured tray, and cover with a damp towel. This makes final shaping easier later.
Freezer Storage
For longer storage, wrap individual dough balls in plastic wrap, then place in a freezer bag for up to 1 month. Thaw overnight in the fridge before using. I always label with the date to keep track.
Day-Of Prep
Bring refrigerated dough to room temperature 1-2 hours before grilling. This relaxes the gluten, making it easier to stretch without tearing. Dust your surface with cornmeal to prevent sticking and add texture. ⏰
Par-Baking Option
For extra insurance against soggy crust, par-bake the dough on the grill for 1-2 minutes per side before adding toppings. This creates a sturdy base that can handle heavy BBQ toppings without getting limp.
Nutrition Facts

Trained in classic French technique but raised on slow-cooked ribs and spicy rubs, she blends culinary skill with smoke and soul.
- Recipe for Boneless Pork Chops in Cast Iron Skillet: Sear and Baste to Juicy Perfection - October 3, 2026
- Recipe for Boneless Cross Rib Roast: Slow-Roasted Beef with Herb Crust - October 3, 2026
- Hamburgers in Sauce Recipe Crock Pot: Slow-Cooked Savory Delight - October 3, 2026