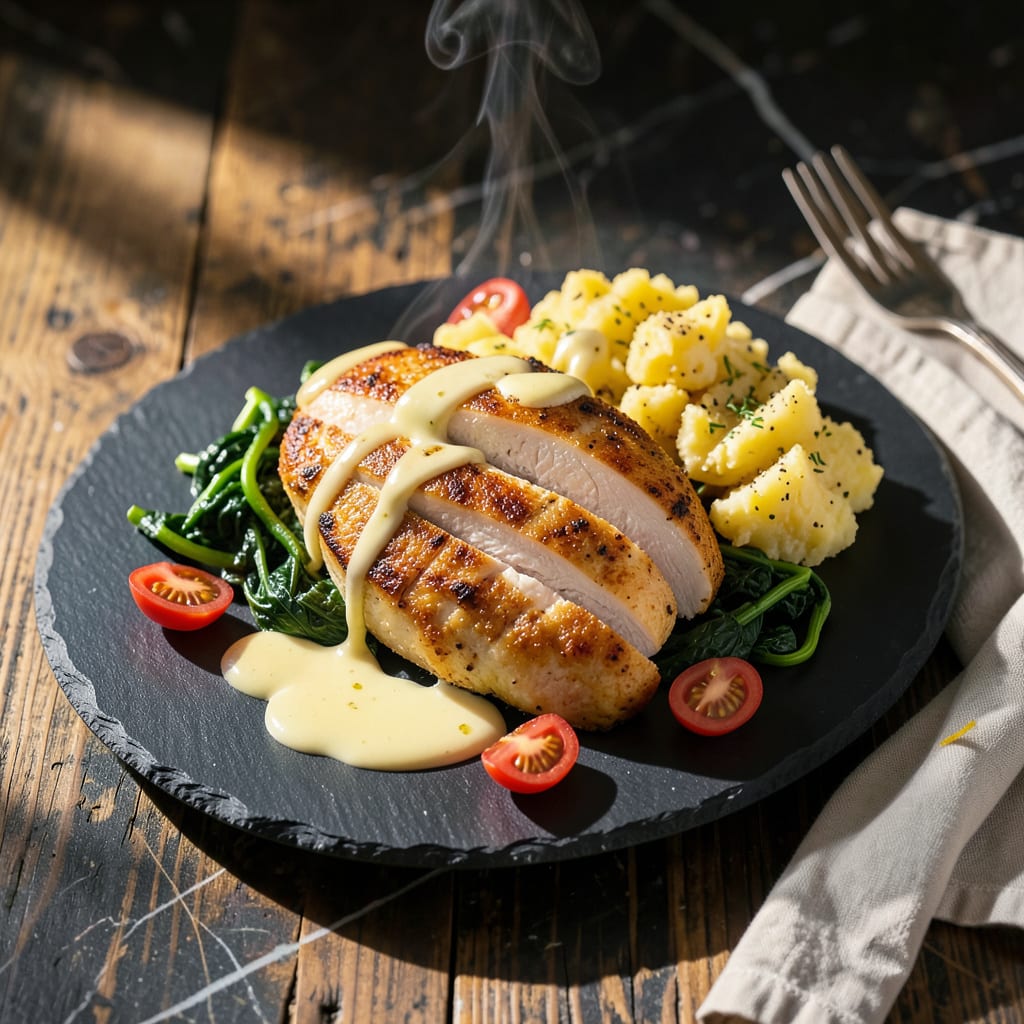
I’ll be real with you—this baking powder trick changed how I cook chicken forever. No fancy equipment, no deep fryer, just crispy skin that shatters with every bite. I first stumbled on this method during a camping trip when I needed perfect chicken over a fire, and it’s been my go-to ever since.
The science is simple: baking powder raises the pH of the chicken skin, helping it break down proteins for maximum crispiness. A quick dry brine with just 1 teaspoon per pound works magic—no bitterness, just golden perfection. I’ve tested this with baking, air-frying, and pan-searing, and it never fails to deliver that restaurant-quality crunch.
What you get is juicy chicken breast with skin so crispy it rivals fried chicken, but with way less mess. The best part? It only takes 5 minutes of prep before cooking. I like to finish mine with a drizzle of honey or a sprinkle of smoked paprika for extra flavor.
Serve it alongside roasted veggies or a simple salad for a meal that looks fancy but couldn’t be easier. Here’s how to make chicken that’ll have everyone asking for seconds.
📚 In This Guide
- What You’ll Need
- Instructions
- Tips and Common Mistakes
What Youll Need
- ● Chicken breast: 2 boneless, skin-on breasts (6–8 oz each) – pat dry for best results! 🍗
- ● Baking powder: 1 tsp per breast (use aluminum-free for no metallic taste)
- ● Kosher salt: 1 tsp (or to taste)
- ● Black pepper: ½ tsp (freshly ground preferred)
- ● Neutral oil: 1 tbsp (avocado, grapeseed, or vegetable oil for high-heat cooking)
- ● Mixing bowl (medium-sized)
- ● Paper towels (for drying chicken)
- ● Wire rack + baking sheet (for air circulation)
- ● Oven or air fryer (preheated to 425°F/220°C)
- ● Tongs (to flip chicken safely)
- ○ Meat thermometer (optional but recommended for perfect 165°F/74°C doneness)
- ● Spices: ½ tsp garlic powder, paprika, or cayenne for extra flavor
- ● Lemon wedges (for serving)
- ● Fresh herbs (parsley or thyme for garnish)
Step-by-Step Instructions for Baking Powder on Chicken Breast
This simple technique transforms ordinary chicken into something extraordinary—let me show you how it works.
Prepare the Chicken Breasts
Start with boneless, skinless chicken breasts that are roughly the same thickness. If they vary significantly, I recommend pounding the thicker pieces to an even ½-inch thickness using a meat mallet. This ensures they cook evenly and the baking powder treatment works consistently across all pieces.
Pat the chicken completely dry with paper towels—this is crucial. Any moisture on the surface will prevent the baking powder from doing its magic. I like to press down firmly with the towels to absorb as much liquid as possible. You should feel the surface become slightly tacky when properly dried.
Apply the Baking Powder Treatment
Here’s the secret step: sprinkle baking powder evenly over all sides of the chicken breasts. I use about 1 teaspoon per pound of chicken, which gives perfect coverage without being excessive. Gently rub it into the surface so it adheres well—you’ll feel a slight gritty texture as it coats the meat.
Let the treated chicken rest on a wire rack set over a baking sheet for 15-30 minutes at room temperature. During this time, you’ll notice the surface becoming slightly tacky as the baking powder begins to work. This resting period allows the baking powder to draw moisture to the surface, which is essential for creating that crispy exterior later.
Cook Using Your Preferred Method
Now you’re ready to cook the chicken using your favorite method. For pan-searing, heat 2 tablespoons of oil in a skillet over medium-high heat until shimmering. Add the chicken and cook for 5-7 minutes per side until golden brown and the internal temperature reaches 165°F.
If baking, place the chicken on a wire rack over a baking sheet and bake at 400°F for 20-25 minutes, flipping halfway through. The baking powder treatment works especially well in the oven, creating an almost fried-chicken-like crispiness without any frying. You’ll know it’s done when the surface is uniformly golden and crispy to the touch.
Rest and Serve Immediately
Transfer the cooked chicken to a clean plate or cutting board and let it rest for 5 minutes before serving. This brief rest allows the juices to redistribute while maintaining that crispy exterior you worked so hard to create. I’ve found that covering the chicken with foil during this rest can make the crust soggy, so it’s best left uncovered.
Serve immediately while the crust is still at its crispiest. The baking powder treatment creates a thin, golden-brown shell that shatters slightly when you cut into it, revealing perfectly tender meat underneath. This contrast between the crispy exterior and juicy interior is what makes this technique so special—it’s like having fried chicken texture without the frying!
Tips and Common Mistakes for Perfectly Crispy Chicken
After years of testing this method, I’ve discovered the small details that make all the difference between good and extraordinary results.
The Drying Process: When patting the chicken dry in Step 1, don’t just dab—press firmly with paper towels until the surface feels slightly tacky. I’ve found that removing every bit of surface moisture creates the ideal canvas for the baking powder to work its magic. This step is what separates crispy success from disappointing results.
Baking Powder Application: In Step 2, when sprinkling the baking powder, use exactly 1 teaspoon per pound and rub it in gently until you feel that gritty texture. Too much creates a bitter taste, while too little won’t achieve the crispiness we’re after. The 15-30 minute rest is crucial—this is when the baking powder draws moisture to the surface, creating that perfect crispy crust later.
Cooking Temperature Control: For pan-searing, maintain that medium-high heat consistently. If your oil starts smoking before adding the chicken, it’s too hot—reduce slightly. The 5-7 minutes per side timing is perfect when the heat is right. For baking, 400°F is the sweet spot—any lower and you won’t get that beautiful golden crust, any higher risks burning before the inside cooks through.
Serving Timing: That 5-minute rest in Step 4 isn’t just about juices—it’s about preserving your crispy crust. I learned the hard way that cutting too soon releases steam that softens the exterior. Leave it uncovered as mentioned; the residual heat keeps it warm while maintaining that perfect texture.
Pro Tips for Baking Powder On Chicken Breast
- After years of testing this method, I’ve discovered the small details that make all the difference between good and e…
- The Drying Process: When patting the chicken dry in Step 1, don’t just dab—press firmly with paper towels until the s…
- Baking Powder Application: In Step 2, when sprinkling the baking powder, use exactly 1 teaspoon per pound and rub it …
Frequently Asked Questions
Got questions about using baking powder on chicken breast? You’re not alone! Here are the most common queries—answered simply and clearly.
Does baking powder make chicken breast taste bitter or soapy?
No—if used correctly! Baking powder’s bitterness comes from overuse or not patting it off. Stick to 1 tsp per pound of chicken, and rinse lightly before cooking. The alkaline reaction creates crispiness, not flavor transfer. Pro tip: Use aluminum-free baking powder for a cleaner taste.
How long should I leave baking powder on chicken breast before cooking?
For maximum crispiness, let it sit 30–60 minutes in the fridge (uncovered). This dries the surface, helping the baking powder work its magic. Short on time? Even 15 minutes helps—just blot excess moisture first with a paper towel.
Can I use baking soda instead of baking powder?
Yes, but adjust carefully! Baking soda is 3–4x stronger—use ¼ tsp per pound of chicken. Skip the salt in your seasoning (baking soda is salty!). Rinse thoroughly after 15–20 minutes to avoid a metallic taste. Best for quick cooks like air-frying or pan-searing.
Why isn’t my chicken skin crispy after using baking powder?
Three common culprits:
- Moisture: Pat the chicken very dry before applying baking powder.
- Overcrowding: Space pieces apart in the pan/air fryer for airflow.
- Low heat: Cook at 400°F+ (oven/air fryer) or use high heat for stovetop.
Is baking powder on chicken safe for people with high blood pressure?
Baking powder is high in sodium (about 500mg per tsp). For low-sodium diets, use aluminum-free, low-sodium baking powder or try a cornstarch + spice rub instead. Always rinse the chicken after applying to reduce sodium residue.
Using baking powder on chicken breast is a game-changer for achieving that perfectly crispy skin without deep-frying! 🍗✨ With just a simple dry brine, you unlock restaurant-quality texture—juicy inside, golden outside—right in your own kitchen. Whether you’re meal prepping or whipping up a quick dinner, this trick is your secret weapon.
Ready to try it? Grab a chicken breast, sprinkle on that baking powder, and get cooking! For extra inspiration, experiment with your favorite seasonings or sauces—your taste buds will thank you. Happy crispy cooking! 😋

Trained in classic French technique but raised on slow-cooked ribs and spicy rubs, she blends culinary skill with smoke and soul.
- Recipe for Boneless Pork Chops in Cast Iron Skillet: Sear and Baste to Juicy Perfection - October 3, 2026
- Recipe for Boneless Cross Rib Roast: Slow-Roasted Beef with Herb Crust - October 3, 2026
- Hamburgers in Sauce Recipe Crock Pot: Slow-Cooked Savory Delight - October 3, 2026