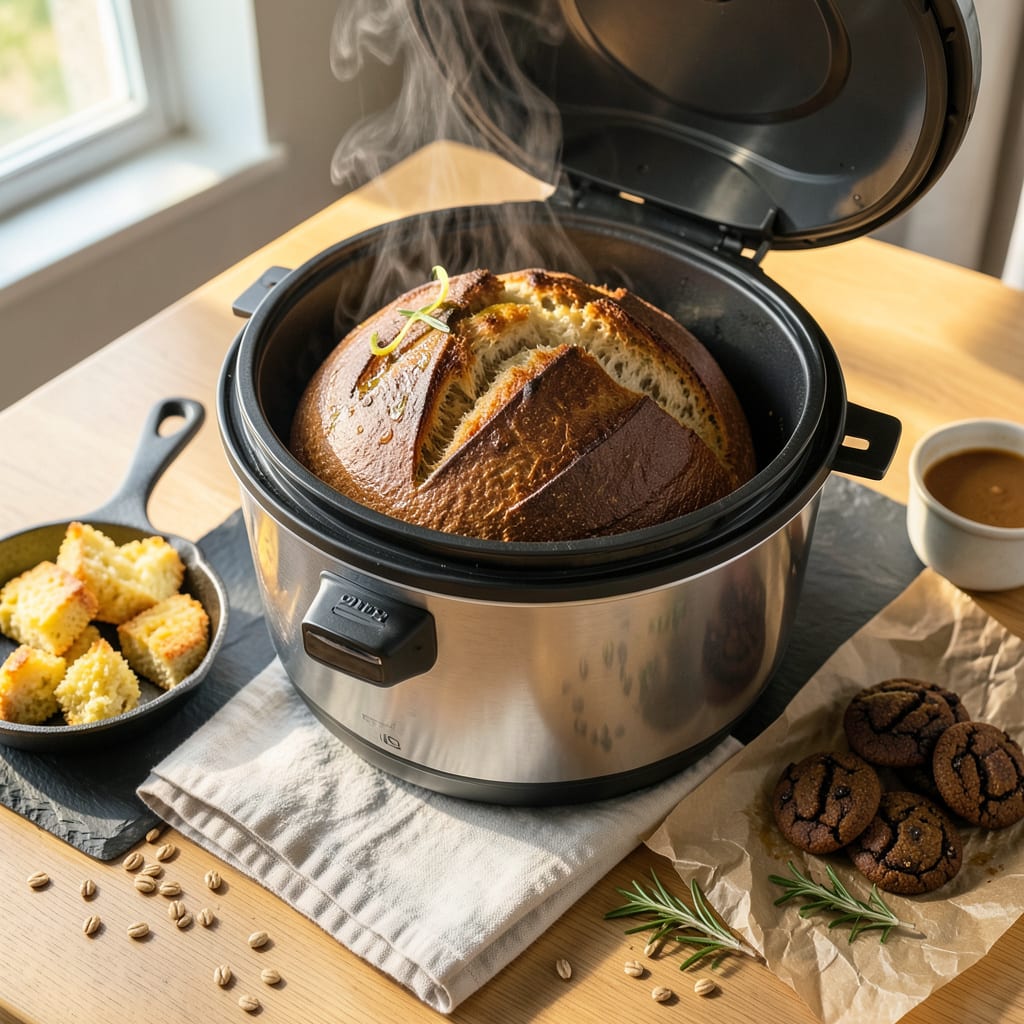
I’ll be real with you—some of my best baking happened when I didn’t have an oven. Whether you’re in a tiny apartment, camping, or just avoiding heating up the kitchen, baking without an oven isn’t just possible—it’s actually kind of fun. I’ve made everything from cakes to bread using just a stovetop, slow cooker, and even my trusty air fryer.
The key is understanding how different heat sources work. A Dutch oven on the stovetop can mimic an oven’s even heat, while an air fryer gives you that perfect golden crust. I’ve burned through my fair share of experiments (literally), but these methods actually deliver perfect results without fancy equipment.
What you’ll discover is that alternative baking isn’t about compromise—it’s about creativity. The texture might be slightly different, but the flavor? Just as good. I’ve served stovetop cakes that had people asking for seconds, and air fryer cookies that disappeared before they cooled.
From mug cakes to grilled flatbreads, these techniques will change how you think about baking. No oven? No problem. Let’s get started with the methods that actually work.
📚 In This Guide
- What You’ll Need
- Instructions
- Tips and Common Mistakes
What Youll Need
- ● Essential Tools: 1 large, heavy-bottomed pot or Dutch oven (5-6 quarts, with lid) for stovetop baking.
- ● 1 heat-safe mixing bowl (stainless steel or glass, 2+ quarts) for steaming or microwave methods.
- ● 1 steamer basket or rack (fits inside your pot) to elevate baked goods.
- ● Parchment paper or aluminum foil (cut to fit your pot/bowl) to prevent sticking.
- ● 1 whisk or spatula for mixing batters.
- ● Heat Sources: 1 stovetop (gas, electric, or induction) for pot/pan methods.
- ● 1 microwave (800W+) for quick mug cakes or small batches.
- ○ Optional: 1 slow cooker (4+ quarts) for hands-off baking.
- ● Ingredients & Extras: All-purpose flour (2-3 cups, depending on recipe).
- ● Baking powder/soda (check recipe for quantities).
- ● Salt, sugar, and fats (butter/oil) as needed.
- ○ Optional: silicone molds (microwave-safe) for shaped treats.
Instructions for Baking Without an Oven
You’re about to discover how simple it is to achieve perfect baked goods without ever turning on an oven!
Master the Stovetop Pressure Cooker Method
Start by selecting a heavy-bottomed pressure cooker that’s at least twice the size of your baking pan. I love this method because it creates a perfectly controlled, steam-infused environment that mimics an oven’s even heat distribution.
Place a trivet or steamer rack at the bottom of the cooker and add 1-2 cups of water—enough to create steam but not so much that it touches your baking pan. The water should never exceed the halfway mark of your cooker. Bring it to a rolling boil over medium-high heat before carefully placing your prepared batter in the pan inside.
Cover with the lid (no whistle needed) and reduce heat to medium-low. The gentle, consistent steam will work its magic! For cakes, this typically takes 40-50 minutes—you’ll know it’s done when a toothpick inserted in the center comes out clean with just a few moist crumbs.
Perfect the Dutch Oven Technique
This is my go-to method for breads and hearty baked goods. Preheat your Dutch oven (with lid) over medium heat for 5 minutes—this creates that initial burst of heat similar to an oven’s preheat. The heavy cast iron retains and distributes heat beautifully.
While it heats, prepare your batter in a heat-safe dish that fits comfortably inside. I always use parchment paper to line my baking vessel—it makes removal effortless and prevents sticking. Once preheated, carefully place your batter inside, cover with the lid, and reduce heat to low.
Here’s the secret: resist peeking! The trapped heat and steam create the perfect baking environment. For quick breads, bake for 30-40 minutes until the top springs back when gently pressed. The crust will develop a beautiful golden color, and the aroma will tell you when it’s perfectly done.
Utilize the Slow Cooker for Moist Bakes
Your slow cooker isn’t just for stews—it’s a baking powerhouse! Line the insert with parchment paper, leaving overhang on the sides for easy removal. I recommend using a rack or crumpled foil at the bottom to elevate your baking pan slightly—this prevents the bottom from getting soggy.
Pour your batter into a heat-safe pan that fits inside your slow cooker, leaving at least 1-inch clearance on all sides. Cover with the lid and cook on high for 2-3 hours, depending on what you’re making. The key is to check for doneness starting at the 2-hour mark—every slow cooker runs differently!
For cakes, you’re looking for the edges to pull away slightly from the pan and a toothpick to come out with just a few moist crumbs. The texture will be wonderfully moist—almost pudding-like in some cases. This method excels with dense baked goods like brownies, quick breads, and even some cakes.
Create a DIY Solar Oven for Sun-Baked Treats
On a sunny day (at least 85°F outside), you can harness the sun’s power! Line a large cardboard box with aluminum foil, shiny side out, creating a reflective interior. Place a wire rack inside and set your baking pan on top. Cover with plastic wrap to trap heat.
Position the box in direct sunlight, angling it to maximize sun exposure. I like to use a small thermometer inside to monitor the temperature—you’re aiming for 250-300°F. This takes some patience, as baking times can vary from 1-3 hours depending on the sun’s intensity.
Check your creation periodically, rotating the box to follow the sun. You’ll be amazed at how well this works for cookies, muffins, and even small cakes! The gentle, even heat produces uniquely tender results with a subtle caramelized flavor that’s hard to achieve any other way.
Master the Air Fryer for Quick Bakes
Your air fryer isn’t just for frying—it’s a mini convection oven! Preheat it to 320°F for 5 minutes before adding your batter in a heat-safe pan that fits inside. The powerful circulating air creates a perfect baking environment with crispy edges and moist centers.
I’ve found that most recipes need about 25-30% less time than traditional oven baking. Start checking for doneness at the 15-minute mark—you’re looking for golden brown edges and a firm center. The air fryer excels with small batches of cookies, muffins, and even personal-sized cakes.
For best results, don’t overfill the basket—leave at least ½-inch space around your baking pan for proper air circulation. The rapid hot air movement creates a beautifully browned exterior while keeping the interior perfectly moist. It’s my favorite method when I need baked goods in a hurry!
Tips and Common Mistakes for Perfect Baking Without an Oven
These game-changing insights will help you master each method with confidence and avoid the pitfalls I discovered through trial and error.
Steam Control in Step 1: The 1-2 cups of water in your pressure cooker makes all the difference! Too little water means insufficient steam and dry results, while too much can create a soggy bottom. I’ve found that exactly 1.5 cups works perfectly for most 6-quart cookers. Monitor the water level during the 40-50 minute baking time – if it evaporates too quickly, your heat is too high.
Dutch Oven Secret from Step 2: That 5-minute preheat over medium heat is non-negotiable! I learned the hard way that skipping this step leads to uneven baking. The cast iron needs time to build up that initial heat burst. When you reduce to low for the 30-40 minute bake, the retained heat does the work. Resist the urge to peek – every time you lift that lid, you lose precious heat and steam that’s baking your creation.
Slow Cooker Precision in Step 3: The 1-inch clearance around your baking pan isn’t just a suggestion – it’s critical for even cooking. I use crumpled foil balls to create a perfect elevation system. Start checking at the 2-hour mark, but remember that dense batters like banana bread may need the full 3 hours. The texture should be moist but not wet in the center when done.
Air Fryer Technique in Step 5: When baking at 320°F, the 15-minute check point is your best friend. Air fryers vary wildly in their actual temperatures. I’ve found that rotating my pan halfway through ensures even browning. Leave that ½-inch space around your pan – proper air circulation prevents the dreaded soggy bottom while creating that perfect crispy edge we all love.
Pro Tips for Baking Without Oven
- These game-changing insights will help you master each method with confidence and avoid the pitfalls I discovered thr…
- Steam Control in Step 1: The 1-2 cups of water in your pressure cooker makes all the difference! Too little water mea…
- Dutch Oven Secret from Step 2: That 5-minute preheat over medium heat is non-negotiable! I learned the hard way that …
Frequently Asked Questions
Got questions about baking without an oven? You’re not alone! Here are the most common concerns—and quick answers—to help you bake like a pro, no oven required.
Can I bake a cake without an oven using a stovetop?
Absolutely! A heavy-bottomed pot or pan works as a makeshift oven. Place a heatproof stand (or a small bowl) inside, cover with a lid, and bake on low to medium heat (around 300°F/150°C). Preheat for 10 minutes, then bake your cake batter in a greased pan inside the pot. Check doneness with a toothpick!
How long does it take to bake cookies in a toaster oven vs. a regular oven?
Toaster ovens bake faster due to concentrated heat! Cookies typically take 8–12 minutes at 350°F (175°C)—about 2–4 minutes less than a conventional oven. Watch closely after 6 minutes to avoid burning, and rotate the tray halfway for even browning.
What’s the best alternative to an oven for baking bread?
A Dutch oven on the stovetop is your best bet! Preheat it empty for 10 minutes, then add your dough (in a heatproof dish) and cover. Bake on low heat for 30–40 minutes, adding a splash of water inside the pot for crusty bread. A slow cooker also works on the “high” setting for 2 hours.
Why does my cake turn out dense or gummy when baking without an oven?
Uneven heat is usually the culprit! To fix this:
- Use a thick-bottomed pot to distribute heat evenly.
- Avoid peeking—steam escape causes temperature drops.
- Bake on low heat and extend time by 5–10 minutes.
- Ensure your leavening agents (baking powder/soda) are fresh!
Can I use a microwave to bake brownies or muffins?
Yes, but texture differs! Microwaves cook with moisture, so results are softer (more pudding-like). Use a microwave-safe dish, cook in 1-minute bursts on medium power, and let rest 5 minutes. For firmer results, finish with 2–3 minutes in a toaster oven or air fryer.
Who knew you could whip up delicious baked goods without an oven? 🎉 From stovetop magic to air fryer hacks, these methods prove that creativity—and a little patience—are all you need. Whether you’re making moist cakes in a pressure cooker or crispy cookies in a pan, the possibilities are endless!
Ready to put these tricks to the test? Pick one method, gather your ingredients, and start baking today. Your taste buds (and maybe your impressed friends) will thank you! 😉

Trained in classic French technique but raised on slow-cooked ribs and spicy rubs, she blends culinary skill with smoke and soul.
- Recipe for Boneless Pork Chops in Cast Iron Skillet: Sear and Baste to Juicy Perfection - October 3, 2026
- Recipe for Boneless Cross Rib Roast: Slow-Roasted Beef with Herb Crust - October 3, 2026
- Hamburgers in Sauce Recipe Crock Pot: Slow-Cooked Savory Delight - October 3, 2026