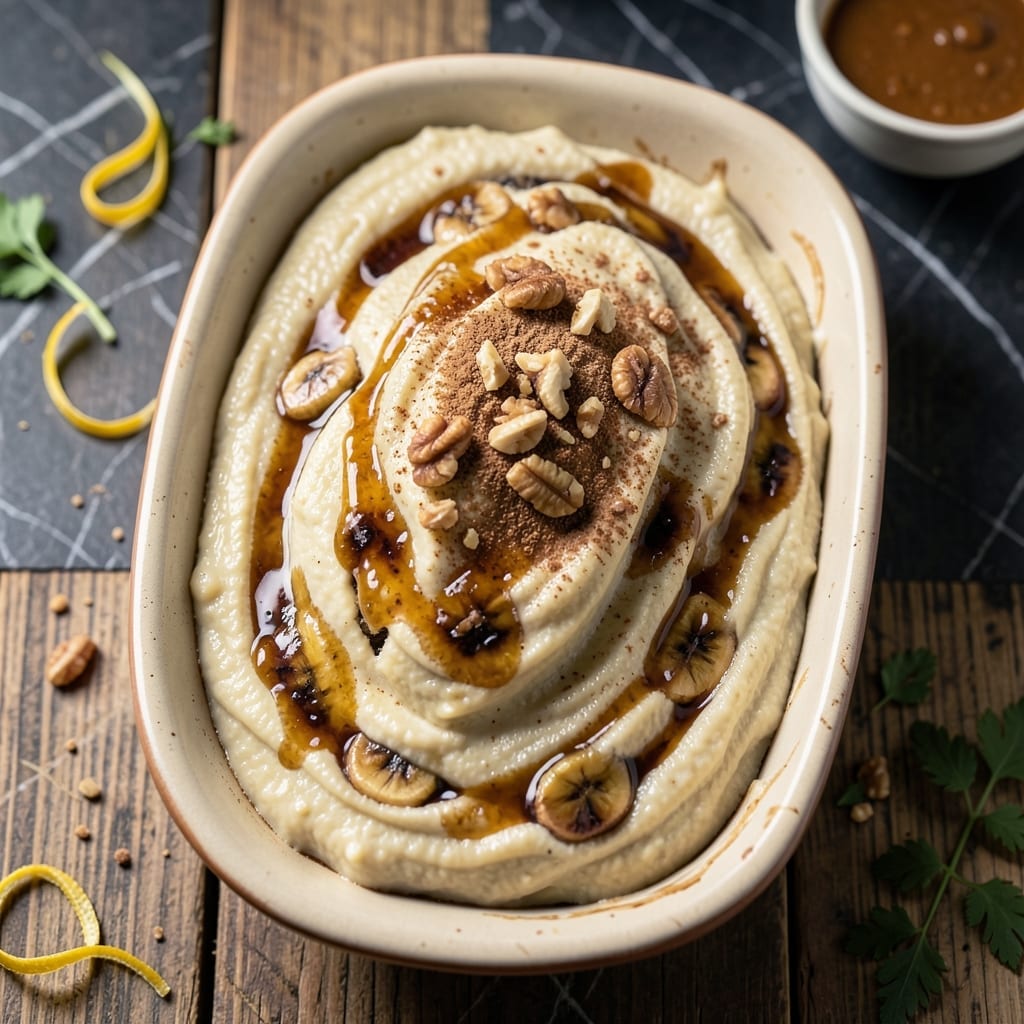
This naturally sweetened loaf uses maple syrup to create a moist texture that stays tender for days.
With ripe bananas and pure maple syrup, this recipe delivers classic flavor with a healthier twist.
Ingredients for Banana Bread Recipe Maple Syrup
Ripe bananas and pure maple syrup create this moist, naturally sweetened loaf with classic flavor.
| Ingredient | Amount | Notes |
|---|---|---|
| Ripe Bananas 🍌 | 3 whole | Very ripe, heavily speckled |
| Pure Maple Syrup 🍁 | ¾ cup | Grade A or B, room temperature |
| All-Purpose Flour 🌾 | 2 cups | Sifted for even texture |
| Baking Soda 🧂 | 1 tsp | Ensures proper rise |
| Baking Powder 🧂 | ½ tsp | For added lift |
| Sea Salt 🧂 | ½ tsp | Fine grain preferred |
| Ground Cinnamon 🌿 | 1 tsp | Ceylon or cassia variety |
| Vanilla Extract 🌿 | 1 tsp | Pure, not imitation |
| Large Eggs 🥚 | 2 whole | Room temperature, lightly beaten |
| Unsalted Butter 🧈 | ½ cup | Melted and cooled slightly |
| Greek Yogurt 🥛 | ½ cup | Full-fat for moisture |
| Chopped Walnuts 🥜 | ½ cup | Lightly toasted, optional |
[recipe_ingredient_scaler]
The bananas are critical here—look for deeply speckled, nearly black skins for maximum sweetness and moisture. Whole Foods or local farmers markets often have the best selection. Use Grade A or B maple syrup; darker grades have a more robust flavor that complements the bananas beautifully. For the flour, King Arthur is a reliable brand for consistent results.
No ripe bananas? Freeze overripe ones for future use—they thaw perfectly soft. Swap walnuts for pecans or chocolate chips if preferred. For a dairy-free version, use coconut oil instead of butter and a plant-based yogurt. The cinnamon can be adjusted—add up to an additional teaspoon for a stronger spice presence.
Store the loaf wrapped in plastic at room temperature for 2-3 days, or refrigerate for up to 1 week. For longer storage, slice and freeze individual portions for up to 3 months. Always bring to room temperature before serving for the best texture.
Why You’ll Love This Recipe
- I’ll be real: it tastes even better the next day, and it keeps for days on the counter.
- One Bowl Wonder: I love that I can mix everything in a single bowl—mashed bananas, maple syrup, and dry ingredients—no fancy tools needed.
- Sweet Simplicity: The maple syrup adds this deep, caramel-like sweetness that makes the banana flavor pop in every bite.
- Breakfast or Dessert: Honestly, it’s just as good toasted for breakfast as it is warm with ice cream after dinner.
Step-by-Step Instructions for Banana Bread with Maple Syrup
Here’s my tested method for achieving that ideal moist crumb with natural sweetness.
Step 1: Prepare Wet Ingredients and Mash Bananas
In a large mixing bowl, mash the 3 whole Ripe Bananas until mostly smooth with a few small lumps remaining. I use a potato masher for this—it gives you better control than a fork. The bananas should be very ripe with plenty of brown speckles for maximum natural sweetness and moisture.
Whisk in the 0.75 cup Pure Maple Syrup, 0.5 cup Unsalted Butter (melted and cooled), 2 whole Large Eggs, 0.5 cup Greek Yogurt, and 1 tsp Vanilla Extract. The mixture should be smooth and well combined. The Greek yogurt adds moisture and richness while the maple syrup provides that distinctive caramel-like sweetness.
Step 2: Combine Dry Ingredients Separately
In a separate bowl, whisk together the 2 cups All-Purpose Flour, 1 tsp Baking Soda, 0.5 tsp Baking Powder, 0.5 tsp Sea Salt, and 1 tsp Ground Cinnamon. I always sift my flour first to prevent lumps and ensure even distribution of the leavening agents.
The combination of baking soda and baking powder gives this loaf the perfect rise. The cinnamon adds warmth that complements the maple beautifully. Make sure your sea salt is fine grain so it dissolves completely into the batter.
Step 3: Mix Wet and Dry Ingredients
Gradually add the dry ingredients to the wet mixture, folding gently with a silicone spatula until just combined. Be careful not to overmix—you want to stop as soon as you no longer see streaks of flour. Overmixing develops the gluten in the flour, which can make your bread dense instead of tender.
At this point, fold in the 0.5 cup Chopped Walnuts if using. I prefer to toast my walnuts lightly first to enhance their flavor and prevent them from making the bread soggy. The nuts should be evenly distributed throughout the batter.
Step 4: Bake to Golden Perfection
Pour the batter into a greased 9×5-inch loaf pan and smooth the top with your spatula. Bake in a preheated 350°F oven for 50-60 minutes, or until a toothpick inserted into the center comes out clean with just a few moist crumbs clinging to it.
If the top begins to brown too quickly, tent the pan loosely with aluminum foil. You’ll know it’s done when the loaf has pulled away slightly from the sides of the pan and the top is deep golden brown. The internal temperature should read 200-205°F on an instant-read thermometer.
Step 5: Cool Completely Before Slicing
Remove the pan from the oven and let the bread cool in the pan for 10 minutes. Then transfer it to a wire rack to cool completely, which usually takes about 1 hour. I know it’s tempting to slice into it while warm, but this wait is crucial.
Cooling allows the structure to set properly and prevents the loaf from becoming gummy. The bread should be moist but hold its shape when sliced. The maple syrup will have caramelized slightly during baking, creating a beautiful golden crust with a tender, flavorful interior.
Pro Tips For Making Banana Bread Recipe Maple Syrup
- Mash Bananas Thoroughly: I learned this the hard way—lumpy banana chunks make uneven texture. Use a fork or potato masher until they’re almost liquid, especially if your bananas are extra ripe.
- Reduce Maple Syrup Slightly: Sounds weird, but it works: Simmer the maple syrup for 2-3 minutes before adding to thicken it slightly—prevents a gummy center in your loaf.
- Check Baking Soda Freshness: After a flat loaf disaster, I now test baking soda by mixing a spoonful with vinegar—if it doesn’t fizz vigorously, replace it. Old leavening means dense banana bread.
- Tent with Foil Early: Maple syrup caramelizes fast. Cover the pan with foil after 25 minutes to stop the top from browning too quickly while the inside finishes cooking.
Essential Equipment for Perfect Results
Loaf Pan Selection
I always use a 9×5-inch metal loaf pan for even baking and that classic shape. Dark nonstick pans work best, and I love my USA Pan with its reinforced steel construction. Glass or ceramic pans can work but may require 5-10 minutes longer in the oven.
Mixing Bowls Matter
A large stainless steel mixing bowl gives you plenty of room to mash bananas and combine ingredients without spills. I prefer Cuisinox bowls because they’re lightweight yet durable. For dry ingredients, a medium bowl with a pour spout makes combining easier.
Essential Measuring Tools
Accurate measurements are key, so I use stainless steel measuring cups and spoons from OXO. Their magnetic set stays organized in my drawer. For the maple syrup, a liquid measuring cup with a spout prevents sticky messes.
Baking Thermometer
An oven thermometer is non-negotiable to ensure your oven is truly at 350°F. I keep a Taylor Precision thermometer in my oven at all times. The internal temperature of the bread should reach 200-205°F for perfect doneness. 🌡️
Cooling Rack
A wire cooling rack allows air circulation to prevent soggy bottoms. I use a stainless steel rack from Wilton that fits perfectly over my sink. Let the bread cool completely before slicing for the best texture.
Potato Masher
For mashing bananas, a sturdy potato masher gives you better control than a fork. I prefer the OXO Good Grips masher with its comfortable handle. It creates the perfect texture with just a few lumps remaining.
Nutrition Facts
Frequently Asked Questions
Can I substitute honey for the maple syrup?
Yes, you can swap in honey at a 1:1 ratio, but expect a slightly different flavor profile. Honey is sweeter, so reduce other sweeteners if used. The texture will remain moist and tender.
Why does my bread turn out dense?
Overmixing is the most common culprit. Fold dry ingredients just until combined to avoid developing gluten. Also, ensure your baking soda and powder are fresh for proper rise.
How do I know when it’s fully baked?
Insert a toothpick into the center—it should come out clean with a few moist crumbs. The internal temperature should read 200-205°F. A golden-brown crust and slight pull from the pan edges are good signs.
Can I make this gluten-free?
Use a 1:1 gluten-free flour blend with xanthan gum included. The texture may be slightly denser, but the maple syrup will keep it moist. Let the batter rest for 10 minutes before baking.

Trained in classic French technique but raised on slow-cooked ribs and spicy rubs, she blends culinary skill with smoke and soul.
- Recipe for Boneless Pork Chops in Cast Iron Skillet: Sear and Baste to Juicy Perfection - October 3, 2026
- Recipe for Boneless Cross Rib Roast: Slow-Roasted Beef with Herb Crust - October 3, 2026
- Hamburgers in Sauce Recipe Crock Pot: Slow-Cooked Savory Delight - October 3, 2026