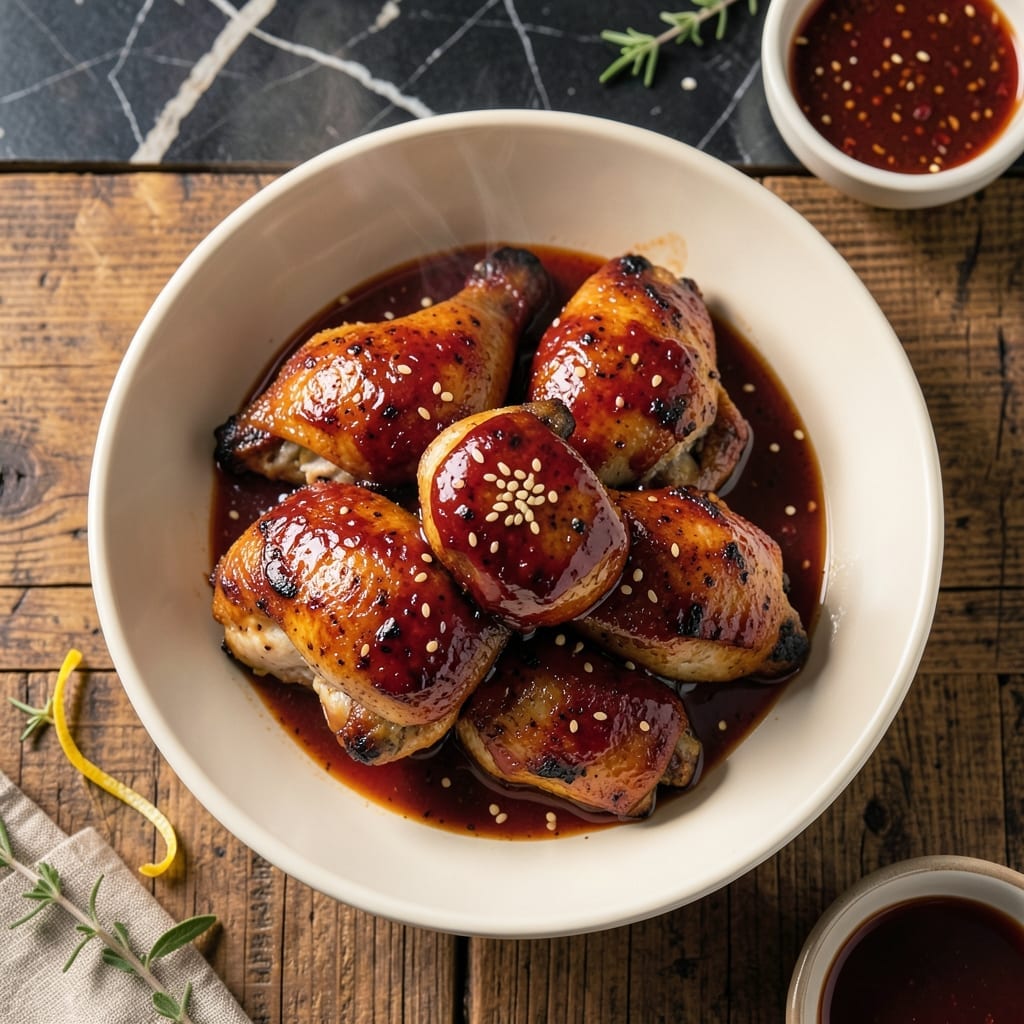
Getting my first whiff of hickory smoke at my family backyard cookout inspired this 30-minute method. The pressure cooker locks in smoky flavors while delivering tender results.
This technique combines my pitmaster roots with professional precision. No outdoor grill needed—just a pressure cooker and a love for bold, smoky chicken.
Ingredients for Barbecue Chicken Pressure Cooker
Pantry staples plus chicken deliver bold smoky flavor in record time with this method.
| Ingredient | Amount | Notes |
|---|---|---|
| Chicken Thighs 🍗 | 2 lb | Boneless, skinless preferred |
| Barbecue Sauce 🍯 | 1 ½ cups | Hickory-smoked variety recommended |
| Chicken Broth 💧 | ½ cup | Low-sodium preferred |
| Apple Cider Vinegar 🍏 | 2 tbsp | For tangy balance |
| Brown Sugar 🍚 | 2 tbsp | Light or dark works |
| Smoked Paprika 🌶️ | 1 tsp | For authentic smokiness |
| Garlic Powder 🧄 | 1 tsp | Fresh minced is fine too |
| Onion Powder 🧅 | 1 tsp | Enhances depth of flavor |
| Kosher Salt 🧂 | 1 tsp | Diamond Crystal recommended |
| Black Pepper 🌶️ | ½ tsp | Freshly ground preferred |
| Olive Oil 🫒 | 1 tbsp | For searing chicken |
| Liquid Smoke 🔥 | ½ tsp | Hickory flavor preferred |
| Worcestershire Sauce 🍶 | 1 tbsp | Adds umami complexity |
[recipe_ingredient_scaler]
The chicken thighs are non-negotiable for tenderness—boneless, skinless from Costco are my go-to (they’re consistently meaty and affordable). For the barbecue sauce, Stubs or Sweet Baby Ray’s hickory-smoked brings that backyard pit flavor without the hassle. Liquid smoke is the secret weapon here—Wright’s brand is what I keep on hand. Just a half teaspoon gives that deep smokiness the pressure cooker can’t replicate on its own.
No liquid smoke? An extra teaspoon of smoked paprika gets you 80% there. Swap chicken broth for water in a pinch, but you’ll lose some depth. Brown sugar can be honey or maple syrup if that’s what you’ve got. For a tangier kick, add an extra splash of vinegar. The Worcestershire is optional but adds that meaty complexity you’d get from low-and-slow cooking.
This keeps beautifully—actually tastes better after 24 hours as the flavors meld. Store in the fridge for up to 4 days or freeze for 3 months. Reheat gently to avoid drying out the chicken (the microwave works, but the oven is kinder).
Why You’ll Love This Recipe
- One Pot Magic: I dump everything in the pressure cooker and walk away—no babysitting, no flipping, just set it and forget it.
- Sticky Sweet Perfection: The brown sugar and apple cider vinegar in the sauce create this ridiculously good glaze that clings to every bite of the chicken thighs.
- Weeknight Lifesaver: Between us, this is my go-to when I need dinner ready before soccer practice ends.
- Budget-Friendly Feast: Chicken thighs stay juicy and cheap, and one batch makes enough for leftovers that taste even better the next day.
Step-by-Step Instructions for Barbecue Chicken Pressure Cooker
Here’s how I achieve fall-off-the-bone results quickly without sacrificing smoky depth.
Step 1: Season and Sear the Chicken Thighs
Pat the 2 lb Chicken Thighs dry with paper towels to ensure a good sear. In a small bowl, mix the 1 tsp Smoked Paprika, 1 tsp Garlic Powder, 1 tsp Onion Powder, 1 tsp Kosher Salt, and 0.5 tsp Black Pepper. Rub this blend evenly over all the chicken thighs.
Heat the 1 tbsp Olive Oil in your pressure cooker using the sauté function on medium-high heat. Add the chicken in batches if needed to avoid crowding. Sear for 3-4 minutes per side until deep golden brown. Remove and set aside.
Step 2: Build the Flavor Base
With the pressure cooker still on sauté, add the 2 tbsp Brown Sugar and let it caramelize for 30 seconds until bubbly. Pour in the 0.5 cup Chicken Broth, 2 tbsp Apple Cider Vinegar, 1 tbsp Worcestershire Sauce, and 0.5 tsp Liquid Smoke. Stir well, scraping up any browned bits from the bottom.
This creates a rich, tangy foundation that will infuse into the chicken. The liquid smoke adds that authentic barbecue depth, while the vinegar balances the sweetness. Let this mixture simmer for 2 minutes before proceeding.
Step 3: Pressure Cook to Perfection
Return the seared chicken thighs to the pressure cooker. Pour the 1.5 cups Barbecue Sauce evenly over the chicken. Secure the lid and set the valve to sealing. Cook on high pressure for 8 minutes for 2 lb Chicken Thighs.
Once the cooking time is complete, allow a natural release for 5 minutes, then quick-release any remaining pressure. The chicken should be incredibly tender and easily pull apart with a fork.
Step 4: Reduce and Glaze
Remove the chicken from the pressure cooker and set aside. Switch the pressure cooker back to sauté mode on medium heat. Let the sauce simmer uncovered for 5-7 minutes, stirring occasionally, until it thickens into a glossy, rich glaze.
Return the chicken to the pot and coat thoroughly with the reduced sauce. The sauce should cling to the chicken and have a deep, smoky-sweet flavor with a slight tang from the vinegar. This step ensures every piece is perfectly coated.
Pro Tips For Making Barbecue Chicken Pressure Cooker
- Sear the Thighs: Brown the chicken thighs in the pressure cooker first—about 3-4 minutes per side. I learned this the hard way: skipping this step gives you boiled chicken instead of that sticky, caramelized barbecue flavor.
- Thin the Sauce: Mix the barbecue sauce with a splash of chicken broth before adding it to the cooker. Sounds weird, but it prevents the sauce from burning or clumping under pressure.
- Skip the Overfill: Never exceed the 2/3 max fill line in your pressure cooker, especially with saucy dishes like this. After one too many messy cleanups, I now leave plenty of room for the sauce to bubble.
- Natural Release: Let the pressure release naturally for 10 minutes before quick-releasing. This keeps the chicken from drying out—I used to rush it and wondered why my meat was tough.
Dietary Considerations for This Dish
Gluten-Free Friendly
This recipe is naturally gluten-free if you use certified gluten-free barbecue sauce. I recommend Stubs or Sweet Baby Ray’s hickory-smoked varieties, which are widely available at most grocery stores and clearly labeled. Always check the label for hidden gluten in sauces and broths. 💪
Dairy-Free and Egg-Free
The ingredients here are completely dairy-free and egg-free as written. No modifications are needed, making this perfect for those with lactose intolerance or egg allergies. The pressure cooker method ensures the chicken stays moist without any dairy-based marinades.
Lower Sugar Option
To reduce sugar, swap the 2 tbsp brown sugar for 1 tbsp monk fruit sweetener or simply omit it. You can also use a low-sugar barbecue sauce—G Hughes Sugar-Free works well and still delivers bold flavor. The vinegar and liquid smoke will keep the taste complex.
Keto Adaptation
For a keto-friendly version, replace the brown sugar with 1 tbsp erythritol and use a sugar-free barbecue sauce. Skip the apple cider vinegar if it’s a concern, though the small amount here fits within most keto guidelines. The chicken thighs are already keto-approved!
Sodium Considerations
To lower sodium, use low-sodium chicken broth and reduce the Kosher salt by half. Many store-bought barbecue sauces are high in sodium, so look for low-sodium versions or make your own. I often add a pinch of fresh herbs from my foraging spots to boost flavor without salt.
Allergen Note
This recipe is free from the top 8 allergens (milk, eggs, fish, shellfish, tree nuts, peanuts, wheat, soy) as long as you verify your barbecue sauce and broth labels. For soy-free, choose a sauce without soy derivatives. 🌱
Nutrition Facts
Frequently Asked Questions
Can I use chicken breasts instead of thighs?
Yes, but they’ll be less juicy. Reduce pressure cooking time to 6 minutes to prevent drying out. Thighs are better for this method due to their higher fat content and connective tissue that breaks down beautifully.
What if I don’t have liquid smoke?
Double the smoked paprika to 2 tsp for similar depth. You can also add 1 tsp chipotle powder for extra smokiness. The flavor won’t be identical, but it’ll still be delicious.
Is it safe to quick-release the pressure?
Yes, but let it sit for 5 minutes first. This prevents hot liquid from spraying out. Always follow your pressure cooker’s safety guidelines to avoid accidents.
Can I make this ahead of time?
The flavors improve after 24 hours in the fridge. Store in an airtight container for up to 4 days or freeze for 3 months. Reheat gently to preserve moisture.

Trained in classic French technique but raised on slow-cooked ribs and spicy rubs, she blends culinary skill with smoke and soul.
- Recipe for Boneless Pork Chops in Cast Iron Skillet: Sear and Baste to Juicy Perfection - October 3, 2026
- Recipe for Boneless Cross Rib Roast: Slow-Roasted Beef with Herb Crust - October 3, 2026
- Hamburgers in Sauce Recipe Crock Pot: Slow-Cooked Savory Delight - October 3, 2026