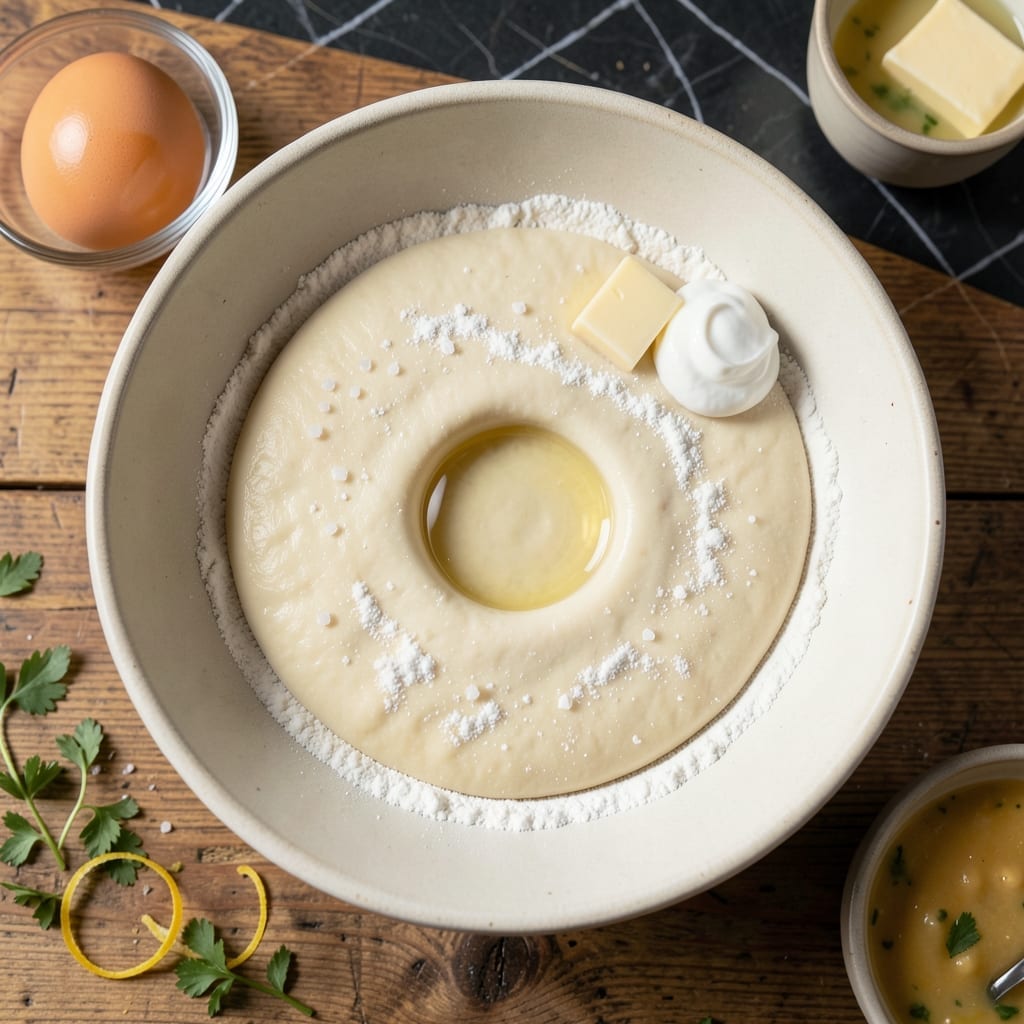
This pierogi dough delivers a smooth and elastic foundation for your best pockets yet. I developed this recipe after testing countless variations to achieve the ideal texture.
With just a few simple ingredients and proper resting time, you’ll create dough that’s easy to roll and holds fillings perfectly. It’s the secret to perfect pierogi every time.
Ingredients for Best Pierogi Dough
Just a handful of pantry staples creates this smooth, elastic pierogi dough foundation.
| Ingredient | Amount | Notes |
|---|---|---|
| All-Purpose Flour 🌾 | 3 cups | Plus extra for dusting surface |
| Warm Water 💧 | ¾ cup | About 110°F for activation |
| Large Egg 🥚 | 1 whole | Room temperature for binding |
| Sour Cream 🥛 | ½ cup | Full-fat for tenderness and elasticity |
| Unsalted Butter 🧈 | 4 tbsp | Melted and cooled slightly |
| Salt 🧂 | 1 tsp | Fine sea salt preferred |
| Vegetable Oil 🫒 | 1 tbsp | For dough softness |
[recipe_ingredient_scaler]
The flour is the backbone here—King Arthur or Gold Medal give consistent results. I always grab mine from Costco in bulk since it keeps well. Warm water temperature matters more than you think; too hot kills the elasticity, too cold and the dough won’t come together. That sour cream? Full-fat Daisy or Breakstone’s (the good stuff, not the low-fat kind) makes all the difference in texture.
No sour cream? Full-fat Greek yogurt works in a pinch (same tang, similar fat content). Out of eggs? You can skip it, but add 1 extra tbsp of sour cream to compensate. The butter must be unsalted—salted throws off the seasoning balance. For a richer dough, swap 1 tbsp of water for heavy cream.
Dough keeps 2 days wrapped tightly in the fridge. Freeze for up to 1 month in an airtight container (thaw before rolling). Always rest it 30 minutes before shaping—this prevents shrinking and cracking.
Why You’ll Love This Recipe
- One Bowl Wonder: I just dump the flour, egg, sour cream, and butter in a bowl—no fancy steps, no mess.
- Rich and Tender: The sour cream makes the dough so soft it practically melts in your mouth.
- Freezer Friendly: I make a double batch, freeze half, and pull it out whenever I need a quick meal.
- Pocket Change Meal: Honestly, these ingredients cost less than a takeout appetizer and feed way more.
Step-by-Step Instructions for Homemade Pierogi Dough
This method delivers the smoothest, most elastic dough that rolls out thin without tearing.
Step 1: Mix the Wet Ingredients for a Rich Foundation
In a large mixing bowl, whisk together the 0.75 cup Warm Water, 1 whole Large Egg, 0.5 cup Sour Cream, and 4 tbsp Unsalted Butter until fully emulsified. The sour cream and butter should create a creamy, slightly thick liquid base that looks smooth and homogenous.
This combination of full-fat dairy and egg creates the perfect environment for a tender yet sturdy dough. The 110°F water temperature helps activate the gluten just enough without being too hot, which would kill the yeast-like properties we want from the egg and dairy.
Step 2: Incorporate Dry Ingredients for Structure
In a separate bowl, whisk the 3 cups All-Purpose Flour with the 1 tsp Salt to evenly distribute the seasoning. Create a well in the center and pour in the wet mixture along with the 1 tbsp Vegetable Oil.
Using a wooden spoon, gradually incorporate the flour into the wet ingredients until a shaggy dough forms. You’ll notice the dough starts to pull away from the sides of the bowl and becomes slightly sticky but manageable. This is exactly what you want before kneading.
Step 3: Knead to Develop Elasticity
Turn the dough out onto a lightly floured surface—use some of the extra all-purpose flour mentioned in the ingredients. Knead for 8-10 minutes until the dough becomes smooth, elastic, and only slightly tacky to the touch.
Here’s the thing—you’ll know it’s ready when you can stretch a small piece thin enough to see light through it without it tearing. This windowpane test confirms the gluten has developed properly. If it feels too sticky, add flour 1 tablespoon at a time; if too dry, work in water 1 teaspoon at a time.
Step 4: Rest for Optimal Workability
Form the dough into a ball and place it in a lightly oiled bowl. Cover with a clean kitchen towel and let it rest at room temperature for 30-60 minutes. The dough should rise slightly but won’t double in size.
This resting period relaxes the gluten strands, making the dough much easier to roll out thinly later. I’ve found that dough rested for the full 60 minutes produces pierogi that hold their shape better during boiling and have a more delicate texture.
Step 5: Roll and Cut for Perfect Pockets
After resting, divide the dough into quarters for easier handling. On a floured surface, roll each portion to ⅛-inch thickness—this is the sweet spot for pierogi that cook through without being too thick or too delicate.
Use a 3-inch round cutter to stamp out circles. Re-roll the scraps once to maximize yield, but avoid overworking the dough as this can make it tough. The edges should be smooth and even, ready to be filled and sealed into those perfect pockets we’re after.
Pro Tips For Making Best Pierogi Dough
- Knead Just Enough: Work the dough until smooth but stop before it gets tough—I learned this the hard way after my first three batches turned out chewy. About 5-7 minutes by hand does the trick.
- Use Room-Temp Ingredients: Pull your egg, sour cream, and butter out 30 minutes early. Sounds weird, but it works: cold ingredients make the dough fight you.
- Skip Over-Flouring: Resist the urge to dump extra flour on the counter. Too much makes the dough dry and cracks when rolling—I was skeptical until I tried it with just enough to prevent sticking.
- Rest the Dough: Cover and let it sit for 20-30 minutes before rolling. My grandmother swore by this, and she was right: it relaxes the gluten so it rolls out thin without springing back.
Serving Suggestions for This Recipe
Classic Presentation
Serve your pierogi hot with a dollop of sour cream and a sprinkle of chopped chives. I love the contrast of the cool cream against the warm dough. Arrange them on a platter with crispy fried onions for added texture.
Savory Pairings
For a hearty meal, pair with sautéed mushrooms and caramelized onions. The earthy flavors complement the dough beautifully. I often add a side of smoked sausage for protein.
Sweet Variations
Dust with powdered sugar and serve with fruit compote for dessert pierogi. Blueberry or cherry work wonderfully. My family loves this with a drizzle of honey and a sprinkle of cinnamon. 💛
Dipping Sauces
Offer a variety of sauces like garlic butter, applesauce, or spicy tomato. I always include a small bowl of melted butter with minced garlic and fresh parsley for dipping.
Garnishing Tips
Fresh herbs make all the difference. Try dill for savory pierogi or mint for sweet. I forage wild herbs sometimes for a unique touch. A pat of herb butter on top melts beautifully.
Serving Temperature
These taste best served immediately after cooking. If making ahead, reheat in a skillet with 1 tbsp butter until crispy. I find they lose texture if microwaved, so avoid that method. 🔥
Nutrition Facts
Frequently Asked Questions
Can I make this ahead of time?
Yes! The dough keeps in the fridge for 2 days wrapped tightly. For longer storage, freeze for up to 1 month in an airtight container. Thaw overnight before rolling.
Why does my dough crack when rolling?
This usually means it didn’t rest long enough. Always let it rest for 30-60 minutes to relax the gluten. If it’s still cracking, it may be too dry—knead in water 1 teaspoon at a time.
Can I use a food processor?
Pulse the dry and wet ingredients until combined, then knead by hand for 2-3 minutes. The processor saves time but don’t overmix, or the dough will toughen.

Trained in classic French technique but raised on slow-cooked ribs and spicy rubs, she blends culinary skill with smoke and soul.
- Recipe for Boneless Pork Chops in Cast Iron Skillet: Sear and Baste to Juicy Perfection - October 3, 2026
- Recipe for Boneless Cross Rib Roast: Slow-Roasted Beef with Herb Crust - October 3, 2026
- Hamburgers in Sauce Recipe Crock Pot: Slow-Cooked Savory Delight - October 3, 2026