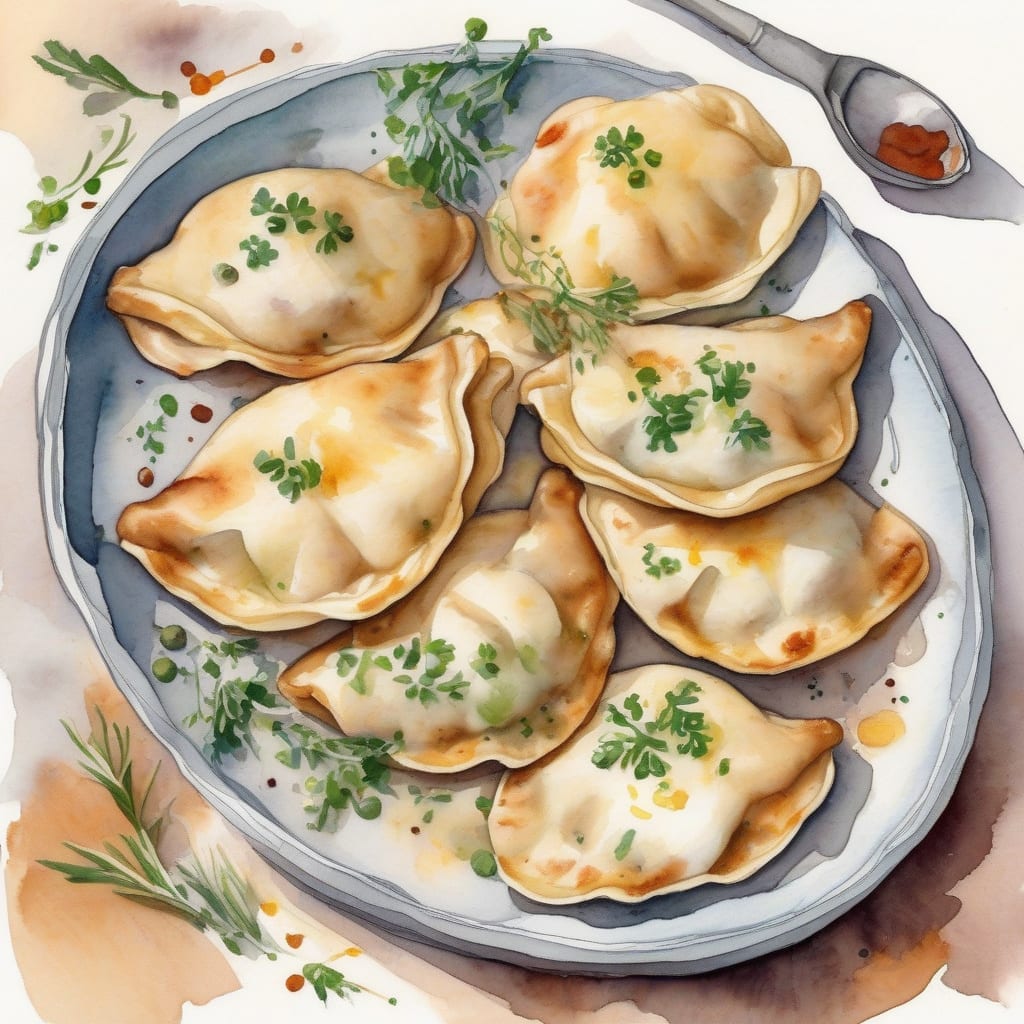
I’ve spent years perfecting my pierogi recipe, and I’m excited to share the secret to achieving golden, crispy perfection. 🔥 The key lies in a two-step cooking process that yields tender interiors and crunchy exteriors every time.
First, we boil the pierogies until they float, then immediately pan-fry them in butter until golden brown. This combination creates a texture contrast that’s irresistible. I’ve found that using high-quality, store-bought or homemade pierogi dough makes all the difference.
The result is a dish that’s both comforting and elegant, perfect for a weeknight dinner or special occasion. With this simple technique, you’ll be serving up perfectly cooked pierogies that will impress your family and friends.
Let’s get started and make these delicious pierogies! ✨
Ingredients for best way to cook pierogies
These simple ingredients come together to make perfectly cooked pierogies every time.
| Ingredient | Amount | Notes |
|---|---|---|
| Pierogies 🥟 | 1 package | Homemade or store-bought, any variety |
| Unsalted Butter 🧈 | 4 tbsp | For pan-frying, high quality |
| Water 💧 | 4 cups | For boiling, salted lightly |
| Salt 🧂 | 1 tsp | For boiling water |
| Onions 🧅 | 1 whole | Optional, for topping, caramelized |
| Sour Cream 🥛 | 1 cup | For serving, optional |
| Fresh Chives 🌿 | ¼ cup | Chopped, for garnish |
| Black Pepper 🌶️ | ¼ tsp | Freshly ground, to taste |
[recipe_ingredient_scaler]
You can find pierogies at most grocery stores in the frozen food section. Look for high-quality brands like Mrs. T's or Kasia's Deli for the best flavor. For homemade pierogies, use a trusted recipe or family tradition. When buying butter, choose European-style for richer flavor.
If you can't find pierogies, you can substitute with homemade dough and filling. For toppings, try caramelized onions or fresh herbs. Sour cream can be replaced with Greek yogurt for a tangy alternative. Adjust the amount of salt and pepper to taste.
Store leftover pierogies in an airtight container in the refrigerator for up to 3 days. Reheat them in a pan with butter until crispy. Freeze uncooked pierogies on a baking sheet, then transfer to a freezer bag for up to 3 months.
Step-by-Step Instructions for Pan-Fried Pierogies Perfection
I’ll guide you through achieving perfectly pan-fried pierogies with a golden crust every time.
🍳 Step 1: Boil the Pierogies Until Tender
Fill a large pot with 4 cups of water and add 1 tsp of salt. Bring to a rolling boil over high heat. Once boiling, gently add the 1 package of pierogies. Cook for 5-7 minutes or until they float to the surface. This step ensures they’re cooked through but still firm.
Use a slotted spoon to remove the pierogies from the water and drain off any excess water. Transfer them to a plate or tray to cool slightly. Don’t overcrowd the plate, as this can cause them to stick together. I like to leave a little space between each pierogy to prevent sticking.
🔥 Step 2: Pan-Fry to Golden Perfection
Heat 2 tbsp of unsalted butter in a large skillet over medium-high heat. Once the butter starts to foam and turns slightly golden, add the boiled pierogies in a single layer. You may need to do this in batches depending on the size of your skillet.
Cook the pierogies for 2-3 minutes on each side or until they’re golden brown. I find that using a non-stick skillet helps prevent them from sticking and makes flipping easier. When flipping, be gentle to avoid breaking the pierogies. If they start to brown too quickly, reduce the heat to medium.
👨🍳 Step 3: Optional Caramelized Onions Topping
If you’re using 1 whole onion, slice it thinly and cook it in the same skillet used for the pierogies (after removing them). Reduce the heat to medium-low and cook the onions for 20-25 minutes, stirring occasionally, until they’re deep golden brown and caramelized.
The onions are done when they’re soft, sweet, and have a deep brown color. This step adds a rich, sweet flavor that complements the savory pierogies. I like to cook the onions while the pierogies are cooking or after they’re done to save time.
🥘 Step 4: Serve with Sour Cream and Chives
Once the pierogies are golden brown, transfer them to a serving plate. If using caramelized onions, spoon them over the top. Serve with a dollop of 1 cup of sour cream on the side. Sprinkle 0.25 cup of fresh chives over the top for a fresh, oniony flavor.
Season with 0.25 tsp of freshly ground black pepper to taste. The combination of the crispy pierogies, creamy sour cream, and fresh chives creates a delicious and satisfying dish. I like to serve them hot, straight from the skillet, for the best flavor and texture.
Cooking pierogies can be a delightful experience, and with the right techniques, you can achieve that perfect golden deliciousness. Let’s dive into the best way to cook pierogies to bring out their full flavor and texture.
Boiling: The First Step 🔥
Start by boiling your pierogies in salted water until they float to the surface. This usually takes around 5-7 minutes. Make sure to add a tablespoon of salt to the water to enhance the flavor. Once they float, remove them with a slotted spoon and drain off excess water.
Pan-Frying: The Golden Touch 🍳
Heat a non-stick pan with some butter or oil over medium heat. Once the butter has melted or the oil is hot, add the boiled pierogies. Cook for about 2-3 minutes on each side, or until they’re golden brown. You can also add some sliced onions or garlic to the pan for extra flavor.
Some tips to keep in mind:
- Don’t overcrowd the pan, cook in batches if necessary.
- Use a thermometer to ensure the pan is at the right temperature (around 325°F).
- Don’t overcook, as this can make the pierogies dry and tough.
💡 For an extra crispy exterior, you can chill the boiled pierogies in the refrigerator for about 30 minutes before pan-frying.
By following these simple steps, you’ll be able to achieve perfectly cooked pierogies with a delicious golden crust. Experiment with different toppings and fillings to make it your own, and enjoy the process of creating a dish that’s sure to become a favorite! 🥘
Tips & Tricks for Perfect Pan-Fried Pierogies
Mastering pan-fried pierogies is easier than you think with these expert tips that guarantee perfect results every time.
Boiling Technique: In Step 1, make sure to not overcrowd the pot when boiling the pierogies. Cook them in batches if necessary, to ensure they have enough room to float to the surface. This helps prevent them from sticking together.
Pan-Frying Secrets: For Step 2, use a non-stick skillet to prevent the pierogies from sticking and to make flipping easier. If you notice the butter browning too quickly, reduce the heat to medium to prevent burning. 💡
Caramelized Onions: When making caramelized onions in Step 3, be patient and stir occasionally to prevent burning. You can also make them ahead of time and store them in the fridge for up to 3 days.
Serving Suggestions: For Step 4, serve the pierogies hot with a dollop of sour cream and a sprinkle of fresh chives. You can also add some caramelized onions on top for extra flavor. Consider serving with a side of fried bacon or sautéed vegetables for a complete meal.
Nutrition Facts
320kcal
Total Carbohydrate Vitals 30g
11%
14%
16%
[recipe_ingredient_scaler]

Trained in classic French technique but raised on slow-cooked ribs and spicy rubs, she blends culinary skill with smoke and soul.
- Recipe for Boneless Pork Chops in Cast Iron Skillet: Sear and Baste to Juicy Perfection - October 3, 2026
- Recipe for Boneless Cross Rib Roast: Slow-Roasted Beef with Herb Crust - October 3, 2026
- Hamburgers in Sauce Recipe Crock Pot: Slow-Cooked Savory Delight - October 3, 2026