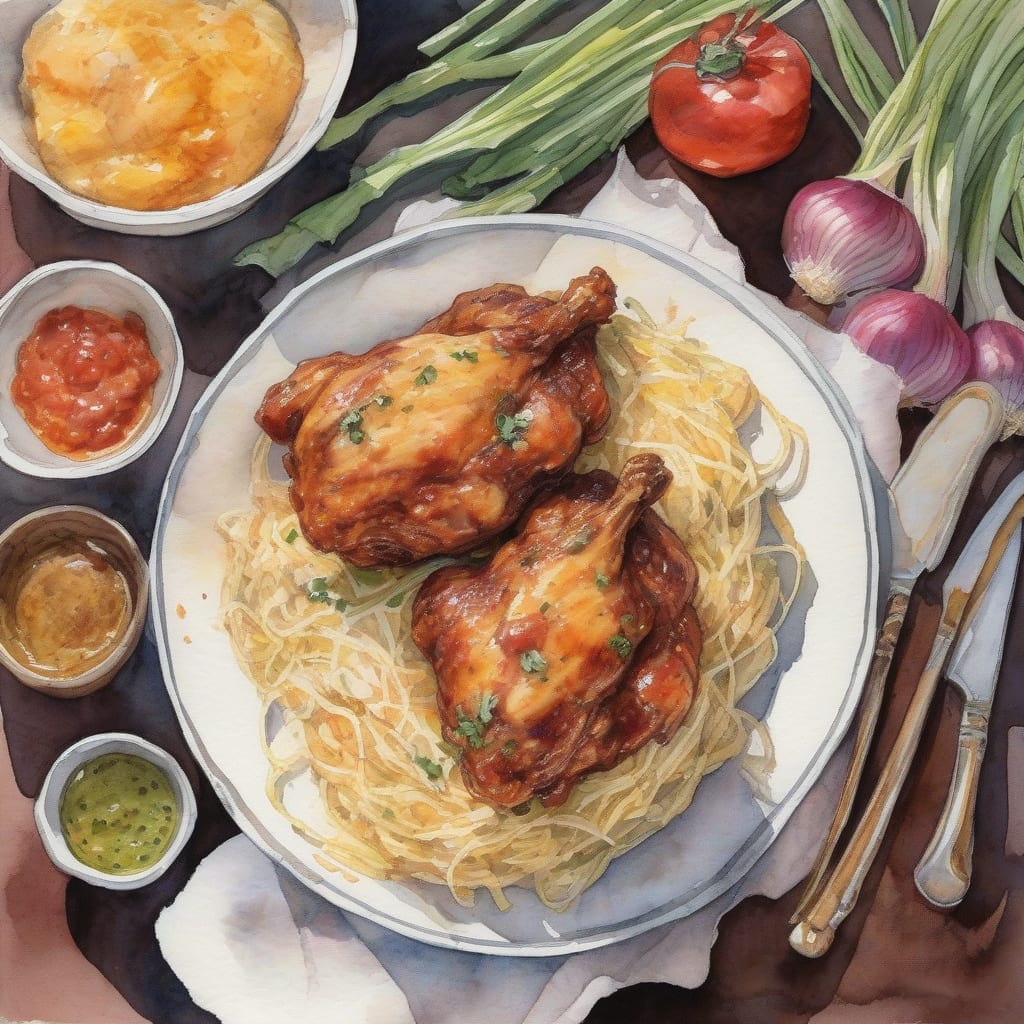
I discovered Harry & David’s pepper and onion relish a few years ago, and it completely transformed my weeknight chicken dinners. 🔥 What started as a simple pantry staple became my secret weapon for creating restaurant-quality meals in under 30 minutes—no complicated techniques required.
The beauty of this recipe lies in how that sweet-tangy relish caramelizes around tender chicken breasts, creating layers of flavor that taste like you’ve been cooking all day. The peppers and onions in the relish break down into a glossy glaze that’s both sophisticated and comforting.
By the time your chicken comes out of the oven, you’ll have juicy meat coated in a sticky, caramelized pepper-onion glaze with perfectly balanced sweetness and tang. It’s the kind of dish that makes people ask for the recipe—and they’re always surprised by how simple it actually is.
Serve it with rice, roasted vegetables, or a crisp salad for a complete meal. Let’s get cooking! ✨
Ingredients for harry and david pepper and onion relish chicken
Here’s everything you need to create this restaurant-quality Harry & David pepper and onion relish chicken.
| Ingredient | Amount | Notes |
|---|---|---|
| Boneless Skinless Chicken Breasts 🍗 | 1 ½ lb | Pounded to even thickness |
| Harry & David Pepper and Onion Relish 🫙 | 1 cup | The star ingredient |
| Olive Oil 🫒 | 2 tbsp | For searing chicken |
| Garlic Cloves 🧄 | 3 cloves | Minced for depth |
| Chicken Broth 💧 | ½ cup | Low-sodium preferred |
| Honey 🍯 | 1 tbsp | Enhances caramelization |
| Balsamic Vinegar 🍶 | 1 tbsp | Balances sweetness |
| Fresh Thyme 🌿 | 1 tsp | Or dried thyme |
| Salt 🧂 | ¾ tsp | Kosher or sea salt |
| Black Pepper 🌶️ | ½ tsp | Freshly ground preferred |
| Butter 🧈 | 2 tbsp | Unsalted, for finishing |
| Fresh Parsley 🌿 | 2 tbsp | Chopped, for garnish |
[recipe_ingredient_scaler]
Harry & David pepper and onion relish is available online at harryanddavid.com or at their retail stores nationwide. If you can't find it locally, Williams Sonoma and specialty food shops often carry similar gourmet relishes. Look for chicken breasts that are similar in size for even cooking—organic or free-range from a trusted butcher offers superior flavor and texture.
Don't have Harry & David relish? Substitute a quality jarred pepper relish or make your own by sautéing diced bell peppers and onions with a splash of vinegar and sugar. If your relish is very sweet, reduce the honey to balance flavors. Fresh thyme adds wonderful aroma, but dried works perfectly—use one-third the amount of dried if substituting.
Store opened pepper relish refrigerated for up to 3 weeks in its original jar. Keep fresh herbs wrapped in damp paper towels in the crisper for 5-7 days. Leftover cooked chicken stays fresh for 3-4 days refrigerated and reheats beautifully.
Step-by-Step Instructions for Harry & David Chicken with Pepper & Onion Relish
Let me walk you through this flavor-packed process that transforms simple chicken into something truly spectacular.
🔪 Step 1: Prepare and Season the Chicken
Place the boneless skinless chicken breasts between two sheets of plastic wrap and pound them to an even thickness using a meat mallet. This ensures they cook uniformly without drying out—aim for about ½ inch throughout. I can’t stress enough how important this step is for juicy results.
Season both sides generously with the salt and black pepper. I like to press the seasoning into the meat so it adheres well and creates a flavorful crust when seared. Let the chicken sit at room temperature for 10 minutes while you gather the remaining ingredients—this takes the chill off and promotes even cooking.
🍳 Step 2: Sear the Chicken Until Golden
Heat the olive oil in a large skillet over medium-high heat until it shimmers but doesn’t smoke. Add the chicken breasts and cook for 5-6 minutes per side until golden brown and cooked through to an internal temperature of 165°F.
Don’t move the chicken around—let it sit undisturbed so it develops that beautiful caramelized crust. You’ll know it’s ready to flip when it releases easily from the pan. Transfer the cooked chicken to a plate and tent loosely with foil to keep warm while you build the sauce.
🥘 Step 3: Build the Pepper and Onion Relish Sauce
In the same skillet (don’t wipe it clean—those browned bits are pure flavor), reduce heat to medium and add the minced garlic. Cook for 30 seconds until fragrant, stirring constantly so it doesn’t burn. Add the Harry & David Pepper and Onion Relish and stir to combine with the pan drippings.
Pour in the chicken broth, honey, and balsamic vinegar, then add the fresh thyme. Bring to a simmer and cook for 3-4 minutes until the sauce reduces slightly and thickens to a glaze-like consistency. The relish will break down and meld with the other ingredients, creating this incredible sweet-savory coating.
🔥 Step 4: Finish and Glaze the Chicken
Return the chicken breasts to the skillet along with any accumulated juices from the plate. Spoon the pepper and onion relish sauce over each piece, coating them generously. Let everything simmer together for 2-3 minutes so the chicken absorbs those bold flavors.
Remove the skillet from heat and stir in the butter until it melts completely into the sauce. This creates a silky, restaurant-quality finish that clings beautifully to the chicken. The butter also adds richness that balances the tangy relish perfectly.
🍽️ Step 5: Garnish and Serve
Transfer the chicken to serving plates and spoon extra sauce over each piece. Sprinkle with the chopped fresh parsley for a pop of color and freshness. Each serving should have plenty of that gorgeous pepper and onion relish coating—don’t be shy with it.
Serve immediately while the chicken is hot and the sauce is glossy. I love pairing this with creamy mashed potatoes or rice to soak up every drop of that incredible sauce. The combination of sweet honey, tangy balsamic, and savory relish creates layers of flavor in every bite.
Ready to turn an ordinary chicken dinner into something extraordinary? This Harry & David pepper and onion relish chicken recipe is the weeknight hero you’ve been waiting for—sweet, tangy, and just a little sassy. 🍯🔥
Start by nestling boneless thighs (or breasts, if you insist) in a baking dish, then blanket them with the iconic relish straight from the jar—no extra chopping required. The peppers and onions caramelize in the oven, creating a glossy glaze that tastes like you spent hours reducing a fancy pan sauce. Spoiler: you didn’t.
Need dinner even faster? Slice the raw chicken into strips, sear them in a skillet, and stir in two heaping spoonfuls of relish during the last two minutes. Boom—gourmet tacos in under 15 minutes. Feeling fancy? Add a splash of white wine or chicken broth to the pan and let it reduce for a silky restaurant-quality sauce.
Kids love the built-in sweetness, while adults appreciate the subtle peppery kick. Serve over rice to soak up every drop, or pile it on toasted ciabatta for a next-level sandwich that’ll make your lunch buddies jealous.
Pro tip: Double the recipe and save half the relish for later—it’s incredible stirred into cream cheese for an instant dip or brushed over grilled salmon. 💡
Tips & Tricks for Perfect Harry & David Chicken with Pepper & Onion Relish
These tried-and-tested tips will help you achieve restaurant-quality results every single time.
Pounding Technique: When you’re pounding the chicken in Step 1, work from the center outward using gentle, even strokes rather than aggressive smashing. This prevents tearing the meat and creates uniform thickness throughout. I use a rolling pin wrapped in plastic wrap when I don’t have a meat mallet—it works beautifully and is easier to clean. 💡
Temperature Control: Use an instant-read thermometer to check doneness in Step 2 rather than relying solely on time. Insert it into the thickest part of the chicken—you’re looking for exactly 165°F. This prevents overcooking while ensuring food safety, especially if your stovetop runs hotter or cooler than mine.
Sauce Consistency: In Step 3, if your sauce seems too thick after reducing, add chicken broth one tablespoon at a time until you reach the perfect glaze consistency. Conversely, if it’s too thin, let it simmer an extra 1-2 minutes uncovered. The sauce should coat the back of a spoon but still flow easily when you tilt the pan.
Make-Ahead Strategy: You can pound and season the chicken up to 24 hours in advance and store it covered in the refrigerator. Let it sit at room temperature for 15 minutes before cooking. The sauce also reheats beautifully—just add a splash of broth to restore its silky texture when warming leftovers. 🔥
Nutrition Facts
385kcal
[recipe_ingredient_scaler]

Trained in classic French technique but raised on slow-cooked ribs and spicy rubs, she blends culinary skill with smoke and soul.
- Recipe for Boneless Pork Chops in Cast Iron Skillet: Sear and Baste to Juicy Perfection - October 3, 2026
- Recipe for Boneless Cross Rib Roast: Slow-Roasted Beef with Herb Crust - October 3, 2026
- Hamburgers in Sauce Recipe Crock Pot: Slow-Cooked Savory Delight - October 3, 2026