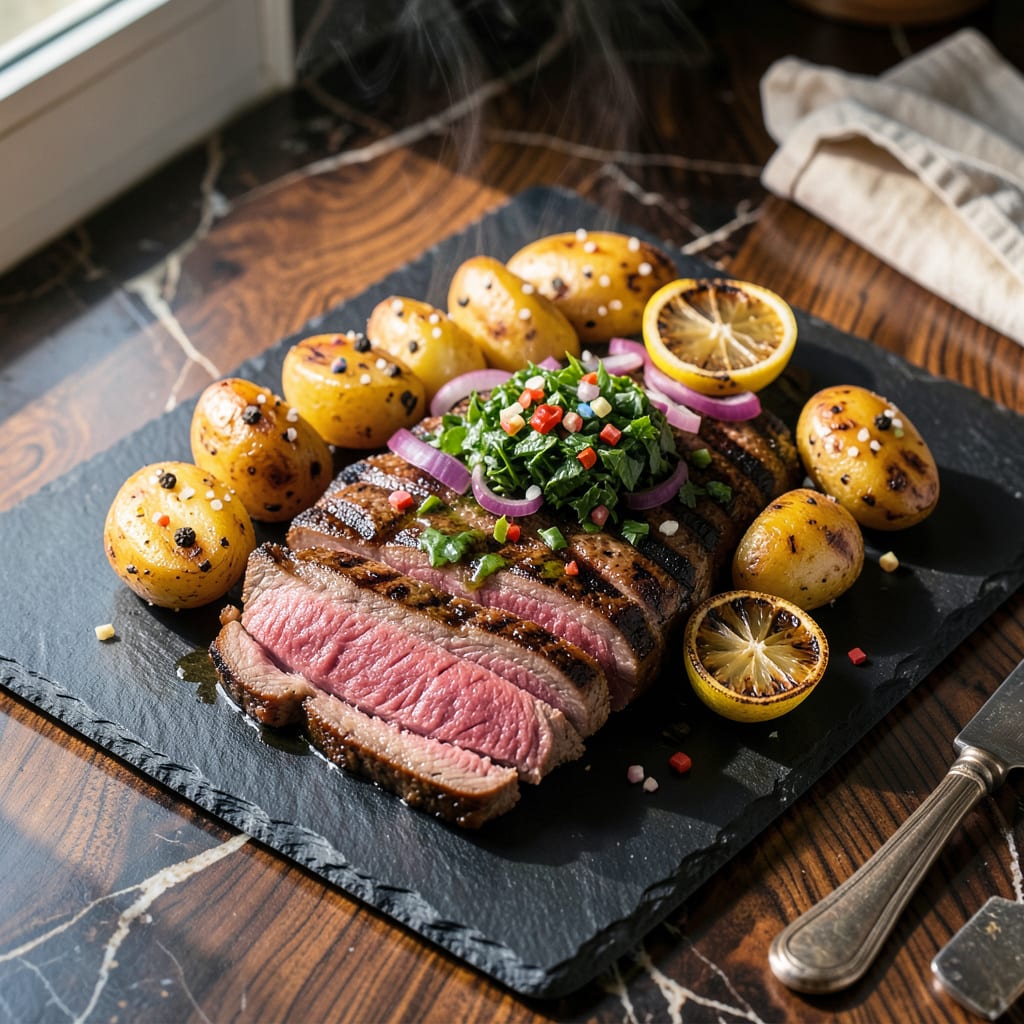
Tough steak doesn’t stand a chance with these simple tricks I’ve picked up over years of cooking. That first bite of fork-tender beef after working with a stubborn cut is pure magic. I remember my dad’s old saying: “The toughest cuts often make the best meals”—and he was right, once you know how to handle them.
This method transforms chewy steak into something juicy and tender without fancy equipment. We’re talking about real techniques that work: proper marinating, smart slicing, and cooking methods that break down those tough fibers. I’ve burned through my share of experiments to land on what actually delivers results every time.
You’ll end up with meat that practically falls apart at the touch of your fork. The secret is in the timing—whether you’re slow-cooking, reverse searing, or using a quick marinade. These aren’t just theories; they’re the same tricks I use when I’m cooking for a crowd and need guaranteed tender results.
From choosing the right cut to knowing exactly when to pull it off the heat, I’ll walk you through each step. No more guessing, no more disappointment—just perfectly cooked steak that’ll have everyone asking for seconds. Let’s get that tough meat tender.
📚 In This Guide
- What You’ll Need
- Instructions
- Tips and Common Mistakes
What Youll Need
- ● Tough steak cut: 1–1.5 lbs (e.g., flank, skirt, chuck, or round steak) (thickness: ½–1 inch for best results) 🥩
- ● Kosher salt: 1–2 tbsp (for dry-brining or seasoning)
- ● Black pepper: 1 tsp (freshly ground preferred)
- ● Cooking oil: 2 tbsp (high-smoke-point: avocado, grapeseed, or vegetable oil)
- ● Liquid for tenderizing: ½ cup acidic marinade (lemon juice, vinegar, or pineapple juice) OR
- ● 1 cup beef broth (for braising)
- ○ Aromatics (optional but recommended): 2 garlic cloves (minced), 1 small onion (sliced), or herbs like rosemary/thyme
- ● Tools: Heavy skillet (cast iron preferred) or Dutch oven 🍳
- ● Tongs (avoid forks—they pierce meat!)
- ● Meat thermometer (instant-read for accuracy) 🌡️
- ● Aluminum foil or lid (for resting/braising)
- ○ Mallet or rolling pin (for pounding tough cuts, optional)
- ● Time: 30 mins–4 hours (includes marinating/cooking; varies by method) ⏰
Instructions for Cooking Tough Steak to Fork-Tender Perfection
These simple techniques will transform even the toughest cuts into juicy, tender masterpieces.
Choose the Right Cut and Prep It Properly
Start by selecting your steak—flank, skirt, or chuck work beautifully with this method. The key is working with the grain. Look at the direction of the muscle fibers (those visible lines running through the meat). You’ll want to cut against these later, but for now, just note their direction.
Pat the steak completely dry with paper towels. This isn’t just about removing moisture; it’s about creating the perfect surface for browning. I like to press down firmly with multiple paper towels until the meat feels slightly tacky to the touch. This step makes all the difference in getting that beautiful crust we’re after.
Tenderize with a Simple Marinade or Dry Brine
For tough cuts, I always recommend a quick marinade or dry brine. You can use something as simple as kosher salt and black pepper rubbed generously on all sides. Let it sit for at least 40 minutes at room temperature, or up to 24 hours in the fridge for maximum tenderizing effect.
If you prefer a wet marinade, combine acidic ingredients like vinegar or citrus with oil and herbs. The acid helps break down tough muscle fibers while the oil keeps the meat moist. Just don’t over-marinate—2-4 hours is plenty for most cuts. Any longer and the texture can become mealy instead of tender.
Cook Low and Slow or Hot and Fast
You have two excellent options here, depending on your time. For the low-and-slow method, sear the steak first in a hot pan for 2 minutes per side, then transfer to a 300°F oven until it reaches 130°F internally. This gentle cooking breaks down connective tissue without drying out the meat.
If you’re short on time, the hot-and-fast method works too. Heat your pan until it’s smoking hot, then cook the steak for 3-4 minutes per side for medium-rare. The high heat creates a flavorful crust while keeping the interior juicy. Either way, you’ll know it’s ready when the meat gives slightly when pressed with tongs—like the fleshy part of your hand between thumb and forefinger.
Rest and Slice Against the Grain
This might be the most important step. Transfer the cooked steak to a cutting board and let it rest for 10 minutes before slicing. I know it’s tempting to cut right in, but this resting period allows the juices to redistribute throughout the meat instead of running out onto your plate.
When you’re ready to slice, cut thinly against the grain at about a 45-degree angle. This shortens the muscle fibers, making each bite easier to chew. You’ll see the difference immediately—the slices should look uniform and tender, not stringy or chewy. Serve immediately while still warm for the best texture and flavor.
Tips and Common Mistakes
These simple adjustments will take your tough cuts from chewy to restaurant-worthy every time.
Drying Technique: When patting the steak dry in Step 1, don’t just dab – press firmly with multiple paper towels until the surface feels slightly tacky. This isn’t just about removing moisture; it’s about creating the perfect surface for that beautiful crust. I’ve found this makes all the difference between a steak that steams and one that sears properly.
Marinating Wisdom: For the 40-minute room temperature dry brine in Step 2, I always set a timer. This short window is perfect for flavor penetration without making the meat mushy. If you’re using a wet marinade, stick to the 2-4 hour maximum – I learned the hard way that longer marinating times can actually break down the meat too much, leaving you with a mealy texture instead of tender.
Temperature Control: In Step 3’s low-and-slow method, that 300°F oven temperature is crucial. It’s hot enough to break down connective tissue but gentle enough to prevent drying. I recommend using an oven thermometer to verify your oven’s accuracy – many run hotter or cooler than their dials indicate. For the hot-and-fast method, let your pan get truly smoking hot before adding the steak; you should see wisps of smoke rising from the surface.
Resting Period: The 10-minute rest in Step 4 isn’t optional – it’s when the magic happens. I like to tent my steak loosely with foil during this time to keep it warm while allowing the juices to redistribute. If you cut too soon, you’ll lose all those delicious juices to your cutting board instead of keeping them in the meat where they belong.
Pro Tips for Best Way To Cook Tough Steak
- These simple adjustments will take your tough cuts from chewy to restaurant-worthy every time.
- Drying Technique: When patting the steak dry in Step 1, don’t just dab – press firmly with multiple paper towels unti…
- Marinating Wisdom: For the 40-minute room temperature dry brine in Step 2, I always set a timer. This short window is…
Frequently Asked Questions
How long should I marinate a tough steak to make it tender?
For best results, marinate tough cuts like flank or skirt steak for at least 4 hours—overnight is ideal! Acidic ingredients (vinegar, citrus, yogurt) or enzymes (pineapple, kiwi) break down fibers faster. Avoid over-marinating (max 24 hours), or the meat can turn mushy.
Can I cook a tough steak quickly and still get it tender?
Yes, but it requires high heat + slicing against the grain! Try a hot sear (2-3 min per side) for thin cuts (like flank), then rest 10 minutes before slicing. For thicker cuts, use a pressure cooker (30-45 min) or slow cooker (6-8 hours) for foolproof tenderness.
What’s the best alternative if I don’t have a meat mallet?
No mallet? No problem! Use a rolling pin, heavy skillet, or even a wine bottle (wrapped in plastic). Pro tip: Place the steak between two sheets of parchment or plastic wrap to avoid tears. Pound evenly for uniform thickness—this helps it cook faster!
Why is my tough steak still chewy after slow cooking?
Chewy results usually mean not enough liquid, low heat, or wrong cut. Ensure your slow cooker has ½–1 cup broth/liquid, cook on low (not high), and choose collagen-rich cuts (chuck, brisket). If all else fails, slice thinly and simmer in the juices for 10 more minutes.
Is it safe to eat tough steak if it’s well-done but still rubbery?
Yes, it’s safe if cooked to 145°F (medium-rare) or higher, but rubbery texture means overcooking or poor prep. Fix it: Shred into tacos, chop for stir-fry, or braise in sauce to mask toughness. Next time, try a salt brine (1 tbsp salt + 4 cups water, 1 hour) before cooking!
Tough steak doesn’t have to mean tough meals! With the right techniques—like marinating, slow cooking, or slicing against the grain—you can turn even the chewiest cuts into fork-tender perfection. A little patience and know-how go a long way in unlocking big flavor without breaking the bank.
Ready to put these tricks to the test? Grab that budget-friendly steak, pick a method, and get cooking! Your next juicy, tender bite is just a recipe away. 🍽️✨

Trained in classic French technique but raised on slow-cooked ribs and spicy rubs, she blends culinary skill with smoke and soul.
- Hamburger Patty Recipe No Egg: Juicy Bind With Breadcrumbs and Milk - October 3, 2026
- Recipe for Oven Baked Halibut: Buttery White Fish with Zesty Lemon Topping - October 3, 2026
- Meatball Curry Recipe Kerala Style: Coconut-Spiced Gravy With Tender Bites - October 3, 2026