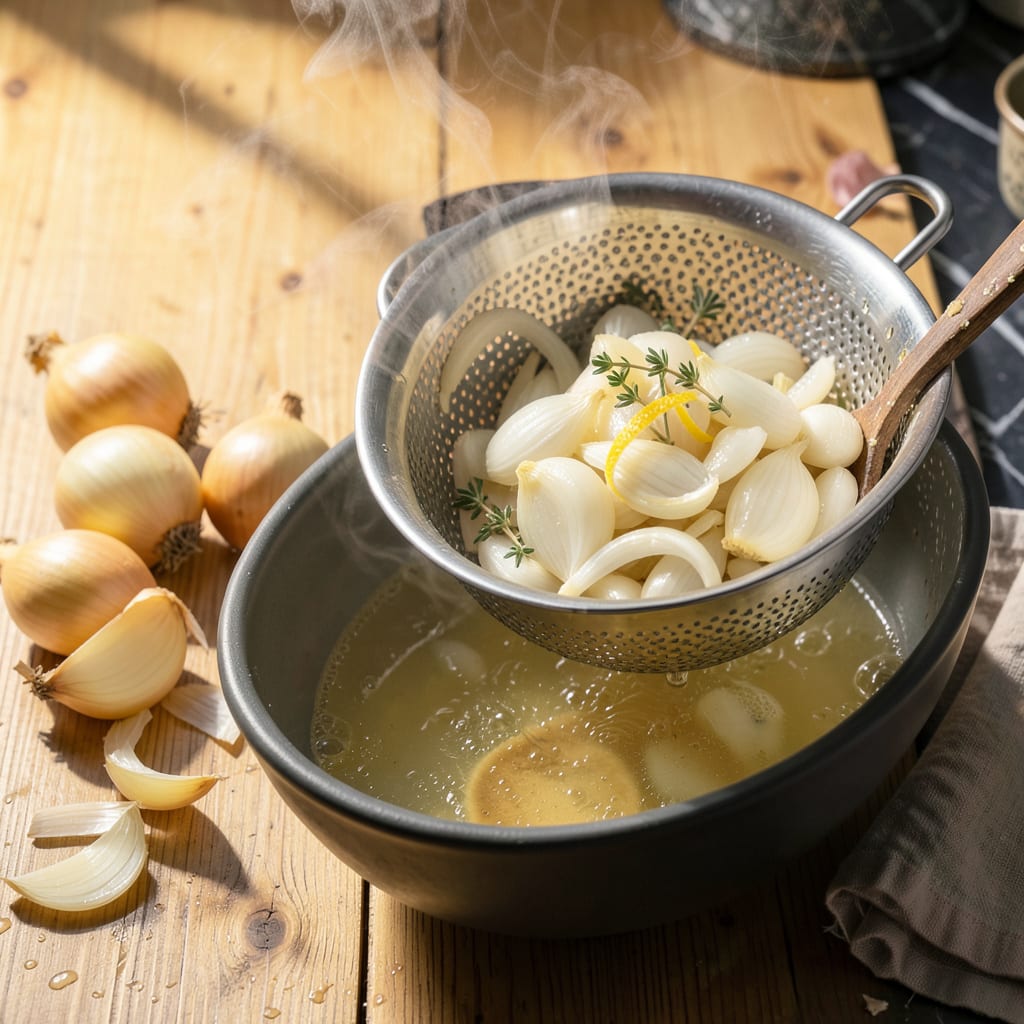
I’ll be real with you: blanching onions is one of those kitchen tricks that seems unnecessary until you try it. That first time I dropped sliced onions into boiling water, I was skeptical—why bother when raw works fine? But when I tasted the difference, I was hooked. The harsh bite disappears, leaving behind pure, mellow sweetness that transforms everything from salads to soups.
This isn’t some fancy restaurant technique—it’s a simple 5-minute process anyone can master. You just need boiling water, ice, and a timer. I use it constantly when I want onions that are tender but still crisp, like in my favorite French-inspired dishes or quick-pickled toppings. The change is dramatic: raw onions make you wince, but blanched ones make you reach for seconds.
Here’s the thing—once you try this, you’ll start seeing opportunities everywhere. Toss them in grain bowls for subtle sweetness, layer them in sandwiches without the sharp aftertaste, or use them as a base for creamy dips. I’ve even caught myself snacking on them straight from the jar when I’ve pickled a batch.
No special equipment, no advanced skills—just a game-changing technique that’ll make your cooking taste more refined. Let me walk you through exactly how to do it right, then we’ll put those perfectly blanched onions to work in some killer recipes.
📚 In This Guide
- What You’ll Need
- Instructions
- Tips and Common Mistakes
What Youll Need
- ● Fresh onions – 2–4 medium (yellow, white, or red, peeled and sliced/quartered)
- ● Water – 4–6 cups (enough to fully submerge onions in a pot)
- ● Ice – 2 cups (for an ice bath)
- ○ Salt – 1 tbsp (optional, enhances flavor and helps preserve color)
- ● Large pot – 3–4 quart capacity (for boiling)
- ● Slotted spoon or spider strainer – to remove onions easily
- ● Large bowl – for the ice bath (preferably stainless steel or heatproof glass)
- ○ Colander – for draining (optional but helpful)
- ● Paper towels or clean kitchen towel – to pat onions dry post-blanching
- ● Timer – to track blanching time (30–60 seconds)
- ○ Vinegar or lemon juice – 1 tbsp (optional, helps retain bright color for red onions)
Instructions
Here’s the simple process that transforms raw onions into sweet, tender perfection—ready in minutes.
Prepare the Onions and Water Bath
Start by peeling and cutting your onions into uniform pieces. I recommend 1-inch wedges for whole onions or 1-inch dice for chopped—this ensures even cooking. The size matters because smaller pieces will soften faster, while larger pieces maintain more texture.
Fill a large pot with enough water to completely submerge the onions—about 3 quarts for 4 servings. Bring it to a rolling boil over high heat. While waiting, prepare an ice bath in a large bowl with equal parts ice and cold water. This shock stops the cooking process immediately.
Here’s the thing—don’t skip the ice bath. It’s what locks in that perfect texture and vibrant color. Without it, your onions will continue cooking from residual heat and turn mushy.
Blanch the Onions for Optimal Texture
Once the water reaches a full, rolling boil, carefully add the prepared onions using a slotted spoon or mesh strainer. This prevents splashing and ensures safety. The water temperature will drop slightly when you add the onions—that’s normal.
Blanch the onions for exactly 2-3 minutes, depending on their size. You’ll notice the sharp, raw onion smell mellowing and the edges becoming slightly translucent. Watch for the color to brighten—this visual cue tells you they’re ready.
Don’t walk away during this step. Over-blanching turns onions soggy, while under-blanching leaves them with a raw bite. I always set a timer to avoid guessing.
Shock in Ice Water Immediately
Using the same slotted spoon or strainer, quickly transfer the blanched onions to the prepared ice bath. Stir them gently for about 1 minute to ensure even cooling. You’ll feel the water temperature rise as the onions release their heat.
The onions should become crisp-tender—firm enough to hold their shape but with no raw bite. Test one by biting into it; it should yield easily without resistance. If they’re still too firm, you can blanch them for another 30 seconds and shock again.
Real talk: This step makes all the difference. The ice bath preserves that beautiful bright color and stops the cooking process dead in its tracks, giving you perfect texture every time.
Drain and Use or Store
Drain the onions thoroughly in a colander, gently pressing with paper towels to remove excess moisture. They’re now ready to use in your recipe. Notice how their flavor has transformed—sweeter, milder, and more aromatic than raw onions.
If you’re not using them immediately, spread the blanched onions on a paper towel-lined plate in a single layer. Pat them dry, then transfer to an airtight container. They’ll keep in the refrigerator for up to 3 days.
For meal prep, I like to blanch a big batch and freeze them in portions. They’ll maintain their texture for up to 3 months when properly stored in freezer bags with all the air squeezed out.
Tips and Common Mistakes
Mastering this simple technique comes down to precision and timing—here’s how to get it right every time.
Timing Secret: Those 2-3 minutes in Step 2 are everything. I learned the hard way that even 30 seconds too long turns onions mushy, while under-blanching leaves them harsh. Set a timer the moment they hit the boiling water, and watch for the edges to just begin softening—that’s your visual cue they’re ready. The smell changes too, from sharp and pungent to noticeably sweeter.
Ice Bath Importance: Don’t rush Step 3—those 60 seconds in the ice bath aren’t optional. I’ve seen people skip this and end up with limp, overcooked onions because residual heat keeps working. Stir them gently in the ice water until they feel cool to the touch. You’ll actually feel the texture change from soft to crisp-tender right in your fingers.
Water Preparation: The 3 quarts of water for 4 servings in Step 1 might seem like a lot, but it’s crucial for even cooking. Too little water means the temperature drops dramatically when you add onions, leading to uneven blanching. I use a pot that’s wide enough to let the onions move freely—crowding creates steamed rather than blanched results.
Storage Strategy: For meal prep, I’ve found that spreading blanched onions on paper towels before refrigerating (as mentioned in Step 4) prevents that slimy texture some people complain about. They’ll keep their crisp-tender quality for the full 3 days in the fridge, or freeze beautifully for 3 months when packed in airtight bags with all the air pressed out.
Pro Tips for Blanch Onions
- Mastering this simple technique comes down to precision and timing—here’s how to get it right every time.
- Timing Secret: Those 2-3 minutes in Step 2 are everything. I learned the hard way that even 30 seconds too long turns…
- Ice Bath Importance: Don’t rush Step 3—those 60 seconds in the ice bath aren’t optional. I’ve seen people skip this a…
Frequently Asked Questions
Got questions about blanching onions? You’re not alone! Here are the most common queries—with quick, practical answers to help you nail the technique every time.
How long should I blanch onions for the best flavor?
Blanch sliced or whole onions for 30–60 seconds in boiling water, then shock in ice water. This softens their bite while keeping texture intact. Over-blanching (beyond 2 minutes) turns them mushy—stick to short bursts for crisp-tender results!
Can I blanch onions without a strainer or slotted spoon?
Use a heatproof sieve, tongs, or even a pasta fork to lift onions from the pot. In a pinch, carefully pour them into a colander in the sink—just act fast to stop the cooking process.
Why do my blanched onions taste bitter instead of sweet?
Bitterness usually means under-blanching or using old onions. Try blanching for the full 60 seconds, then shocking in ice-cold water (not lukewarm). Also, opt for fresh, sweet varieties like Vidalia or Walla Walla for better results.
What’s the best alternative if I don’t want to blanch?
For a similar mellow effect, try sweating onions in oil over low heat (10–15 minutes) or soaking sliced onions in cold salted water for 30 minutes. Both methods reduce sharpness without boiling.
Do I need to peel onions before blanching whole ones?
Yes! Leave the root end intact to hold layers together, but peel the outer skin first. For whole blanched onions (like for stuffing), score the root slightly after blanching to help layers separate easily.
Blanching onions is your shortcut to softer texture, reduced bitterness, and enhanced sweetness—all in under 5 minutes! 🌱 Whether you’re prepping for salads, stir-fries, or freezer storage, this simple technique unlocks a world of flavor without overpowering your dish. Now that you’ve mastered the basics, why not try it tonight?
Grab a pot, a batch of onions, and experiment with your favorite recipes. The difference will surprise you! For extra inspiration, check out our guide on caramelizing blanched onions for next-level depth. Happy cooking! 👨🍳

Trained in classic French technique but raised on slow-cooked ribs and spicy rubs, she blends culinary skill with smoke and soul.
- Recipe for Boneless Pork Chops in Cast Iron Skillet: Sear and Baste to Juicy Perfection - October 3, 2026
- Recipe for Boneless Cross Rib Roast: Slow-Roasted Beef with Herb Crust - October 3, 2026
- Hamburgers in Sauce Recipe Crock Pot: Slow-Cooked Savory Delight - October 3, 2026