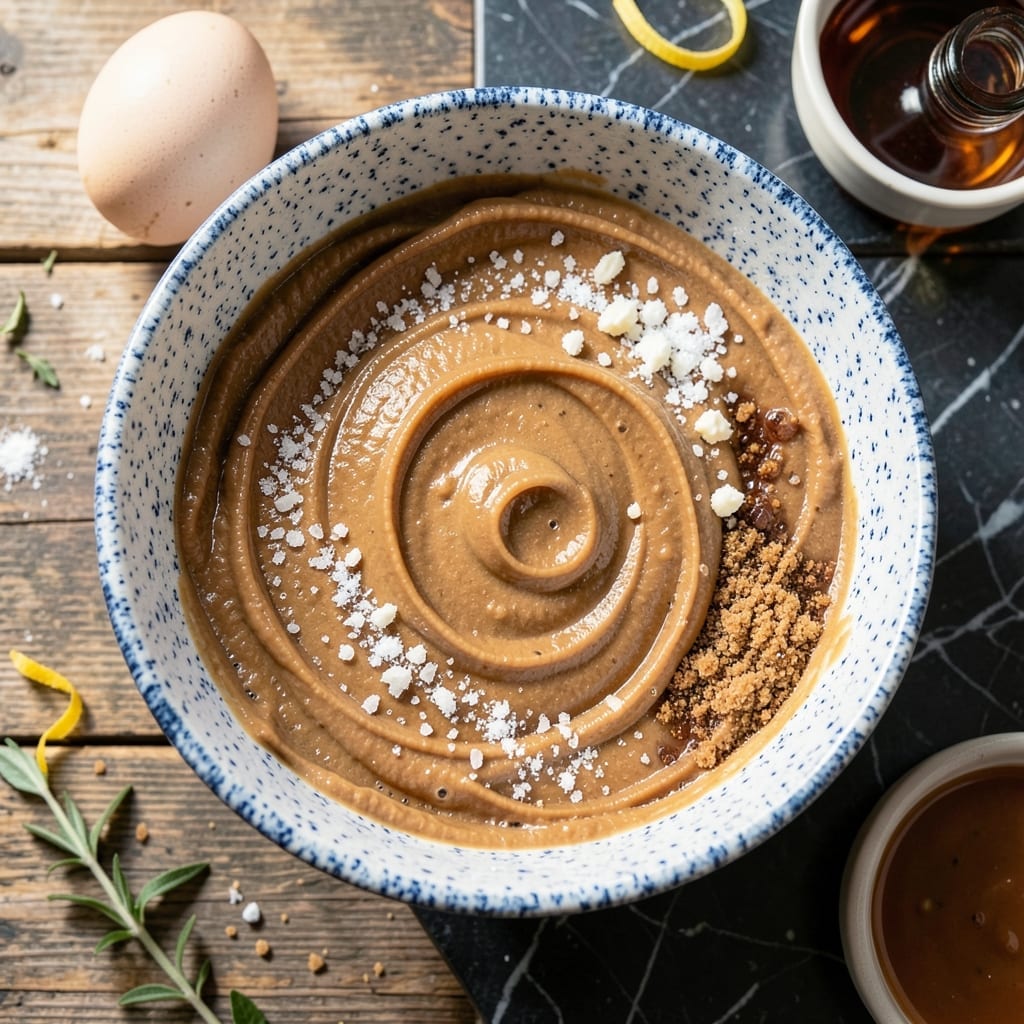
There’s a reason these classic peanut butter cookies have stood the test of time. The iconic crisscross pattern isn’t just for looks—it ensures even baking and that signature chewy texture everyone loves.
This recipe stays true to tradition with simple ingredients and a foolproof method. No shortcuts, no gimmicks—just the real deal, straight from the oven to your cookie jar.
What you’ll get is a batch of golden, tender cookies with a rich peanut butter flavor that’s both nostalgic and impossible to resist. The scent alone will have everyone gathering in the kitchen.
Perfect for baking with family or treating yourself to a timeless favorite.
Ingredients for Better Homes and Gardens Peanut Butter Cookie
Timeless ingredients for that nostalgic chewy texture you remember from childhood baking sessions.
| Ingredient | Amount | Notes |
|---|---|---|
| Creamy Peanut Butter 🥜 | 1 cup | Natural or commercial variety |
| Unsalted Butter 🧈 | ½ cup | Softened to room temperature |
| Granulated Sugar 🍚 | 1 cup | White sugar preferred |
| Light Brown Sugar 🟤 | 1 cup | Packed firmly into cup |
| Large Egg 🥚 | 1 whole | Room temperature for even mixing |
| Vanilla Extract 💧 | 1 tsp | Pure vanilla recommended |
| All-Purpose Flour 🌾 | 2 ¼ cups | Spoon and level method |
| Baking Soda 🧂 | 1 tsp | Ensures proper rise and spread |
| Salt 🧂 | ½ tsp | Fine table salt works best |
| Roasted Peanuts 🥜 | ½ cup | Chopped, optional for texture |
[recipe_ingredient_scaler]
The peanut butter is non-negotiable here. Jif or Skippy give that classic flavor and consistency—natural varieties work too but may yield a slightly different texture. For the butter, Land O’Lakes is my go-to for reliable results. The sugars create the perfect chew: granulated for structure, brown for moisture. Domino or C&H are solid choices for both.
No peanut butter on hand? Any nut or seed butter can work, though the flavor will shift. Out of brown sugar? Use all granulated sugar plus 1 tbsp molasses for similar results. The egg binds everything—flax egg won’t work here for the right texture. For gluten-free, swap the flour for a 1:1 all-purpose gluten-free blend like King Arthur’s.
Dough keeps in the fridge for 3 days or freezes beautifully for 3 months (portion into balls first). Baked cookies stay fresh in an airtight container for 5 days. The flavor actually deepens after day one—if you can wait that long.
Why You’ll Love This Recipe
- One Bowl Wonder: I mix everything in a single bowl—no fancy equipment, just a wooden spoon and those five ingredients, and I’m done in 15 minutes flat.
- Lunchbox Hero: These stay soft for days, so I bake a double batch on Sunday and pack them all week. My kid’s teachers have started requesting them too.
- Pantry MVP: Between us, I always have these ingredients on hand, so when the craving hits, I’m never more than 20 minutes away from warm peanut butter bliss.
Step-by-Step Instructions for Classic Peanut Butter Cookies
Master the technique that delivers perfectly textured cookies with that signature crisscross pattern.
Step 1: Cream Peanut Butter, Butter, and Sugars
In a large mixing bowl, combine the 1 cup Creamy Peanut Butter and 0.5 cup Unsalted Butter. Using an electric mixer, beat on medium speed for 1-2 minutes until the mixture becomes light and fluffy. The butter should be fully incorporated with the peanut butter, with no visible streaks.
Add the 1 cup Granulated Sugar and 1 cup Light Brown Sugar, then continue beating for another 2-3 minutes. The mixture will lighten further in color and texture. This creaming process is crucial—it incorporates air, which contributes to the cookies’ final texture.
Step 2: Incorporate Egg and Vanilla
Beat in the 1 whole Large Egg on medium speed until fully combined, scraping down the sides of the bowl as needed. This should take about 30 seconds. The egg adds moisture and structure, binding the ingredients together.
Add the 1 tsp Vanilla Extract and mix for another 15-20 seconds until evenly distributed. The vanilla enhances the peanut butter flavor, adding depth and warmth to the cookies. At this point, the mixture should look smooth and slightly glossy.
Step 3: Combine Dry Ingredients and Roasted Peanuts
In a separate bowl, whisk together the 2.25 cups All-Purpose Flour, 1 tsp Baking Soda, and 0.5 tsp Salt. This ensures even distribution of the leavening agent and seasoning, preventing pockets of salt or baking soda in the final cookies.
Gradually add the dry ingredients to the wet mixture, beating on low speed just until combined. Overmixing can develop the gluten in the flour, leading to tough cookies. Fold in the 0.5 cup Roasted Peanuts by hand if using, ensuring they are evenly distributed throughout the dough.
Step 4: Shape, Crisscross, and Bake
Preheat the oven to 375°F and line baking sheets with parchment paper. Roll the dough into 1-inch balls and place them 2 inches apart on the prepared sheets. The dough will be slightly sticky—this is normal.
Using a fork, gently press down on each ball to flatten slightly, creating the classic crisscross pattern. Bake for 10-12 minutes or until the edges are light golden brown. The centers may still look slightly underdone, but they will firm up as the cookies cool.
Step 5: Cool and Store
Allow the cookies to cool on the baking sheet for 5 minutes before transferring them to a wire rack to cool completely. This brief resting period lets the cookies set, preventing them from crumbling when moved.
The cookies will continue to firm up as they cool. Once completely cool, store them in an airtight container at room temperature for up to 1 week. The crisscross pattern should remain distinct, and the texture will stay chewy with a slight crispness at the edges.
Pro Tips For Making Better Homes And Gardens Peanut Butter Cookie
- Chill the Dough: After mixing, refrigerate the dough for at least 30 minutes—I learned this the hard way when my first batch spread into flat, greasy puddles on the sheet.
- Use Room-Temp Butter: Take the unsalted butter out 1-2 hours before baking, or it won’t cream properly with the sugars and peanut butter. Sounds obvious, but I’ve ruined two batches by rushing this.
- Measure Peanut Butter Right: Pack the creamy peanut butter tightly into the measuring cup, then level it off—skipping this leaves cookies dry and crumbly. My grandmother swore by this, and she was right.
- Rotate the Sheets: Halfway through baking, switch the pans from top to bottom and front to back. This guarantees even browning, especially with light brown sugar in the mix.
Creative Variations of These Flavors
Chocolate Chip Surprise
Add ½ cup semi-sweet chocolate chips to the dough for a classic combo. The melty pockets contrast beautifully with the peanut butter. I use Ghirardelli for consistent quality. 💫
Double Nut Delight
Swap the Roasted Peanuts for ½ cup chopped pecans or walnuts for extra crunch. Toast them first in a dry pan for 3-4 minutes to deepen their flavor. This adds a gourmet touch to the classic recipe.
Spiced Warmth
Mix in ½ tsp cinnamon and ¼ tsp nutmeg with the dry ingredients for a cozy twist. These warm spices complement the peanut butter perfectly, especially in cooler months. I love this variation with a glass of cold milk.
Gluten-Free Option
Use King Arthur’s 1:1 gluten-free flour instead of all-purpose. The cookies will be slightly denser but still delicious. Let the dough rest for 30 minutes before shaping to help the flour hydrate properly.
Vegan Adaptation
Replace the Large Egg with 1 flax egg (mix 1 tbsp ground flaxseed with 3 tbsp water, let sit for 5 minutes). Use vegan butter and ensure your chocolate chips are dairy-free.
Peanut Butter Stuffed
Roll 1 tsp peanut butter into the center of each dough ball before baking. This creates a gooey surprise inside. Press the crisscross lightly so the filling stays contained while baking. 🥜
Nutrition Facts
Frequently Asked Questions
Why use both granulated and brown sugar?
The granulated sugar creates structure while brown sugar adds moisture for chewiness. Together they give that perfect texture.
Can I skip the crisscross pattern?
You can, but flattening with a fork helps them bake evenly. Without it, cookies may be thicker in the center.
How do I prevent cookies from spreading too much?
Chill dough for 30 minutes before baking. Also, ensure butter is softened but not melted.
Can I make these without an electric mixer?
Yes! Use a wooden spoon and strong arm for creaming. It’ll take longer but works in a pinch.

Trained in classic French technique but raised on slow-cooked ribs and spicy rubs, she blends culinary skill with smoke and soul.
- Recipe for Boneless Pork Chops in Cast Iron Skillet: Sear and Baste to Juicy Perfection - October 3, 2026
- Recipe for Boneless Cross Rib Roast: Slow-Roasted Beef with Herb Crust - October 3, 2026
- Hamburgers in Sauce Recipe Crock Pot: Slow-Cooked Savory Delight - October 3, 2026