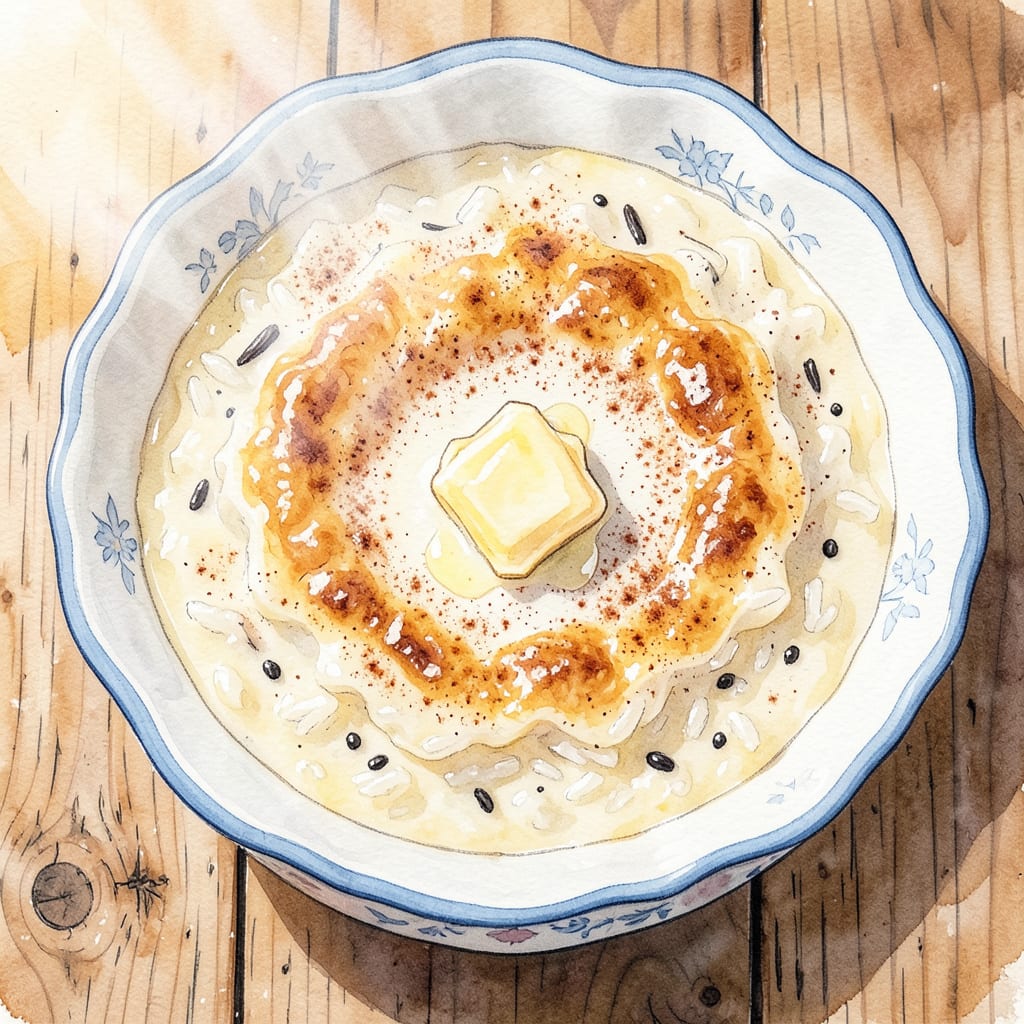
There’s something deeply comforting about a properly baked rice pudding—its creamy custard texture and warm, spiced aroma transform simple ingredients into pure nostalgia. This version stays true to Betty Crocker’s mid-century approach, where home cooks relied on precise ratios and gentle baking to achieve that signature velvety consistency without fuss.
The technique is straightforward: slow-baking rice in a rich custard base allows the grains to absorb liquid gradually, creating a pudding that’s creamy throughout with just the right amount of resistance. What emerges from the oven is a dish that bridges tradition and modern comfort—equally at home at a family dinner or as an elegant dessert with a drizzle of caramel.
Ingredients for Betty Crocker Baked Rice Pudding
This classic custard combines pantry staples with precise ratios to achieve Betty Crocker’s signature velvety texture and comforting warmth.
| Ingredient | Amount | Notes |
|---|---|---|
| Long-grain white rice 🍚 | ¾ cup | Uncooked, not instant |
| Whole milk 🥛 | 4 cups | Full-fat for optimal creaminess |
| Granulated sugar 🍬 | ⅔ cup | Fine white sugar preferred |
| Large eggs 🥚 | 3 whole | Room temperature, grade A |
| Unsalted butter 🧈 | 2 tbsp | European-style preferred |
| Vanilla extract 🌿 | 1 tsp | Pure vanilla, not imitation |
| Ground cinnamon 🌶️ | ½ tsp | Ceylon for delicate flavor |
| Ground nutmeg 🌰 | ¼ tsp | Freshly grated ideal |
| Salt 🧂 | ½ tsp | Diamond Crystal kosher salt |
| Raisins 🍇 | ½ cup | Golden or dark, plumped |
| Vanilla bean 🌱 | ½ whole | Split and scraped (optional) |
| Heavy cream 🥛 | ½ cup | 36-40% butterfat content |
[recipe_ingredient_scaler]
The rice quality directly impacts final texture—Carolina or Mahatma long-grain white rice yields the ideal balance of creaminess and structure. Whole milk is non-negotiable for authentic custard richness; organic Valley or local dairy brands provide superior fat content. For the vanilla, Nielsen-Massey extract delivers consistent flavor, while a scraped vanilla bean (available at Whole Foods or specialty markets) elevates the dish to restaurant quality. The eggs should be fresh, preferably from a trusted local source, as their emulsifying properties are critical to the pudding’s signature consistency.
Substitutions require careful consideration to maintain the custard’s integrity. 2% milk can replace whole milk in a pinch, though the result will be less luxurious. Brown sugar may substitute granulated at a 1:1 ratio, adding molasses notes. For a nutmeg-free version, cardamom at half the quantity offers complementary warmth. Raisin alternatives include dried currants or chopped dates (soaked 10 minutes in warm water). Those avoiding dairy can use full-fat coconut milk, though the flavor profile will shift noticeably—adjust sugar accordingly as coconut milk contains natural sweetness.
Proper storage preserves the pudding’s delicate texture. Refrigerate in a shallow container with plastic wrap pressed directly onto the surface to prevent skin formation—keeps 4-5 days. For longer storage, portion into airtight containers and freeze up to 2 months; thaw overnight in the refrigerator. The custard separates slightly upon freezing but re-emulsifies beautifully when gently reheated in a double boiler. Always bring to room temperature before serving to fully appreciate the creamy mouthfeel that defines this classic preparation.
Why You’ll Love This Recipe
- One-Bowl Magic: I love that this comes together in a single mixing bowl—just stir the rice, milk, sugar, and eggs, then pour into the baking dish. No fancy techniques, no standing over the stove stirring constantly like stovetop versions.
- That Golden Crust: Here’s what sold me—the buttery, caramelized top layer that forms while the inside stays creamy. The contrast between the slightly crisp edges and the velvety custard center? Ridiculously good.
- Breakfast or Dessert?: Honestly, I’ve served this warm with cinnamon for breakfast and chilled with whipped cream for dessert. It’s my go-to when I need something that works for brunch *and* midnight snack cravings.
- Leftovers? Even Better: The pudding thickens overnight, so the next-day texture is almost like a rich bread pudding. I’ll be real: I sometimes double the batch just to have extras—it reheats beautifully with a splash of milk.
Step-by-Step Instructions for Baked Rice Pudding
This method transforms simple ingredients into a velvety custard with perfect texture and balanced sweetness.
Step 1: Prepare the Rice Base
Preheat your oven to 325°F. In a large, heavy-bottomed saucepan, combine the 0.75 cup long-grain white rice, 4 cups whole milk, and 0.5 tsp salt. Bring to a gentle simmer over medium heat, stirring occasionally to prevent the rice from sticking to the bottom.
Once simmering, reduce heat to low and cook uncovered for 20-25 minutes, stirring frequently, until the rice is tender but still slightly firm. The mixture should thicken noticeably but remain loose enough to pour. Remove from heat and stir in the 0.66 cup granulated sugar until fully dissolved.
Step 2: Temper the Egg Mixture
In a separate bowl, whisk together the 3 large eggs, 1 tsp vanilla extract, 0.5 tsp ground cinnamon, and 0.25 tsp ground nutmeg until smooth. Slowly ladle about 1 cup of the hot rice mixture into the egg mixture while whisking constantly—this tempering process prevents the eggs from curdling.
Once the egg mixture is warmed, pour it back into the saucepan with the remaining rice. Stir in the 2 tbsp unsalted butter and 0.5 cup raisins (if using). For enhanced flavor, scrape the seeds from the 0.5 vanilla bean and add them to the mixture along with the pod itself.
Step 3: Incorporate Cream and Bake
Stir in the 0.5 cup heavy cream until fully combined. Pour the mixture into a 2-quart baking dish that has been lightly buttered. The custard should fill the dish about two-thirds full, allowing room for expansion during baking.
Place the baking dish in a larger roasting pan and pour hot water into the roasting pan until it reaches halfway up the sides of the baking dish. This water bath (bain-marie) ensures gentle, even cooking and prevents the custard from curdling or developing a skin.
Step 4: Bake to Custard Perfection
Bake at 325°F for 1 hour to 1 hour 15 minutes, or until the pudding is set around the edges but still slightly wobbly in the center. The top should be golden brown, and a knife inserted near the center should come out clean.
If the top begins to brown too quickly, tent the dish loosely with aluminum foil. The pudding is done when it registers 175-180°F on an instant-read thermometer inserted into the center. The texture should be creamy with a slight jiggle—it will firm up as it cools.
Step 5: Cool and Serve
Remove the pudding from the water bath and let it cool on a wire rack for 30 minutes. This resting period allows the custard to set fully. For best texture, chill the pudding in the refrigerator for at least 2 hours before serving.
Serve warm or chilled, dusted with additional ground cinnamon if desired. The pudding should have a smooth, creamy consistency with visible rice grains and plump raisins throughout. Store leftovers covered in the refrigerator for up to 4 days.
Storing and Reheating This Dish
Refrigerator Storage
After your pudding has cooled completely, transfer it to an airtight container—I prefer glass Pyrex with snap-on lids to maintain that perfect creamy texture. Press plastic wrap directly onto the surface before sealing to prevent that pesky skin from forming. Properly stored, it’ll keep beautifully for 4-5 days in the fridge. ❄️
Freezer Storage
For longer storage, portion the pudding into freezer-safe containers (I like the OXO Good Grips line) leaving about 1 inch of headspace for expansion. It freezes well for up to 2 months, though I’ve found the texture stays best if consumed within 6 weeks. Thaw overnight in the fridge before reheating.
Stovetop Reheating
My favorite method for reheating is using a double boiler. Place the pudding in a heatproof bowl over simmering water, stirring occasionally until warmed through—about 10-15 minutes. This gentle heat prevents separation. If it seems too thick, whisk in 1-2 tbsp warm milk to restore that silky consistency.
Microwave Reheating
For quick servings, microwave individual portions at 50% power in 30-second intervals, stirring between each. Cover with a damp paper towel to prevent drying. I’ve found this method works best with slightly undercooked initial portions—aim for 165°F internal temperature. The texture might not be quite as smooth as stovetop, but it’s perfectly acceptable for a quick treat.
Serving Temperature
This pudding is versatile—serve it warm, at room temperature, or chilled. I particularly love it slightly warm with a drizzle of caramel sauce or a sprinkle of toasted coconut. If you’ve refrigerated it, let it sit at room temperature for 15-20 minutes before serving to soften slightly. The flavors actually deepen after a day in the fridge, making leftovers even more delicious.
Reviving Separated Pudding
If your stored pudding separates slightly (it happens!), don’t worry—it’s easily fixed. Gently whisk in 2-3 tbsp warm milk over low heat until smooth. For a richer fix, use heavy cream instead. I’ve rescued many a pudding this way, and honestly, sometimes the revived version tastes even better than the original! 💛
Nutrition Facts

Trained in classic French technique but raised on slow-cooked ribs and spicy rubs, she blends culinary skill with smoke and soul.
- Recipe for Boneless Pork Chops in Cast Iron Skillet: Sear and Baste to Juicy Perfection - October 3, 2026
- Recipe for Boneless Cross Rib Roast: Slow-Roasted Beef with Herb Crust - October 3, 2026
- Hamburgers in Sauce Recipe Crock Pot: Slow-Cooked Savory Delight - October 3, 2026