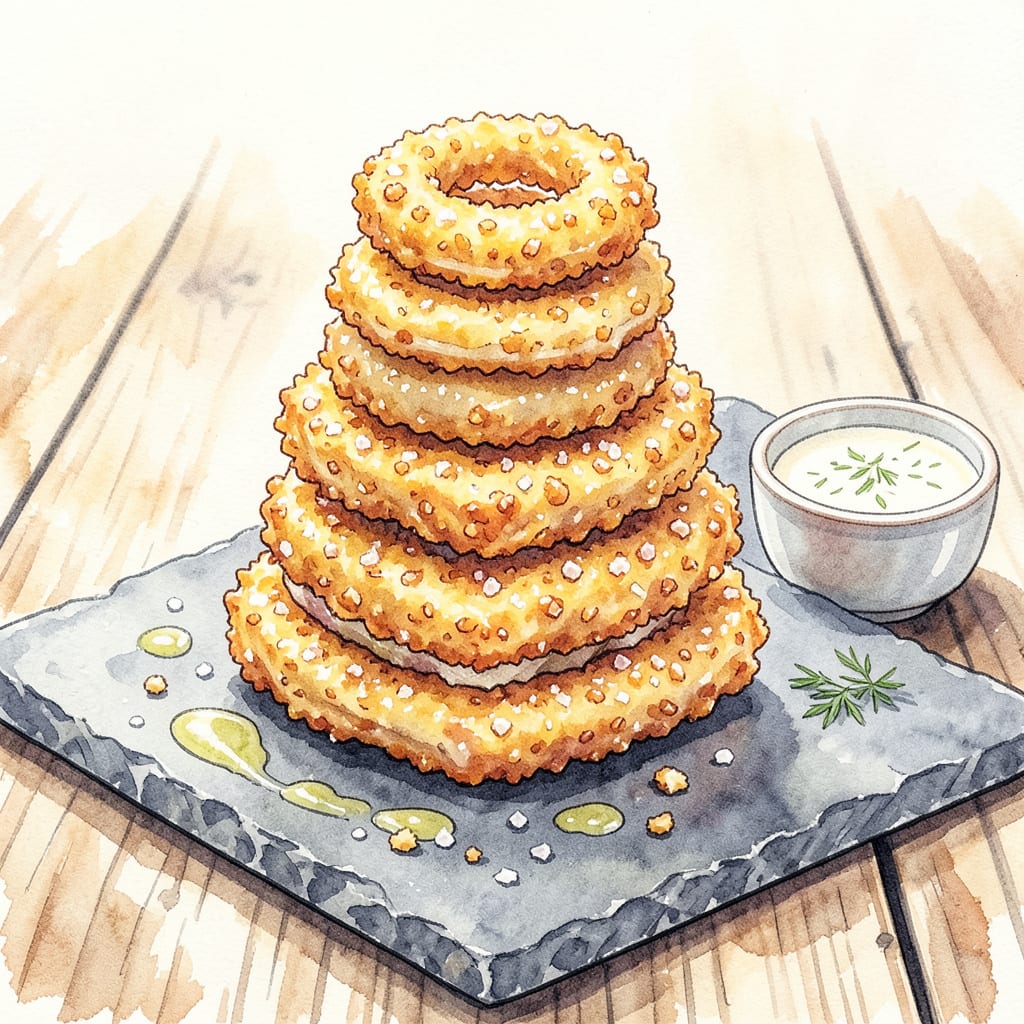
Perfecting crispy onion rings at home requires one essential ingredient: panko breadcrumbs. This Japanese-style breading creates an ultra-crunchy exterior that stays shatteringly crisp even after cooling. I developed this beer-battered method after testing countless variations—it’s the only technique that delivers restaurant-quality results every time.
The secret lies in the double-dredging process and maintaining precise oil temperature. Beer in the batter adds lightness while the panko creates jagged edges that crisp perfectly. You’ll achieve golden, crunchy rings with tender sweet onions inside—no soggy breading, no greasy aftertaste. This method transforms a simple appetizer into something truly exceptional.
Ingredients for Panko Onion Rings
Japanese panko and cold beer create the foundation for these restaurant-quality crispy onion rings at home.
| Ingredient | Amount | Notes |
|---|---|---|
| Large Sweet Onions 🧅 | 2 whole | Sliced into 1/2-inch rings |
| All-Purpose Flour 🌾 | 1 ½ cups | Divided for dredging and batter |
| Panko Breadcrumbs 🍞 | 3 cups | Japanese-style for ultra-crisp texture |
| Light Beer 🍺 | 12 oz | Cold, any lager or pilsner |
| Large Eggs 🥚 | 2 whole | Beaten for batter adhesion |
| Baking Powder 🧂 | 1 tsp | For batter lightness |
| Kosher Salt 🧂 | 1 ½ tsp | Diamond Crystal preferred |
| Freshly Ground Black Pepper 🌶️ | ½ tsp | Medium-coarse grind |
| Paprika 🌶️ | 1 tsp | Sweet or smoked variety |
| Garlic Powder 🧄 | 1 tsp | Freshly opened for potency |
| Vegetable Oil 🫒 | 48 oz | For deep-frying, 350°F maintained |
| Buttermilk 🥛 | ½ cup | For onion soaking (optional) |
[recipe_ingredient_scaler]
The panko breadcrumbs are non-negotiable for achieving professional-grade crispness. Kikkoman brand offers the most consistent texture, available at Asian markets or well-stocked supermarkets. Optimal results require freshly opened panko—stale crumbs absorb oil and lose crunch. For the beer batter, any light lager works, but Pilsner Urquell provides ideal carbonation without overpowering flavor. The onions should be Vidalia or Walla Walla varieties when in season for their superior sweetness and structural integrity during frying.
For dietary adaptations, substitute gluten-free panko and all-purpose flour blend for celiac-friendly rings. The beer can be replaced with sparkling water plus 1 tsp vinegar for non-alcoholic versions. Buttermilk soaking (30 minutes) enhances sweetness but isn’t essential—ice water with 1 tbsp sugar achieves similar results. Maintain precise oil temperature using a candy thermometer; fluctuations above 360°F risk burning the delicate panko crust before the onions cook through.
Prepared rings maintain peak crispness for 2 hours at room temperature. Refrigeration compromises texture—reheat in a 400°F oven for 5-7 minutes to restore crunch. Uncooked rings can be frozen on trays before bagging; fry from frozen adding 1-2 minutes to cooking time. Store panko in airtight containers for 3 months maximum; humidity is its greatest enemy.
Why You’ll Love This Recipe
- No Deep-Fry Drama: Honestly, I used to avoid onion rings because of the oil mess—until I tried baking these. The panko gets that golden crunch in the oven with just a light spray, and I skip the splatter cleanup entirely.
- Sweet Meets Crunch: Here’s what sold me—the sweet onions caramelize just enough under that shatter-crisp panko shell. The beer in the batter? It adds this subtle malty depth that makes them dangerously addictive.
- My Game-Day MVP: I’ve served these at Super Bowl parties and random weeknight dinners, and they disappear both times. They’re solid straight from the oven or reheated on a sheet pan for 5 minutes—no soggy leftovers here.
- Budget-Friendly Crowd Pleaser: Two large sweet onions stretch further than you’d think, and panko’s cheaper than those pre-made frozen rings. I’ll be real: I’ve fed four hungry teens with this recipe for under $8, and they still ask for the recipe.
Step-by-Step Instructions for Panko Onion Rings
This professional method delivers restaurant-quality crispiness with foolproof technique and precise temperature control.
Step 1: Prepare the Onions for Optimal Texture
Begin by slicing the 2 whole large sweet onions into ½-inch thick rings, carefully separating them into individual rings. Discard the small center pieces as they won’t hold up during frying. For maximum crispness, I recommend soaking the rings in ½ cup buttermilk for 15 minutes—this tenderizes the onions and helps the coating adhere better.
While the onions soak, set up your breading station with three shallow dishes. In the first dish, combine 1 cup all-purpose flour with 1.5 tsp kosher salt, 0.5 tsp freshly ground black pepper, 1 tsp paprika, and 1 tsp garlic powder. The second dish will hold the 2 beaten large eggs mixed with 12 oz light beer and 1 tsp baking powder. Place the 3 cups panko breadcrumbs in the third dish.
Step 2: Create the Multi-Layered Breading System
Working with one onion ring at a time, remove it from the buttermilk and let excess drip off. Dredge it thoroughly in the seasoned flour mixture, shaking off any excess. This initial flour coating creates a dry surface for the wet batter to cling to, which is crucial for preventing the breading from sliding off during frying.
Dip the floured ring into the beer batter, allowing excess to drip off for 5 seconds. The carbonation in the beer creates tiny bubbles that will expand during frying, contributing to the final crispy texture. Immediately press the ring into the panko breadcrumbs, turning to coat completely. Apply gentle pressure to ensure the crumbs adhere evenly. Place the breaded ring on a wire rack while you prepare the remaining rings.
Step 3: Maintain Perfect Frying Conditions
Heat the 48 oz vegetable oil in a heavy-bottomed pot or Dutch oven to 350°F. Use a deep-fry thermometer for accuracy—this temperature is critical for achieving golden-brown crispiness without absorbing excess oil. The oil should be deep enough to completely submerge the rings, typically 2-3 inches in the pot.
Working in batches to avoid crowding, carefully lower 4-5 breaded rings into the hot oil. Fry for 2-3 minutes, then gently flip with tongs. Continue frying for another 2-3 minutes until both sides are deep golden brown and the bubbles around the rings have slowed significantly. The ideal doneness is achieved when the breading is crisp and the onions inside are tender but still retain some bite.
Step 4: Drain and Serve at Peak Crispness
Transfer the fried rings to a wire rack set over a baking sheet or to paper towels to drain. The wire rack method is preferable as it allows air circulation on all sides, preventing the breading from becoming soggy. Sprinkle immediately with additional kosher salt while still hot to enhance flavor.
Serve the onion rings within 10 minutes of frying for optimal crispness. The contrast between the shatteringly crisp panko exterior and the sweet, tender onion interior is best experienced fresh from the fryer. For serving, arrange on a platter with your preferred dipping sauces—spicy mayo or chipotle ketchup complement the flavors particularly well.
Dietary Considerations for This panko onion rings
Gluten-Free Adaptation
For those avoiding gluten, I’ve perfected a substitution that maintains the signature crunch. Replace the all-purpose flour with a 1:1 gluten-free flour blend (I recommend King Arthur Measure for Measure). Use gluten-free panko—Kikkoman’s gluten-free version works beautifully. The beer in the batter can be swapped for gluten-free lager like Glutenberg Blonde. 💪
The key is adding 1 tbsp cornstarch to the gluten-free flour mix—this helps replicate the crispy texture. I also suggest letting the breaded rings rest for 10 minutes before frying to help the coating adhere better. The results are so good that even my gluten-loving friends can’t tell the difference!
Vegan Modifications
Creating vegan onion rings requires just a few clever swaps. Replace the large eggs with ¼ cup aquafaba (chickpea brine) whipped with 1 tsp apple cider vinegar until frothy. For the buttermilk soak, use ½ cup unsweetened almond milk mixed with 1 tbsp lemon juice. The beer in the batter should be vegan-certified—I like Guinness Blonde for this recipe.
The frying process remains identical, but I recommend using refined coconut oil instead of vegetable oil for a completely plant-based version. The aquafaba creates an incredibly crisp coating that might just become your new favorite—it certainly surprised me during my first vegan BBQ competition!
Lower-Fat Air Fryer
You can achieve respectable crispiness with just 1 tbsp oil using an air fryer. Preheat to 375°F and work in single-layer batches. Lightly spray the breaded rings with avocado oil before air frying for 8-10 minutes, flipping halfway. The texture won’t be identical to deep-fried, but it’s remarkably close for a fraction of the oil.
For extra crunch, I’ve found that adding 2 tbsp crushed cornflakes to the panko mixture helps compensate for the lack of oil immersion. Watch closely during the final minutes—panko can go from golden to burnt quickly in the air fryer’s concentrated heat. ✨
Allergy-Friendly Options
For egg allergies, the aquafaba substitution mentioned earlier works perfectly. If you’re avoiding dairy, ensure your panko is dairy-free (some brands contain whey). For nut allergies, use oat milk instead of almond milk in the vegan version. Always check that your vegetable oil hasn’t been processed with allergens.
I keep a dedicated fryer for allergy-friendly cooking to prevent cross-contamination. When serving to guests with allergies, I prepare these first and keep them separate. The same crispy, delicious results are absolutely achievable with these mindful substitutions—safety never means sacrificing flavor!
Reduced-Sodium Version
Cutting back on salt doesn’t mean bland onion rings. Replace the kosher salt with ½ tsp salt-free garlic-herb seasoning in the flour mixture. Use low-sodium panko if available, or make your own by toasting low-sodium bread and processing into crumbs. The buttermilk soak actually enhances natural sweetness, reducing the need for added salt.
Finish with a sprinkle of smoked paprika and onion powder instead of salt after frying. I’ve served this version at health-conscious gatherings, and the flavorful spices make the reduced sodium completely unnoticeable—everyone still reaches for seconds!
Keto-Friendly Approach
While traditional onion rings aren’t keto-friendly, you can create a similar experience using onion slices as a base. Dip ¼-inch thick onion slices in beaten egg, then coat with a mixture of 1 cup crushed pork rinds, ¼ cup grated Parmesan, and 1 tsp Italian seasoning. Air fry at 375°F for 10 minutes until crispy.
The texture differs from classic onion rings, but the flavor is surprisingly satisfying. I serve these with a sugar-free BBQ sauce for dipping. While not identical to the original, this version lets you enjoy that crispy-onion experience while staying in ketosis—sometimes compromise leads to delicious new discoveries!
Nutrition Facts

Trained in classic French technique but raised on slow-cooked ribs and spicy rubs, she blends culinary skill with smoke and soul.
- Recipe for Boneless Pork Chops in Cast Iron Skillet: Sear and Baste to Juicy Perfection - October 3, 2026
- Recipe for Boneless Cross Rib Roast: Slow-Roasted Beef with Herb Crust - October 3, 2026
- Hamburgers in Sauce Recipe Crock Pot: Slow-Cooked Savory Delight - October 3, 2026