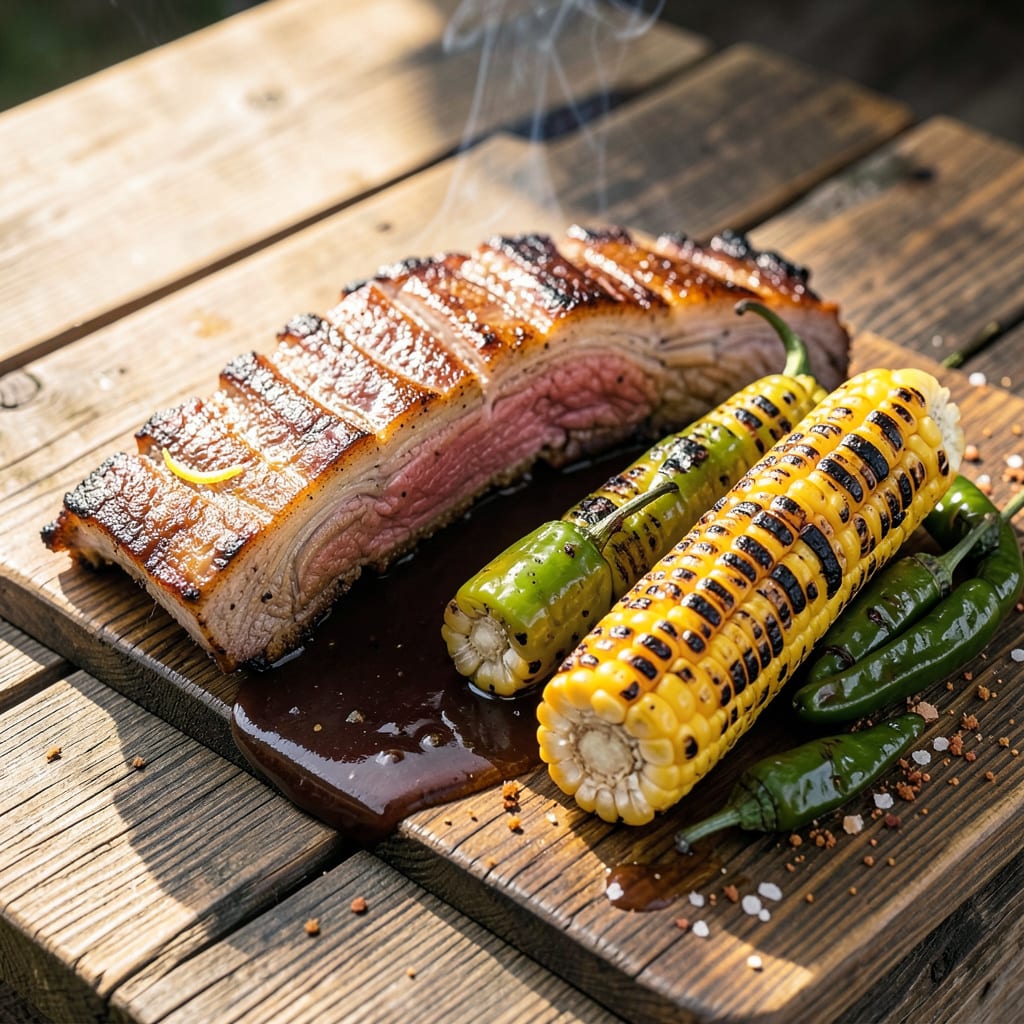
I’ll be real with you—boiling beef ribs before grilling might sound like heresy to some pitmasters, but this method changed my rib game forever. There’s nothing quite like that first bite when the meat practically slides off the bone, all while keeping that smoky char we live for. I stumbled onto this technique during a particularly stubborn batch of ribs that refused to tenderize, and it’s been my secret weapon ever since.
The magic happens in two stages: first, a gentle boil with aromatic broth that breaks down tough connective tissue without drying out the meat. This isn’t about cooking the ribs through—it’s about giving them a head start toward that fall-off-the-bone tenderness we’re after. I use a simple mix of beef broth, garlic, and bay leaves that infuses flavor deep into the meat while keeping it juicy.
After the boil comes the transformation on the grill, where we develop that crucial caramelized crust and smoky depth. The parboiling cuts grilling time nearly in half, which means less chance of overcooking and more control over that perfect char. What you end up with is ribs that have the tenderness of slow-cooked meat with the bold, smoky flavor only grilling can deliver.
Between you and me, this method works especially well with tougher cuts that normally need hours on the smoker. It’s become my go-to when I want restaurant-quality ribs without babysitting the grill all day. The best part? You’ll have time to perfect your sides while the ribs finish cooking.
📚 In This Guide
- What You’ll Need
- Instructions
- Tips and Common Mistakes
What Youll Need
- ● Beef ribs: 3–4 lbs (1.4–1.8 kg) of beef back ribs or short ribs (look for well-marbled cuts)
- ● Large pot or Dutch oven: 6–8 quart capacity (big enough to fully submerge ribs)
- ● Water or broth: 8–10 cups (enough to cover ribs by 1–2 inches)
- ● Aromatics (for boiling): 1 large onion, quartered
- ● 4 garlic cloves, smashed
- ● 2 bay leaves
- ● 1 tbsp black peppercorns
- ● 1 tbsp salt (or to taste)
- ● Grill: Charcoal, gas, or pellet grill (preheated to medium-high, ~375°F/190°C)
- ● Grill tools: Long-handled tongs, meat thermometer, basting brush
- ○ BBQ sauce or dry rub (optional): 1–2 cups of your favorite sauce or ¼ cup rub for extra flavor
- ○ Aluminum foil or butcher paper: For wrapping ribs post-boil (optional but recommended)
- ● Cutting board & sharp knife: For trimming excess fat pre-boil
- ● Paper towels: For patting ribs dry before grilling
Step-by-Step Instructions for Boiling Beef Ribs Before Grilling
This two-stage process transforms tough ribs into melt-in-your-mouth perfection—let’s make magic happen!
Prepare the Ribs for Boiling
Start by rinsing your beef ribs under cold water and patting them completely dry with paper towels. This removes any bone fragments or surface impurities while ensuring better flavor absorption. I always trim any excessive fat caps with a sharp knife, leaving about ¼-inch of fat for flavor and moisture during cooking.
Place the ribs in a large stockpot or Dutch oven—you want them to fit comfortably without crowding. The pot should be big enough to fully submerge the ribs while leaving 2 inches of headspace. This prevents messy boil-overs and ensures even cooking. Don’t add any liquid yet; we’ll build our flavor base first.
Create the Flavorful Boiling Liquid
Cover the ribs completely with cold water, then add enough to come up 1 inch above them. Now here’s where we build incredible flavor: toss in onion quarters, garlic cloves, bay leaves, and whole peppercorns. I like to add a splash of apple cider vinegar too—it tenderizes while balancing the richness.
Bring the liquid to a rolling boil over high heat, then immediately reduce to a gentle simmer. You’ll know it’s right when you see small bubbles breaking the surface occasionally, not a vigorous boil. Skim off any foam that rises to the top during the first 10 minutes—this keeps your broth clean and flavorful.
Simmer Until Fork-Tender
Cover the pot partially (leave a small gap for steam to escape) and maintain that gentle simmer. Cook the ribs for 1.5 to 2 hours, checking occasionally. You’ll notice the meat starting to pull away from the bones—that’s exactly what we want! The ribs are ready when a fork slides in and out with absolutely no resistance.
Here’s the thing—don’t rush this step. The collagen needs time to break down completely. I check for doneness by gently twisting a rib bone; if it rotates easily in the meat, they’re perfect. Remove the ribs carefully with tongs and transfer to a wire rack. Let them drain and cool slightly while you prepare your grill.
Grill for Smoky Perfection
Preheat your grill to medium-high heat (about 375-400°F). While it heats, brush the boiled ribs generously with your favorite barbecue sauce. I love using a sticky, slightly sweet sauce that will caramelize beautifully on the grill. Place the ribs bone-side down first to create a stable base.
Grill for 4-5 minutes per side, basting with more sauce each time you flip. You’re looking for those gorgeous grill marks and a slight char on the edges. The sauce should bubble and develop a glossy sheen. Move the ribs to the cooler side of the grill if they’re browning too quickly—we want caramelization, not burning.
Rest and Serve Immediately
Transfer the grilled ribs to a cutting board and let them rest for 5-10 minutes before serving. This short rest allows the juices to redistribute throughout the meat. You’ll notice the meat has developed a beautiful smoky crust while remaining incredibly tender inside.
Slice between the bones or serve whole, depending on your preference. Each bite should deliver that perfect contrast—smoky, slightly crispy exterior giving way to fall-off-the-bone tender meat. The boiling process ensures the ribs stay moist and flavorful throughout, while the grilling adds that irresistible charred complexity. Serve with extra sauce and plenty of napkins!
Tips and Common Mistakes for Perfectly Tender Ribs
This two-step method delivers incredible tenderness, but a few key details make all the difference between good and spectacular ribs.
Simmering Secret: During the 1.5 to 2 hours of simmering in Step 3, maintain that gentle bubble religiously. A rolling boil will make the meat tough instead of tender. I learned this the hard way after my first batch turned out chewy! The collagen needs that slow, steady heat to break down properly, creating that fall-off-the-bone texture we’re after.
Flavor Boost: Don’t underestimate the power of those aromatics in Step 2! The onion quarters, garlic cloves, and apple cider vinegar aren’t just for show—they infuse the meat with layers of flavor during the long simmer. I like to smash the garlic slightly before adding it to release more of its aromatic oils into the liquid.
Grilling Pro Tip: When you hit the grill in Step 4, that 4-5 minutes per side at 375-400°F is your golden window. The key is to get beautiful caramelization without drying out the meat. Move the ribs to a cooler spot on the grill if they’re charring too quickly—we want that perfect balance of smoky crust and juicy interior.
Resting Matters: Those 5-10 minutes of resting in Step 5 aren’t optional! This is when the juices redistribute throughout the meat. If you cut too soon, all those delicious juices will end up on your cutting board instead of in your ribs. I promise it’s worth the wait!
Pro Tips for Boil Beef Ribs Before Grilling
- This two-step method delivers incredible tenderness, but a few key details make all the difference between good and s…
- Simmering Secret: During the 1.5 to 2 hours of simmering in Step 3, maintain that gentle bubble religiously. A rollin…
- Flavor Boost: Don’t underestimate the power of those aromatics in Step 2! The onion quarters, garlic cloves, and appl…
Frequently Asked Questions
Do I have to boil beef ribs before grilling, or can I skip this step?
Boiling isn’t required, but it’s a game-changer for tenderness! Skipping it means longer grill time (2+ hours) and risk of dry ribs. Boiling first (1–1.5 hours) breaks down collagen, so grilling adds smoky flavor without tough meat. For crispy bark, pat ribs dry post-boil and sear hot!
How long should I boil beef ribs before grilling?
Aim for 60–90 minutes in simmering (not boiling!) water with aromatics (onion, garlic, bay leaf). Larger ribs (3+ lbs) may need 2 hours. Test doneness: meat should pull back from bones slightly but not fall apart. Over-boiling = mushy texture—save the finish for the grill!
What can I use instead of water for boiling beef ribs?
Swap water for beef broth, apple cider, or beer (dark ale works best) to infuse flavor. Add a splash of vinegar (¼ cup) or Worcestershire sauce to tenderize further. Avoid heavy salt—season after boiling to prevent drying. Pro tip: Save the liquid for au jus or braising!
Why are my boiled-and-grilled ribs still tough?
Common culprits: Boiling too hard (keep it at a gentle simmer) or under-boiling (collagen needs time to melt). Also, check grill temp—low-and-slow (225–250°F) is key. If rushed, wrap ribs in foil with broth and grill 30 mins longer to steam.
Can I boil beef ribs the day before grilling?
Boil, cool, and refrigerate ribs in their liquid (up to 24 hours) to lock in moisture. Before grilling, pat very dry for crispy crusts. Reheat gently on the grill (10–15 mins indirect heat) to avoid drying. Great for meal prep!
Boiling beef ribs before grilling is your secret weapon for juicy, tender meat that practically melts off the bone. 🥩 By mastering this simple prep step, you’ll lock in flavor and cut down on grilling time—guaranteeing a crowd-pleasing dish every time.
Now that you’ve got the know-how, fire up that grill and put your new skills to the test! Try experimenting with different rubs or sauces to make the ribs uniquely yours. Ready for more BBQ wins? Check out our guide on perfect grilling times for beef cuts next!

Trained in classic French technique but raised on slow-cooked ribs and spicy rubs, she blends culinary skill with smoke and soul.
- Recipe for Boneless Pork Chops in Cast Iron Skillet: Sear and Baste to Juicy Perfection - October 3, 2026
- Recipe for Boneless Cross Rib Roast: Slow-Roasted Beef with Herb Crust - October 3, 2026
- Hamburgers in Sauce Recipe Crock Pot: Slow-Cooked Savory Delight - October 3, 2026