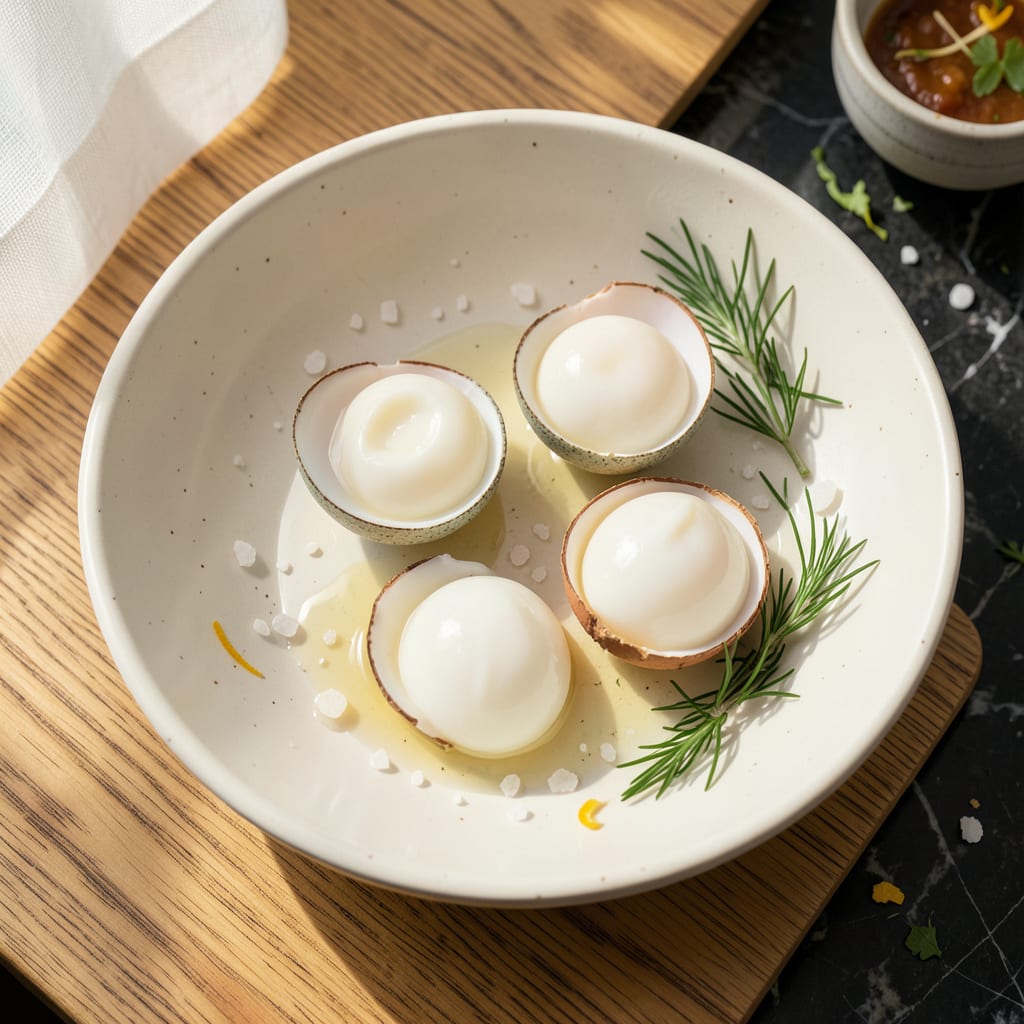
I’ll be real with you: boiling egg whites perfectly is one of those kitchen skills that seems simple until you end up with rubbery, sad-looking results. After burning through more eggs than I’d like to admit (and learning the hard way about ice baths), I’ve finally nailed the foolproof method for silky-smooth whites every time.
Here’s the thing—it’s all about the details. A splash of vinegar in the water keeps them from spreading, while the right timing gives you that ideal tender-yet-firm texture. I use this technique at least twice a week for meal prep, since boiled egg whites are my secret weapon for adding high-protein, low-calorie goodness to salads, grain bowls, or even as a quick snack.
The best part? You’re looking at 10 minutes from start to finish, with zero fancy equipment. Just a pot, some water, and eggs. What comes out is pure, clean protein that’s ready to elevate whatever you’re making. No more sad, overcooked egg whites—just perfect, versatile results.
Between you and me, I keep a batch in my fridge at all times. They’re the ultimate blank canvas—toss them with everything bagel seasoning for a snack, chop them into avocado toast, or use them to bulk up your favorite dishes without adding fat. Let’s get those eggs boiling right.
📚 In This Guide
- What You’ll Need
- Instructions
- Tips and Common Mistakes
What Youll Need
- ● Eggs: 4–6 large eggs (fresh or store-bought, but avoid cracked ones).
- ● Water: 4 cups (enough to cover eggs by 1 inch in the pot).
- ○ Salt (optional): ½ tsp (helps prevent cracking and adds flavor).
- ○ Vinegar (optional): 1 tbsp white vinegar (helps whites set faster).
- ● Medium pot: With a lid (nonstick or stainless steel works best).
- ● Slotted spoon: For easy egg removal.
- ○ Bowl of ice water: To cool eggs quickly (optional but recommended).
- ● Timer: For precision (or use your phone!).
Instructions for Perfectly Boiled Egg Whites
Here’s the simple secret to achieving silky-smooth egg whites every time—no rubbery texture, just pure protein perfection!
Separate the Eggs with Precision
Start by cracking each egg gently against a flat surface (not the bowl edge—this prevents shell fragments). Open the egg over your hand, letting the white slip through your fingers while keeping the yolk in the shell. Transfer the yolk back and forth between shell halves to remove every last bit of white.
For foolproof separation, I use the three-bowl method: one for whites, one for yolks, and one to crack over. This way, if you accidentally break a yolk, you haven’t contaminated your entire batch of whites. You’ll need 4 large egg whites for this recipe, so separate 4 eggs total.
Prepare the Water Bath
Fill a medium saucepan with 2-3 inches of water—enough to fully submerge the egg whites when they’re in their container. Bring the water to a gentle simmer over medium heat. You want to see small bubbles breaking the surface, not a rolling boil.
The ideal temperature for this process is 180-190°F. If you don’t have a thermometer, watch for the first signs of steam rising steadily and tiny bubbles forming at the bottom of the pan. This gentle heat ensures your egg whites cook evenly without turning rubbery.
Cook the Egg Whites to Silky Perfection
Pour your separated egg whites into a heatproof bowl or ramekin that fits comfortably in your saucepan. Place the bowl in the simmering water, making sure the water level comes about halfway up the sides of the bowl. The indirect heat will gently cook the whites without curdling them.
Cook the egg whites for 8-10 minutes, stirring occasionally with a silicone spatula. You’ll notice them transforming from translucent to opaque white, then gradually thickening. They’re done when they reach a soft, custard-like consistency that coats the back of a spoon but still jiggles slightly. For firmer whites, extend the cooking time by 2-3 minutes.
Cool and Store for Optimal Texture
Immediately transfer the cooked egg whites to a bowl of ice water to stop the cooking process. This shock-cooling preserves their delicate, silky texture. Let them sit in the ice bath for 3-5 minutes until completely chilled.
Drain the egg whites well and use them immediately in your recipe, or store them in an airtight container in the refrigerator for up to 3 days. The texture will firm up slightly as they cool, but they’ll maintain their smooth, creamy quality. For best results, gently reheat in a water bath before using if they’ve been refrigerated.
Tips and Common Mistakes for Perfectly Silky Egg Whites
Mastering this technique is all about precision and patience—here’s how to guarantee that perfect silky texture every single time.
The Temperature Factor: That 180-190°F range in Step 2 is absolutely critical! This gentle heat creates the ideal environment for egg whites to transform without turning rubbery. If you don’t have a thermometer, watch for steady steam and tiny bubbles at the pan bottom—this visual cue is just as reliable. I’ve found that maintaining this precise temperature makes all the difference between silky perfection and disappointing results.
Stirring Strategy: During the 8-10 minutes of cooking in Step 3, stir the egg whites gently but consistently with your silicone spatula. This constant movement prevents hot spots from forming and ensures even cooking. The moment you see the transformation from translucent to opaque white, you’re on the right track—keep stirring until you achieve that beautiful custard-like consistency that coats the back of your spoon.
Cooling Technique: Don’t underestimate the importance of that 3-5 minutes in the ice bath during Step 4! This shock-cooling process stops the cooking immediately, preserving the delicate texture you’ve worked so hard to create. I always set a timer for this step—it’s tempting to skip or rush it, but those few minutes make a noticeable difference in the final texture.
Equipment Recommendation: Use a heatproof bowl that fits snugly in your saucepan for Step 3. The water should come about halfway up the sides—this creates the perfect indirect heat environment. A bowl that’s too large or too small can lead to uneven cooking or temperature fluctuations, which might compromise your silky results.
Pro Tips for Boil Egg Whites
- Mastering this technique is all about precision and patience—here’s how to guarantee that perfect silky texture every…
- The Temperature Factor: That 180-190°F range in Step 2 is absolutely critical! This gentle heat creates the ideal env…
- Stirring Strategy: During the 8-10 minutes of cooking in Step 3, stir the egg whites gently but consistently with you…
Frequently Asked Questions
Got questions about boiling egg whites? You’re not alone! Here are the most common queries—answered quickly so you can get back to cooking.
How long should I boil egg whites for the perfect texture?
Aim for 3–4 minutes in gently simmering water for tender, custard-like whites. Overcooking (5+ minutes) makes them rubbery. For firmer whites (like for salads), go up to 6 minutes. Use a timer—it’s a game-changer!
Can I boil egg whites without the yolk? Do I need to separate them first?
Yes! Separate yolks before boiling—raw yolks can curdle the whites. Use a slotted spoon to lower just the whites into simmering water. Pro tip: A pinch of vinegar in the water helps them hold shape.
Why did my boiled egg whites turn out rubbery or slimy?
Rubbery whites = overcooked (too high heat or too long). Slimy texture? Undercooked or a sudden temp drop. Keep water at a gentle simmer (not a rolling boil) and shock in ice water immediately after cooking to stop the process.
What’s a healthier alternative to boiling egg whites?
Try poaching (no oil, same protein) or steaming (retains more nutrients). For zero-cook options, blend raw whites into smoothies (pasteurized only!) or use in overnight oats. Need crunch? Bake whites into crispy “chips” at 300°F.
Do boiled egg whites freeze well for meal prep?
Yes, but texture changes! Freeze in an airtight container for up to 3 months. Thaw in the fridge overnight—expect a slightly chewier bite. Best for cooked dishes (like stir-fries) rather than solo snacks. Avoid refreezing!
Mastering how to boil egg whites opens the door to quick, high-protein meals that are as versatile as they are nutritious! 🍳 With just a few simple steps—from timing the boil to nailing the ice bath—you’ll achieve perfectly silky or firm whites every time. Whether you’re meal prepping, whipping up a post-workout snack, or adding a protein boost to salads, these techniques ensure foolproof results.
Ready to put your new skills to the test? Grab a carton of eggs and try a ★★★★★5.0(4 reviews)
