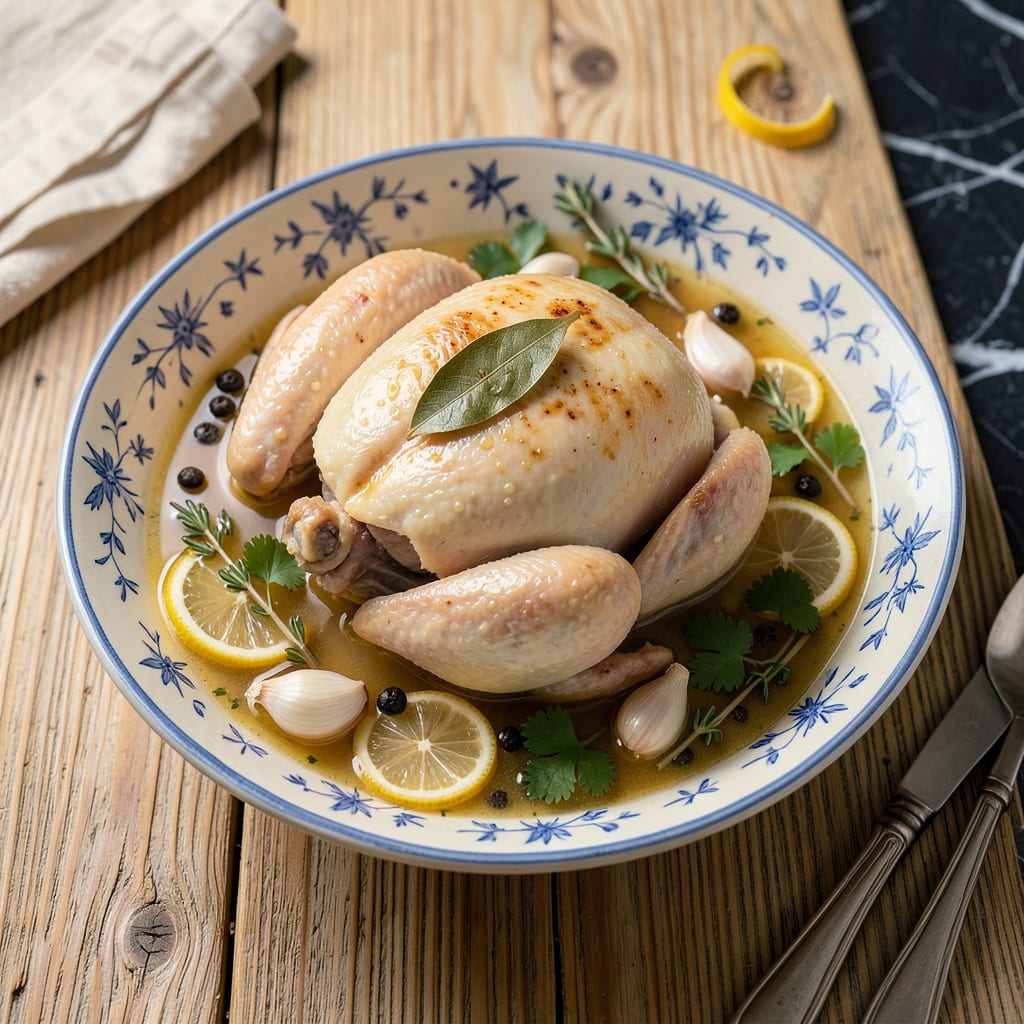
I’ll be real with you—boiling a whole chicken might sound boring, but it’s one of the smartest moves you can make in the kitchen. One bird, one pot, and you get juicy meat for sandwiches plus rich broth for soups. No fancy techniques, just simple cooking that pays off big time.
Here’s the thing—most people overcomplicate it. You don’t need a special recipe or expensive ingredients. Just a whole chicken, some aromatics (onion, garlic, herbs), and about 90 minutes of gentle simmering. The key is keeping the water at a low bubble, not a rolling boil, which keeps the meat tender instead of tough.
What you end up with is fall-off-the-bone chicken that’s perfect for shredding into tacos, salads, or casseroles. And that broth? Golden, fragrant, and packed with flavor—way better than anything from a can. I make a big batch every week and use it for everything from ramen to gravy.
Fair warning: your house will smell amazing while this cooks. The aroma of simmering chicken and herbs is like comfort food therapy. Once you try this method, you’ll never waste money on pre-cooked chicken again. Let’s get that pot on the stove.
📚 In This Guide
- What You’ll Need
- Instructions
- Tips and Common Mistakes
What Youll Need
- ● 1 whole chicken (3–5 lbs or 1.4–2.3 kg) – fresh or thawed if frozen 🍗
- ● 1 large stockpot (6–8 quarts) with a tight-fitting lid
- ● Cold water – enough to cover the chicken by 1–2 inches (about 8–10 cups)
- ● 1 tbsp kosher salt (or 2 tsp table salt) – adjust to taste
- ● 1 tsp whole black peppercorns (or ½ tsp ground pepper)
- ● 1 medium onion, quartered (skin on for richer color)
- ● 2 carrots, roughly chopped
- ● 2 celery stalks, roughly chopped
- ○ 3 garlic cloves, smashed (optional but recommended)
- ○ 1 bay leaf (optional, for extra depth)
- ○ Fresh herbs (optional) – 3 sprigs parsley, thyme, or rosemary
- ○ 1 tbsp apple cider vinegar or lemon juice (optional, helps tenderize)
- ● Tongs or a large slotted spoon for safe removal
- ○ Meat thermometer (optional but handy for checking doneness—165°F/74°C)
- ● Fine-mesh strainer or cheesecloth (if straining broth later)
Instructions
Here’s how to transform a simple whole chicken into tender meat and flavorful broth—all in one pot.
Prepare the Chicken and Aromatics
Start by removing any giblets from the chicken cavity and giving it a quick rinse under cold water. Pat the chicken completely dry with paper towels—this helps the seasoning stick better. I like to place the chicken in a large stockpot first to make sure it fits comfortably before adding anything else.
Add your choice of aromatics to the pot—classic options include a quartered onion, a few celery stalks, and a halved carrot. These vegetables will infuse the broth with subtle sweetness and depth. Don’t forget to add a bay leaf and a few peppercorns for extra flavor. The key here is using ingredients that will complement the chicken without overpowering it.
Cover with Water and Bring to a Boil
Place the chicken breast-side down in the pot. This position helps keep the breast meat juicy since it’s submerged in liquid. Cover the chicken completely with cold water, leaving about 2 inches of water above it. The water level will drop slightly as the chicken cooks, so this extra buffer prevents the meat from becoming exposed.
Set the pot over high heat and bring it to a full rolling boil. You’ll know it’s ready when you see large, steady bubbles breaking the surface. As it heats, you might notice some foam rising to the top—this is normal. I use a slotted spoon to skim off any foam that appears, which helps keep the broth clear.
Reduce Heat and Simmer Gently
Once boiling, immediately reduce the heat to low to maintain a gentle simmer. You want to see small bubbles occasionally breaking the surface, not a vigorous boil. A hard boil can make the chicken tough and cloud the broth. Partially cover the pot with a lid to allow some steam to escape—this helps prevent the broth from becoming too concentrated.
Let the chicken simmer undisturbed for about 1 hour to 1 hour 15 minutes, depending on size. You’ll know it’s done when the internal temperature reaches 165°F at the thickest part of the thigh, or when the leg moves easily when wiggled. The meat should feel tender when pierced with a fork, but not falling off the bone.
Remove Chicken and Strain Broth
Using tongs, carefully transfer the chicken to a cutting board. Be gentle—the meat will be very tender and might fall apart. Let it rest for 10 minutes before carving. This resting period allows the juices to redistribute throughout the meat, ensuring every bite stays moist and flavorful.
While the chicken rests, strain the broth through a fine-mesh sieve into a clean container. I like to press gently on the vegetables to extract all their flavor, but don’t force it—you want a clear broth. Discard the solids. Your broth is now ready to use immediately or can be cooled and stored for later. The result should be a golden, aromatic liquid that’s rich but not greasy.
Carve and Serve
Carve the chicken into serving pieces, starting with the legs and thighs, then removing the wings, and finally slicing the breast. The meat should be tender and juicy, pulling away easily from the bone. I like to arrange the pieces on a platter and ladle some of the warm broth over them to keep everything moist.
Serve the chicken with some of the broth on the side for dipping or spooning over individual portions. The broth makes an excellent base for soups, gravies, or cooking rice. Any leftovers will keep in the refrigerator for up to 4 days, or you can freeze the broth for up to 3 months for future use.
Tips and Common Mistakes
Let me share what I’ve learned from years of perfecting this simple yet transformative method.
The Water Level Secret: In Step 2, those 2 inches of water above the chicken aren’t arbitrary. I discovered that this buffer accounts for evaporation during the 1 hour to 1 hour 15 minutes simmer. Too little water exposes the breast meat, making it dry, while too much dilutes your broth’s rich flavor. Trust me on this—measure carefully.
Simmer Control: When you reduce to low heat in Step 3, you’re looking for what I call “lazy bubbles”—just enough movement to keep the water circulating without agitation. A vigorous boil at this stage will make the chicken stringy and turn your broth cloudy. I learned this the hard way after ruining three batches before mastering the gentle simmer.
Doneness Check: That 165°F internal temperature in Step 3 is your golden number, but here’s what nobody tells you—the thigh meat will actually pull away from the bone slightly before reaching that temp. If you’re not using a thermometer, wiggle the leg gently. When it moves freely in the socket, you’re within 5 degrees of perfect doneness.
Resting Matters: The 10 minutes rest in Step 4 isn’t just about juiciness—it’s about texture. Cutting too soon releases all the moisture you worked so hard to preserve, leaving you with dry meat. I set a timer for this step because it’s easy to rush when everything smells so good.
Pro Tips for Boiling A Whole Chicken
- Let me share what I’ve learned from years of perfecting this simple yet transformative method.
- The Water Level Secret: In Step 2, those 2 inches of water above the chicken aren’t arbitrary. I discovered that this…
- Simmer Control: When you reduce to low heat in Step 3, you’re looking for what I call “lazy bubbles”—just enough move…
Frequently Asked Questions
Got questions about boiling a whole chicken? You’re not alone! Here are the most common queries—and quick answers—to help you nail this simple (but genius) cooking method.
How long does it take to boil a whole chicken?
A 3–4 lb chicken typically needs 60–90 minutes in simmering (not boiling!) water. Check doneness with a meat thermometer—it should read 165°F (74°C) in the thickest part of the thigh. Overcooking dries out the meat, so keep it gentle!
Can I use the broth for soup right away?
Yes! Skim off excess fat first (a fat separator or spoon works). For richer flavor, simmer the broth another 30 minutes with veggies (carrots, celery, onion) or herbs. Store in the fridge for up to 4 days or freeze for 3 months.
What if my chicken floats? Is that bad?
Floating is normal—it means air is escaping the cavity. Press it gently underwater with a spoon or tongs to submerge it fully. If it keeps bobbing, weigh it down with a heat-safe plate (just don’t let it boil over!).
Is boiling healthier than roasting or frying?
Boiling reduces fat (since it renders into the broth) and avoids added oils. However, roasting retains more B vitamins. For a balance, boil the chicken for broth, then crisp the skin in a hot oven for 10 minutes!
Can I boil a frozen chicken?
No! Thaw it first in the fridge (24 hours for a 4 lb bird) or under cold running water (2–3 hours). Boiling frozen chicken risks uneven cooking and bacteria growth. Safety first!
Boiling a whole chicken is one of the simplest ways to get tender meat and flavorful broth with minimal effort. Whether you’re prepping for soups, salads, or meal prep, this method saves time and money while delivering delicious results every time. 🍲
Now that you’ve mastered the basics, why not put that homemade broth to use? Try making a hearty chicken noodle soup or shred the meat for tacos—your next culinary adventure is just a pot away!

Trained in classic French technique but raised on slow-cooked ribs and spicy rubs, she blends culinary skill with smoke and soul.
- Recipe for Boneless Pork Chops in Cast Iron Skillet: Sear and Baste to Juicy Perfection - October 3, 2026
- Recipe for Boneless Cross Rib Roast: Slow-Roasted Beef with Herb Crust - October 3, 2026
- Hamburgers in Sauce Recipe Crock Pot: Slow-Cooked Savory Delight - October 3, 2026