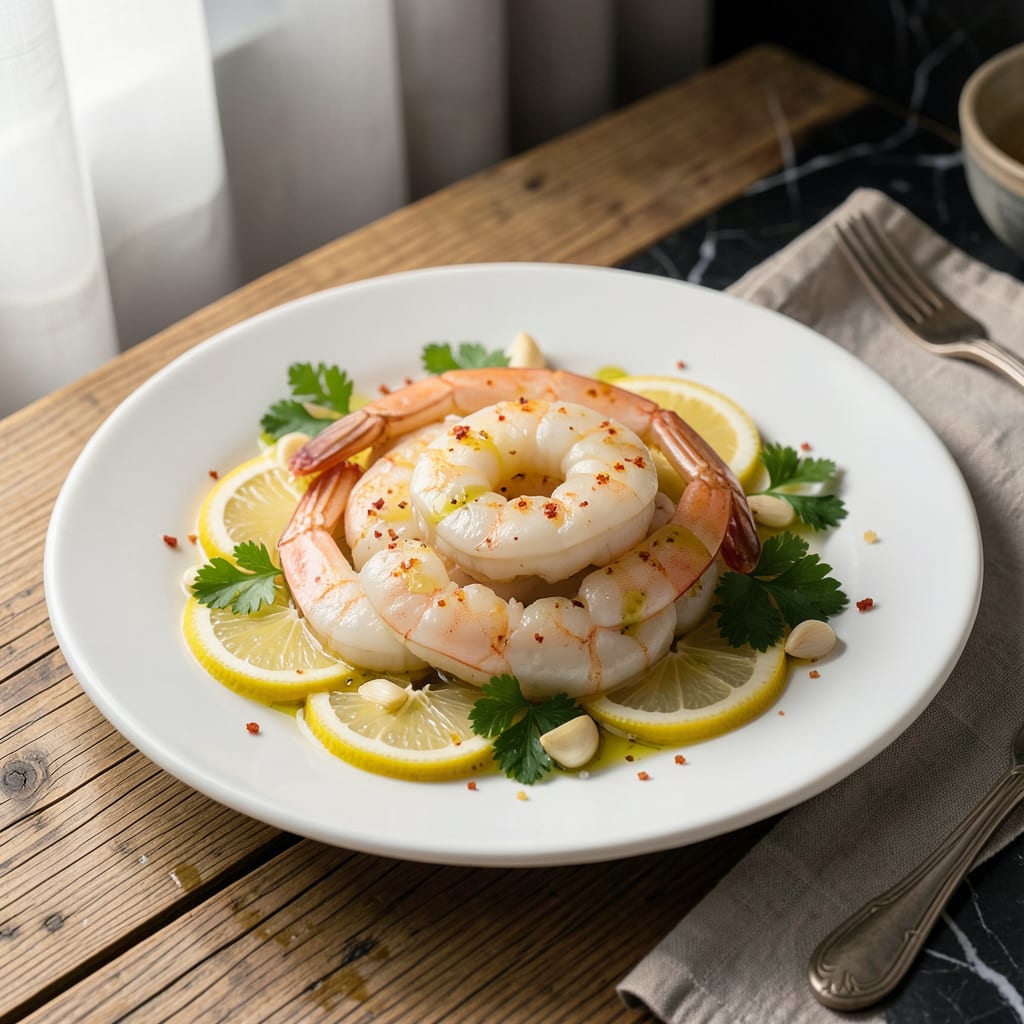
Perfectly steamed shrimp shouldn’t require specialized equipment. After years of testing makeshift setups in professional kitchens and home cooking spaces, I’ve refined a foolproof colander method that delivers juicy, tender shrimp every time—using only a pot, colander, and lid you already own.
The technique relies on creating a sealed steam chamber with just an inch of simmering water. A heatproof colander suspended above the water acts as your steaming basket, while the tight-fitting lid traps circulating steam. This indirect heat gently cooks the shrimp to plump perfection without risk of overcooking or rubbery texture.
What you’ll achieve is restaurant-quality results: shrimp that curl into perfect C-shapes, turn opaque with just a hint of pink, and retain their natural sweetness. The method works for any shrimp size, though I recommend 16/20 count for ideal texture balance. No special tools, no complicated timing—just precise technique.
Beyond the basic steam, I’ll share how to infuse flavor during cooking (think lemon slices, bay leaves, or smashed garlic) and simple finishing touches. The entire process takes less than 10 minutes from start to finish, with cleanup limited to one pot and colander.
📚 In This Guide
- What You’ll Need
- Instructions
- Tips and Common Mistakes
What Youll Need
- ● Fresh or frozen shrimp: 1 lb (peeled and deveined, or with shells on—your choice!)
- ● Large pot with lid: At least 3-4 quarts (big enough to fit a colander inside)
- ● Heat-safe colander or strainer: Must fit snugly inside the pot (stainless steel or metal works best)
- ● Water: 1-2 inches (enough to create steam but not touch the shrimp)
- ○ Salt: 1 tbsp (optional, for flavoring the water)
- ○ Aromatics (optional): Lemon slices, garlic cloves, bay leaves, or herbs like thyme or parsley
- ● Tongs or slotted spoon: For easy shrimp removal
- ○ Ice bath (optional): Bowl of ice water to stop cooking if not serving immediately
- ● Lemon wedges & melted butter: For serving (because why not? 😉)
Instructions
This simple colander method delivers perfectly juicy shrimp with minimal equipment and maximum flavor.
Prepare the Shrimp and Pot
Start by selecting a pot that’s slightly smaller than your colander—you want the colander to rest securely on the rim without touching the water. Fill the pot with about 1 inch of water and bring it to a rolling boil over high heat. While the water heats, rinse your shrimp under cold water and pat them completely dry with paper towels.
If your shrimp are frozen, thaw them first in cold water for 10-15 minutes until pliable but still cold. I like to leave the shells on for steaming—they protect the delicate meat and infuse extra flavor. For easier eating later, you can use kitchen shears to snip along the back of each shrimp to remove the vein while keeping the shell intact.
Create the Steaming Setup
Place your colander in the pot once the water reaches a full boil. You should see steam rising vigorously from the water below. If your colander has small holes, line it with a clean kitchen towel or cheesecloth to prevent the shrimp from falling through while still allowing steam circulation.
Arrange the shrimp in a single layer in the colander, leaving a little space between each one for even cooking. If you’re working with a large batch, steam in two rounds rather than crowding—overcrowding leads to uneven cooking and can make the shrimp rubbery. Cover the pot tightly with a lid to trap all that valuable steam inside.
Steam to Juicy Perfection
Steam the shrimp for 2-3 minutes for small shrimp, 3-4 minutes for medium, or 4-5 minutes for large/jumbo. You’ll know they’re done when the shells turn bright pink and the flesh becomes opaque throughout. Watch carefully—they cook quickly and will continue cooking slightly from residual heat after you remove them.
Here’s the thing—shrimp are done the moment they turn from translucent to completely white. If you cut into one, it should be just barely firm with no grayish areas remaining. Overcooked shrimp become tough and rubbery, so it’s better to err on the side of slightly underdone—they’ll finish cooking as they rest.
Finish and Serve Immediately
Transfer the steamed shrimp to a serving platter using tongs. If you’d like to remove the shells now, let them cool for just 1-2 minutes until comfortable to handle. I recommend serving them warm with melted butter, lemon wedges, or your favorite dipping sauce.
Real talk: the secret to juicy shrimp is stopping the cooking process immediately. If you’re not serving right away, place them in an ice bath for 1 minute to halt cooking, then drain well. This method works beautifully for shrimp salads, tacos, or as a protein addition to pasta dishes—just adjust your seasoning accordingly.
Tips and Common Mistakes
Mastering this technique comes down to precision and observation—here’s what I’ve learned from perfecting it over countless batches.
The Water Level Factor: That 1 inch of water in Step 1 is critical. Too little and you risk running dry mid-cook, too much and you’ll lose steam efficiency. I use a ruler to measure the first few times until I can eyeball it perfectly. The water should boil vigorously but not so aggressively that it splashes through the colander holes.
Steam Circulation Secret: In Step 2, when arranging shrimp, leave at least ½ inch between each piece. This isn’t just about preventing sticking—it ensures steam can circulate freely around each shrimp. I’ve found that arranging them in concentric circles (largest around the edge, smallest in center) gives the most even cooking results.
Visual Doneness Cues: The 2-5 minute cooking windows in Step 3 are precise for a reason. Watch for the flesh to change from translucent to opaque white, but pull them the moment the very center loses its translucency. I test one sacrificial shrimp by cutting into its thickest part—when it’s just barely firm with no gray remaining, they’re perfect. Remember, they’ll carryover cook for another minute off the heat.
Post-Steam Technique: That 1 minute ice bath in Step 4 isn’t optional—it’s your insurance against overcooking. I use a slotted spoon to transfer shrimp directly from colander to ice water, then immediately to a clean towel to drain. This shock treatment preserves that tender texture we’re after, especially if you’re not serving immediately.
Pro Tips for Steam Shrimp Without A Steamer
- Mastering this technique comes down to precision and observation—here’s what I’ve learned from perfecting it over cou…
- The Water Level Factor: That 1 inch of water in Step 1 is critical. Too little and you risk running dry mid-cook, too…
- Steam Circulation Secret: In Step 2, when arranging shrimp, leave at least ½ inch between each piece. This isn’t just…
Frequently Asked Questions
Got questions about steaming shrimp without a steamer? You’re not alone! Here are the most common queries—and quick answers—to help you nail perfect shrimp every time.
Can I use a microwave to steam shrimp without a steamer?
Yes, but it’s tricky! Place shrimp in a microwave-safe bowl with 2 tbsp water, cover with a damp paper towel, and microwave for 1-2 minutes (stirring halfway). Avoid overcooking—they’ll turn rubbery fast. A colander over boiling water is more reliable for even results.
How long does it take to steam shrimp without a steamer?
Small shrimp (51-60 count) take 2-3 minutes, medium (31-40 count) need 3-4 minutes, and jumbo (16-20 count) require 4-5 minutes. They’re done when opaque and C-shaped. Overcooking = tough shrimp, so watch closely!
What can I use instead of a colander for steaming?
Try a heatproof sieve, bamboo basket (lined with parchment), or even a metal rack inside a pot with water below. Pro tip: Poke holes in foil to create a DIY steaming tray! Just ensure it’s elevated above the water.
Why did my shrimp turn out rubbery or dry?
Overcooking is the #1 culprit! Steam just until they turn pink/opaque. Also, check water levels—too little = uneven heat. For extra juiciness, toss shrimp in 1 tsp oil or butter post-steaming.
Do I need to devein shrimp before steaming?
Not strictly necessary for cooking, but deveining improves texture and presentation. If leaving the shell on (for flavor), at least rinse shrimp well. For peeled shrimp, deveining is recommended.
Who knew you could achieve perfectly steamed shrimp without a fancy steamer? 🍤 With just a colander, pot, and a few simple tricks, you’re now equipped to whip up tender, juicy shrimp every time—no extra gadgets required. Whether you’re prepping for tacos, salads, or a quick garlic-butter feast, this method keeps flavor (and effort) in check.
Ready to put your new skills to the test? Grab a pound of fresh shrimp and try the method tonight—then experiment with seasonings like Old Bay, lemon-pepper, or chili-lime for your next batch. Happy steaming! 👩🍳

Trained in classic French technique but raised on slow-cooked ribs and spicy rubs, she blends culinary skill with smoke and soul.
- Recipe for Boneless Pork Chops in Cast Iron Skillet: Sear and Baste to Juicy Perfection - October 3, 2026
- Recipe for Boneless Cross Rib Roast: Slow-Roasted Beef with Herb Crust - October 3, 2026
- Hamburgers in Sauce Recipe Crock Pot: Slow-Cooked Savory Delight - October 3, 2026