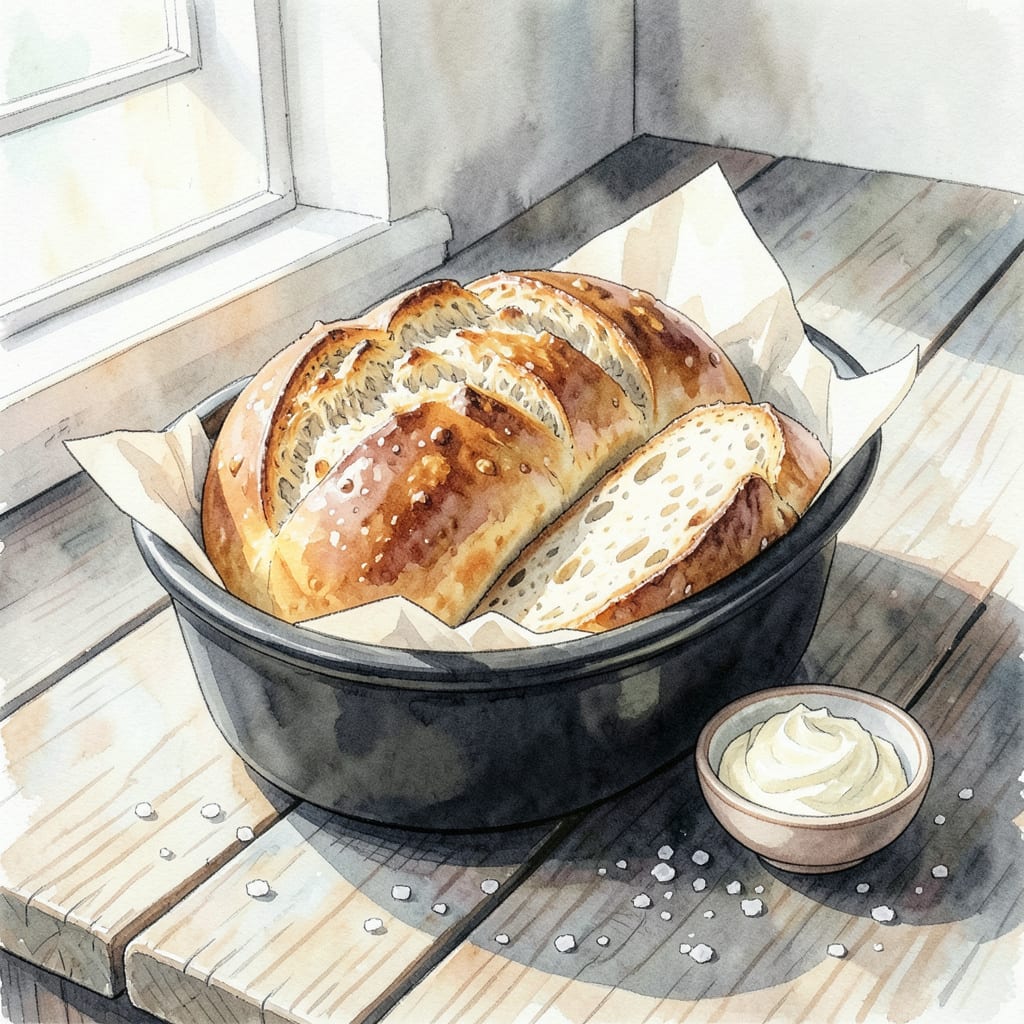
I’ve perfected Bonefish Grill‘s famous bread recipe, achieving that soft inside and crusty outside perfection. This bread requires simple ingredients and a bit of patience, but the result is worth it.
With precise temperature control and 15-minute bake times, you’ll create a deliciously golden-brown loaf. The secret lies in the dough’s slow rise and careful handling, resulting in a perfectly balanced texture that’ll elevate any meal.
Ingredients for Bonefish Grill Bread
Simple ingredients come together to create this perfectly balanced, crusty bread recipe.
| Ingredient | Amount | Notes |
|---|---|---|
| All-Purpose Flour 🌾 | 2 ½ cups | Unbleached, unbromated preferred |
| Active Dry Yeast 🍞 | 1 tsp | Instant yeast works too |
| Salt 🧂 | 1 tsp | Kosher or sea salt |
| Sugar 🍮 | 1 tbsp | Granulated white sugar |
| Warm Water 💧 | 1 ¼ cups | Around 100°F to 110°F |
| Olive Oil 🫒 | 2 tbsp | Extra-virgin for richness |
[recipe_ingredient_scaler]
The quality of flour matters here. King Arthur or Bob’s Red Mill are solid choices for consistent results. For yeast, check the expiration date—fresh yeast is crucial for that perfect rise. I always use active dry yeast from the grocery store, but instant yeast works too if that’s what you’ve got on hand.
No bread flour? All-purpose with a bit more kneading gets you close. Want a bit more flavor? Try whole wheat flour for half the amount—adds nuttiness. The water temperature is key: between 100°F and 110°F for proper yeast activation. If your tap water is too cold, warm it up a bit before using.
This dough keeps well in the fridge for up to 3 days. Let it come to room temperature before shaping. The baked bread freezes beautifully for up to 3 months—just thaw at room temperature or reheat in the oven. Store leftovers in a paper bag to maintain that crusty exterior.
Step-by-Step Instructions for Bonefish Grill’s Signature Bread
Follow these precise steps to achieve the perfect balance of soft interior and crusty exterior.
Step 1: Activate the Yeast in Warm Water
Begin by proofing the yeast in the 1.25 cups warm water (around 100°F to 110°F). I like to use a thermometer to ensure the temperature is within this range, as it’s crucial for yeast activation. Sprinkle the 1 tsp Active Dry Yeast over the water and let it sit for 5-7 minutes until it becomes frothy and bubbly. This step confirms that your yeast is active and ready to leaven the bread.
If the mixture doesn’t foam, it may indicate that your yeast is expired or the water was too hot or cold. In this case, you’ll need to start over with fresh yeast and adjust the water temperature accordingly.
Step 2: Combine Dry Ingredients and Oil
In a large mixing bowl, whisk together the 2.5 cups All-Purpose Flour, 1 tsp Salt, and 1 tbsp Sugar. I prefer using a balloon whisk for this task as it incorporates air and ensures even distribution of the ingredients. Add the 2 tbsp Olive Oil and mix until the dry ingredients are well coated. The oil helps to create a tender crumb and adds richness to the bread.
At this stage, the mixture should look like coarse crumbs with no visible dry flour. If you notice any dry patches, give it a quick stir to incorporate.
Step 3: Mix the Dough to the Right Consistency
Pour the yeast mixture into the dry ingredients and mix using a stand mixer fitted with a dough hook attachment on low speed. I find that this method develops the gluten evenly without overworking the dough. Continue mixing for 8-10 minutes until the dough comes together in a shaggy mass that clears the sides of the bowl.
The dough should be slightly sticky but not wet. If it’s too dry, add a splash of warm water (1 tablespoon at a time) until you achieve the right consistency. Conversely, if it’s too wet, sprinkle in a bit more flour (1 tablespoon at a time).
Step 4: Proof the Dough for Maximum Flavor
Transfer the dough to a lightly oiled bowl, turning it to coat all sides with oil. Cover the bowl with plastic wrap or a damp towel and let it rise in a warm, draft-free place for 1-2 hours, or until it has doubled in size. I like to use my oven with the light on as a proofing box—it provides a consistent warm environment.
As the dough rises, you’ll notice it developing a slightly yeasty aroma. This is a good sign that the fermentation process is underway. Be patient and let it rise fully for the best flavor development.
Step 5: Shape and Bake to Perfection
Preheat your oven to 400°F with a baking stone or baking sheet inside (this helps create a crispy crust). Punch down the dough gently and shape it into a round or oblong loaf. Place the shaped dough on a parchment-lined baking sheet or directly on the preheated stone.
Bake for 25-30 minutes until the bread is golden brown on top and sounds hollow when tapped on the bottom. Remove from the oven and let cool on a wire rack for at least 15-20 minutes before slicing. This resting period allows the crumb to set properly, ensuring a soft interior and crusty exterior.
Storing and Reheating Leftovers
Refrigerator Storage Tips
Cool your bread completely before storing to prevent condensation. I wrap mine in plastic wrap or store in a bread keeper at room temperature for up to 3 days. For longer storage, consider freezing. ❄️
Freezer Storage Strategies
For longer-term storage, slice the bread before freezing so you can thaw individual portions. Wrap tightly in plastic wrap then place in a freezer-safe bag. Frozen bread keeps for up to 3 months. When you’re ready to enjoy it, simply thaw at room temperature or reheat directly from frozen.
Reheating Techniques
For the best results, reheat your bread in the oven. Wrap it in aluminum foil and heat at 350°F for 10-15 minutes. If you prefer a crispy crust, reheat at 400°F for 5 minutes unwrapped. You can also toast slices for a quick refresh. 🔥
Microwave Reheating
While not ideal, you can reheat bread in the microwave. Wrap it in a damp paper towel to maintain moisture. Heat on medium power for 20-30 seconds. Be careful not to overheat, as this can make the bread tough.
Maintaining Freshness
To keep your bread fresh for as long as possible, store it away from direct sunlight and heat sources. If you won’t be consuming it within a few days, freezing is your best bet. I always freeze extra loaves to enjoy later. 🍞
Nutrition Facts

Trained in classic French technique but raised on slow-cooked ribs and spicy rubs, she blends culinary skill with smoke and soul.
- Recipe for Boneless Pork Chops in Cast Iron Skillet: Sear and Baste to Juicy Perfection - October 3, 2026
- Recipe for Boneless Cross Rib Roast: Slow-Roasted Beef with Herb Crust - October 3, 2026
- Hamburgers in Sauce Recipe Crock Pot: Slow-Cooked Savory Delight - October 3, 2026