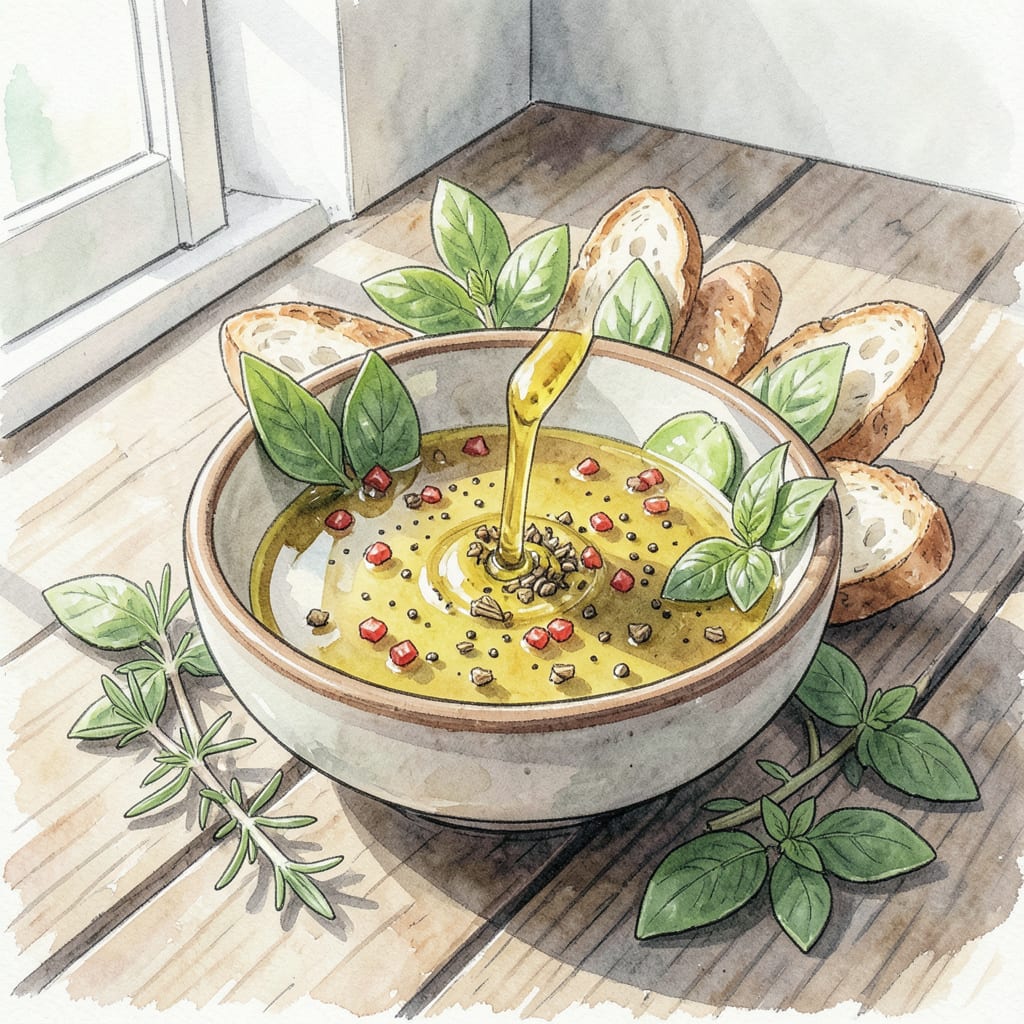
I’ve perfected Bonefish Grill‘s signature dipping oil recipe, bringing restaurant-style flavor to your home. This blend of herbs and spices mixed with premium oil creates an irresistible accompaniment to seafood, bread, or vegetables.
With simple ingredients and straightforward preparation, you’ll achieve that signature aromatic flavor profile. The combination of quality oil and carefully balanced seasonings results in a dipping experience that elevates any meal.
Ingredients for Bonefish Grill Dipping Oil
Gather these premium ingredients to create Bonefish Grill’s signature dipping oil at home easily.
| Ingredient | Amount | Notes |
|---|---|---|
| Extra-Virgin Olive Oil 🫒 | ½ cup | High quality, fruity |
| Garlic Cloves 🧄 | 4 cloves | Peeled, minced |
| Dried Oregano 🌿 | 1 tbsp | Mediterranean variety |
| Dried Basil 🌿 | 1 tbsp | High quality, fragrant |
| Crushed Red Pepper 🔥 | ½ tsp | Adjust for heat preference |
| Black Pepper 🌶️ | ¼ tsp | Freshly ground |
| Sea Salt 🧂 | ¼ tsp | Flaky or kosher |
[recipe_ingredient_scaler]
The oil quality matters here. Choose a high-end extra-virgin olive oil with rich, fruity notes—your taste buds will thank you. For the garlic, four cloves gives a robust flavor without overpowering the other ingredients. If you’re using jarred minced garlic, reduce the amount since it’s more concentrated.
No dried oregano? Fresh oregano works too, just use about one-third the amount. Same goes for basil—fresh is great if you’ve got it. The crushed red pepper is optional, but it adds a nice kick. Start with half a teaspoon and adjust to taste. For a milder version, reduce or omit it entirely.
Store this dipping oil in an airtight container in the fridge to preserve the flavors. It’ll keep for up to 2 weeks. Before serving, give it a good stir since the herbs might settle at the bottom. You can also make it in smaller batches to ensure maximum freshness.
Step-by-Step Instructions for Bonefish Grill’s Signature Dipping Oil
Creating this restaurant-style dipping oil is straightforward and requires just a few simple steps.
Step 1: Combine Aromatic Ingredients
Start by mincing the 4 cloves Garlic Cloves until they’re finely chopped and fragrant. I like to use a microplane for this task as it releases the garlic’s natural oils and creates a smooth texture that blends seamlessly into the oil. Be careful not to over-process, as large pieces can overpower the dipping oil.
Once minced, combine the garlic with 1 tbsp Dried Oregano and 1 tbsp Dried Basil in a small bowl. The Mediterranean variety of oregano adds a subtle bitterness that balances the richness of the oil, while high-quality dried basil contributes a fragrant, slightly sweet note. Mix these dried herbs with the garlic until they’re evenly distributed.
Step 2: Mix with Olive Oil and Spices
In a separate container, measure out 0.5 cup Extra-Virgin Olive Oil. I recommend using a high-quality, fruity olive oil as it forms the base of this dipping oil and significantly impacts the final flavor. Pour the olive oil into the bowl with the garlic and herb mixture.
Add 0.5 tsp Crushed Red Pepper, 0.25 tsp Black Pepper, and 0.25 tsp Sea Salt to the olive oil mixture. The crushed red pepper introduces a subtle heat, while the freshly ground black pepper adds a sharp, peppery flavor. The flaky sea salt enhances the overall flavor profile by bringing out the notes in the other ingredients. Stir the mixture thoroughly to ensure all the components are well incorporated.
Step 3: Infuse and Serve
Transfer the dipping oil mixture to a serving bowl or ramekin. Let it sit at room temperature for at least 30 minutes before serving to allow the flavors to meld together. This resting period is crucial as it enables the garlic to infuse into the oil, creating a more complex and harmonious flavor profile.
Once infused, the dipping oil is ready to serve alongside your favorite bread or seafood dishes. The total yield should be approximately ½ cup, which is perfect for serving 4 people as an accompaniment. Store any leftover dipping oil in an airtight container in the refrigerator for up to 1 week, allowing it to come back to room temperature before serving again.
Storing and Reheating bonefish grill dipping oil
Refrigerator Storage Tips
Store your dipping oil in an airtight glass container with a tight-fitting lid to preserve flavors and prevent oxidation. I prefer using amber glass to protect the oil from light. Keep it in the refrigerator at 40°F or below. ❄️
Freezer Storage Options
For longer storage, you can freeze the dipping oil for up to 3 months. Use ice cube trays to portion out small amounts (1-2 tablespoons per cube). Once frozen, transfer the cubes to a freezer-safe bag or container for storage.
Reheating and Serving
To use refrigerated dipping oil, let it sit at room temperature for 30 minutes to allow the oil to liquefy and flavors to meld. Give it a good stir before serving. If you’ve frozen it, simply place the desired number of cubes in a bowl and let them melt at room temperature.
Best Practices for Freshness
Make small batches (½ cup or less) to ensure maximum freshness. If you notice any off-flavors or cloudiness, it’s best to discard the oil. Always use a clean spoon when serving to prevent contamination.
Storage Container Recommendations
I recommend using dark glass containers with tight-fitting lids for storing dipping oil. Brands like Ball or Anchor Hocking offer excellent options. Avoid plastic containers as they can impart flavors to the oil.
Nutrition Facts

Trained in classic French technique but raised on slow-cooked ribs and spicy rubs, she blends culinary skill with smoke and soul.
- Recipe for Boneless Pork Chops in Cast Iron Skillet: Sear and Baste to Juicy Perfection - October 3, 2026
- Recipe for Boneless Cross Rib Roast: Slow-Roasted Beef with Herb Crust - October 3, 2026
- Hamburgers in Sauce Recipe Crock Pot: Slow-Cooked Savory Delight - October 3, 2026