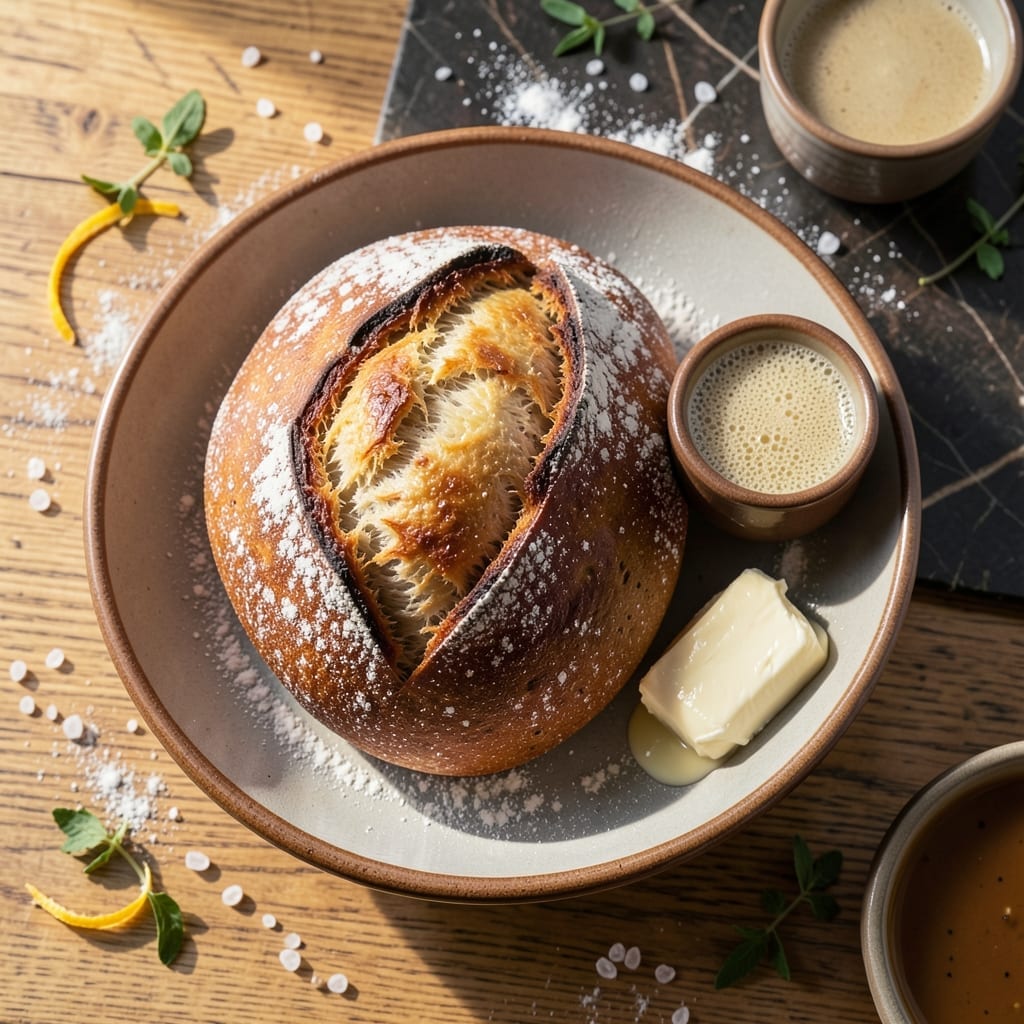
There’s nothing like the aroma of fresh bread filling your kitchen, and this yeast-based recipe delivers a homemade loaf with a soft, airy crumb and golden crust.
The process involves activating the yeast, kneading the dough, and allowing it to rise until doubled in size before baking to perfection.
Ingredients for Bread Recipe Using Yeast
Simple ingredients transform into a warm, fragrant loaf with yeast at the heart.
| Ingredient | Amount | Notes |
|---|---|---|
| Active Dry Yeast 🍞 | 2 ¼ tsp | One packet, proofed in warm water |
| Warm Water 💧 | 1 ¼ cups | 110-115°F for yeast activation |
| Granulated Sugar 🍚 | 1 tbsp | Feeds the yeast for rising |
| All-Purpose Flour 🌾 | 5 ½ cups | Plus extra for dusting surface |
| Kosher Salt 🧂 | 2 tsp | Enhances flavor in dough |
| Unsalted Butter 🧈 | 2 tbsp | Melted, for soft texture |
| Whole Milk 🥛 | ¼ cup | Warmed, enriches the dough |
| Large Egg 🥚 | 1 whole | Room temperature, for binding |
| Olive Oil 🫒 | 1 tbsp | For greasing bowl and loaf |
| Honey 🍯 | 1 tbsp | Optional, adds subtle sweetness |
[recipe_ingredient_scaler]
The yeast is critical here—Red Star or Fleischmann’s are reliable brands. Use a thermometer for the water (110-115°F is ideal); too hot kills the yeast, too cold won’t activate it. King Arthur Flour is my go-to for consistent results, but any all-purpose works. The butter and milk add richness, so full-fat versions are best for that soft crumb.
No yeast? Instant yeast at the same amount works without proofing. For a dairy-free version, swap milk for warm water and butter for coconut oil. Short on honey? Maple syrup or sugar does the trick. The egg can be skipped entirely, but it helps with browning and structure.
Store yeast in the fridge or freezer for 1-2 years. Flour keeps for 6-12 months in a cool, dark place. The baked loaf stays fresh wrapped in foil for 2-3 days, or freeze for 1 month.
Why You’ll Love This Recipe
- One Bowl Wonder: I just mix the yeast, warm water, and sugar, then dump in the flour and salt—no fancy tools needed.
- Warm, Yeasty Magic: That first bite with its soft, slightly sweet crust and airy crumb? Pure comfort.
- Sandwich Superstar: Honestly, it’s my weekday lunch savior—toast it, stuff it, or slather it with jam.
- Pennywise Loaf: Five basic ingredients and it costs less than store-bought, plus my house smells incredible for hours.
Step-by-Step Instructions for Bread Using Yeast
This method delivers a soft, fluffy loaf with a golden crust every time.
Step 1: Activate the Yeast
In a large bowl, combine the 1.25 cups Warm Water, 1 tbsp Granulated Sugar, and 2.25 tsp Active Dry Yeast. The water should be between 110-115°F—hot enough to activate the yeast but not so hot it kills it. Stir gently and let it sit for 5-10 minutes.
You’ll know the yeast is active when the mixture becomes foamy and bubbly. This step is crucial—if the yeast doesn’t bubble, your dough won’t rise. I always double-check the water temperature with a thermometer to ensure accuracy.
Step 2: Mix and Knead the Dough
Add the 0.25 cup Whole Milk, 1 whole Large Egg, 2 tbsp Unsalted Butter (melted), 1 tbsp Honey, and 2 tsp Kosher Salt to the yeast mixture. Stir until well combined. Gradually add 5.5 cups All-Purpose Flour, mixing until a shaggy dough forms.
Turn the dough onto a lightly floured surface and knead for 8-10 minutes until smooth and elastic. The dough should spring back when pressed lightly. If it’s too sticky, add a little more flour, but don’t overdo it—too much flour can make the bread dense.
Step 3: Let the Dough Rise
Lightly grease a large bowl with 1 tbsp Olive Oil and place the dough inside, turning to coat all sides. Cover with a clean kitchen towel and let it rise in a warm, draft-free place for 1-2 hours or until doubled in size.
I like to place my bowl near a slightly warm oven or on top of the refrigerator for consistent warmth. The dough is ready for the next step when it has visibly puffed up and a finger pressed into it leaves a slight indentation.
Step 4: Shape, Rise Again, and Bake
Punch down the risen dough to release the air and turn it onto a floured surface. Shape it into a loaf and place it into a greased 9×5-inch loaf pan. Cover and let it rise again for 30-45 minutes until it domes above the pan edge.
Preheat your oven to 375°F. Bake the loaf for 25-30 minutes until the top is golden brown and the bread sounds hollow when tapped. If the top browns too quickly, tent with foil during the last 10 minutes of baking.
Step 5: Cool Before Slicing
Remove the bread from the pan and let it cool on a wire rack for at least 20 minutes. This cooling step is essential—slicing too soon can result in a gummy texture. The bread should have a beautifully browned crust and a soft, fluffy interior.
Once cooled, slice and serve. Store leftovers in an airtight container at room temperature for up to 3 days, or freeze for longer storage. This loaf is perfect for sandwiches, toast, or simply enjoying as is.
Pro Tips For Making Bread Recipe Using Yeast
- Proof the Yeast: Always dissolve your active dry yeast in warm water—around 110°F—with a pinch of sugar first. I learned this the hard way after killing a batch with water that was too hot.
- Measure Flour Right: Spoon your all-purpose flour into the measuring cup and level it off—don’t scoop directly from the bag. This keeps your bread from turning into a dense brick.
- Don’t Rush Rising: Let the dough double in size, even if it takes an extra 30 minutes. After burning three loaves by pulling them too soon, I finally figured out patience pays off.
- Salt Last: Add the kosher salt after the yeast has foamed, not before. Sounds weird, but it works—salt can slow down yeast activation if added too early.
Dietary Considerations for This Dish
Gluten-Free Option
Swap the all-purpose flour for a 1:1 gluten-free baking blend like King Arthur Measure for Measure. Add 1 tsp xanthan gum for structure. The texture will be denser, but the flavor remains delicious.
Vegan Adaptation
Replace the egg with 1 tbsp flaxseed meal mixed with 3 tbsp water. Use vegan butter and almond milk instead of dairy. The loaf will still rise beautifully with these plant-based swaps.
Dairy-Free Version
Simply substitute the whole milk with warm water and the butter with coconut oil. The result is just as tender, with a subtle coconut aroma that complements the bread’s natural sweetness.
Lower Sugar
Omit the honey and granulated sugar—the yeast will still activate with just the warm water. The crumb might be slightly less golden, but it’s a great option for those watching their sugar intake.
Nut-Free
This recipe is naturally nut-free, but always check your flour and yeast labels for processing warnings. For extra safety, use certified nut-free brands like Bob’s Red Mill.
Egg-Free
Skip the egg entirely—the bread will still hold together, though it may be slightly less rich. Add 2 tbsp extra milk for moisture if the dough feels dry. 💡
Nutrition Facts
Frequently Asked Questions
Why didn’t my dough rise?
Old yeast or water that’s too hot or cold is the usual culprit. Test yeast in 110-115°F water with sugar—it should bubble within 5-10 minutes. Also, ensure your rising spot is warm and draft-free.
Can I use a stand mixer for kneading?
Use the dough hook attachment on low speed for 6-8 minutes. The dough should pull away from the bowl and feel smooth. Avoid over-kneading, which can make bread tough.
How do I know when the bread is done?
Look for a golden brown crust and a hollow sound when tapped. For accuracy, use a thermometer—the internal temperature should reach 190-200°F.
Can I make this dough ahead?
Yes! After kneading, refrigerate the dough overnight for a slow rise. Shape, proof, and bake the next day. This actually enhances flavor development.

Trained in classic French technique but raised on slow-cooked ribs and spicy rubs, she blends culinary skill with smoke and soul.
- Recipe for Boneless Pork Chops in Cast Iron Skillet: Sear and Baste to Juicy Perfection - October 3, 2026
- Recipe for Boneless Cross Rib Roast: Slow-Roasted Beef with Herb Crust - October 3, 2026
- Hamburgers in Sauce Recipe Crock Pot: Slow-Cooked Savory Delight - October 3, 2026