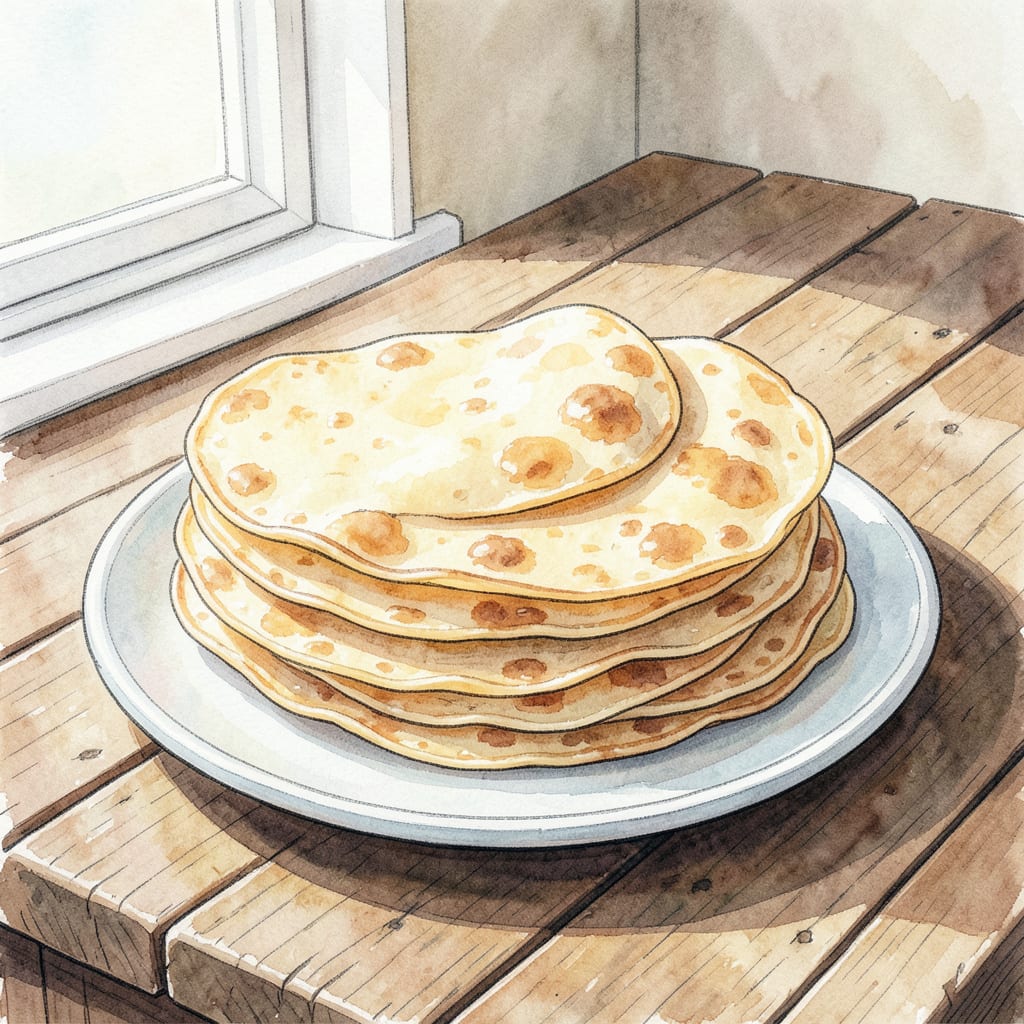
I’ve perfected the art of making soft and flaky butter tortillas that elevate any meal. 🔥 The secret lies in using high-quality ingredients and a precise technique that ensures layers of buttery goodness in every bite. My experience as a pitmaster has taught me the importance of temperature control.
These tortillas are incredibly versatile – perfect for wrapping around your favorite fillings or serving alongside your favorite dishes. With a simple ingredient list and straightforward instructions, you’ll be making restaurant-quality tortillas in no time. Let’s get started!
Ingredients for Butter Tortilla
Simple ingredients come together to create these restaurant-quality butter tortillas.
| Ingredient | Amount | Notes |
|---|---|---|
| All-Purpose Flour 🌾 | 2 cups | Unbleached, all-purpose for best texture |
| Salt 🧂 | 1 tsp | Kosher or flaky sea salt preferred |
| Baking Powder ⚗️ | 1 tsp | Make sure it's fresh for best rise |
| Cold Unsalted Butter 🧈 | ¾ cup | Cut into small pieces for easy incorporation |
| Warm Water 💧 | ¾ cup | About 100°F to 110°F for proper hydration |
[recipe_ingredient_scaler]
For the best results, use high-quality all-purpose flour with a good protein content—around 10-12%. King Arthur or Bob’s Red Mill work well. Cold butter is crucial—keep it in the fridge until you’re ready to mix. If you’re in a warm climate, consider chilling your mixing bowl too.
No unsalted butter? You can use regular salted butter and omit the added salt. If you’re out of baking powder, make a substitute by mixing 1/2 tsp cream of tartar with 1/4 tsp baking soda. For an extra-flaky texture, try using European-style butter with higher fat content.
These tortillas freeze beautifully. Separate them with parchment paper and store in a freezer bag for up to 3 months. Simply thaw at room temperature or warm them in a dry skillet. Keep leftover tortillas wrapped in a damp paper towel in an airtight container for up to 2 days.
Step-by-Step Instructions for Butter Tortillas
Let’s create these tender, layered tortillas that will elevate your Mexican dishes.
👨🍳 Step 1: Combine Dry Ingredients and Cut in Butter
In a large mixing bowl, whisk together the 2 cups All-Purpose Flour, 1 tsp Salt, and 1 tsp Baking Powder until well combined. I like to use a balloon whisk for this step as it incorporates air and ensures even distribution of the leavening. Next, add the 0.75 cup Cold Unsalted Butter that you’ve cut into small cubes. Using a pastry blender or your fingertips, work the butter into the flour mixture until it resembles coarse crumbs with some larger pea-sized pieces of butter remaining. This step is crucial for creating those beautiful, flaky layers.
The mixture should look uneven, with visible butter pieces that will melt during cooking, creating steam pockets that make our tortillas tender and layered. Don’t overwork the mixture – you want to maintain those distinct butter pieces. If you’re using your hands, the warmth from your fingers will start to soften the butter, so work quickly.
🥘 Step 2: Hydrate the Dough
Make a well in the center of your flour mixture and pour in the 0.75 cup Warm Water. Using a fork, gently incorporate the dry ingredients into the water, starting from the inside of the well. As you mix, you’ll see the dough start to come together in shaggy masses. Be patient – the dough will look messy at this stage, but that’s exactly what we want.
Once the dough starts to form, switch to using your hands to gently knead it in the bowl until it comes together into a cohesive, though still slightly rough, mass. The dough should feel damp but not sticky; if it’s too dry, you can add a tiny bit more water (start with 1 tablespoon). The warmth of the water helps to relax the gluten, making the dough more pliable.
🔄 Step 3: Rest and Divide the Dough
Turn the dough out onto a lightly floured surface and knead it 5-7 times until it becomes smooth and elastic. Form it into a ball and cover with plastic wrap or a damp kitchen towel. Let it rest for 30 minutes to allow the gluten to relax fully. This resting period is crucial as it makes the dough easier to roll out thinly.
After resting, divide the dough into 8 equal pieces. I like to weigh the entire dough first, then divide that number by 8 to get the exact weight for each piece. Roll each piece into a ball between your palms, then flatten it slightly into a disk shape. Cover these disks with plastic wrap or a damp towel to prevent them from drying out.
🥘 Step 4: Roll and Cook the Tortillas
Working with one disk at a time, use a rolling pin to roll it out into a thin circle, about 1/16-inch thick. Keep the other disks covered while you work. Heat a dry cast-iron skillet or griddle over medium-high heat until it’s hot enough that a drop of water sizzles on contact. Place the rolled-out tortilla in the skillet and cook for 30-45 seconds on the first side, until you see the edges start to curl and tiny bubbles form on the surface.
Flip the tortilla and cook for another 30-45 seconds on the second side, until it’s lightly browned in spots and slightly puffed. You might see some charring – that’s perfectly normal and adds flavor. As you cook each tortilla, wrap them in a clean kitchen towel to keep warm and pliable. Repeat with the remaining dough disks, keeping the cooked tortillas wrapped.
Essential Equipment for Perfect Results
Essential Tools for Making Butter Tortillas
To create perfect butter tortillas, you’ll need some key equipment. I recommend starting with a heavy-duty mixing bowl that can handle the dough mixing process. A pastry blender or your fingertips are essential for cutting the cold butter into the flour mixture. 🔥
Rolling and Shaping
A rolling pin is crucial for achieving that perfect thin circle. I prefer a marble rolling pin as it keeps the dough cool. For shaping the dough into balls and flattening them slightly, your hands are the best tools.
Cooking the Tortillas
A cast-iron skillet or griddle is ideal for cooking the tortillas. Preheat it over medium-high heat until it’s hot enough that a drop of water sizzles on contact. If you don’t have cast iron, a non-stick skillet works too. For keeping tortillas warm, a clean kitchen towel or tortilla warmer does the trick.
Measuring and Weighing
For accuracy, use a digital kitchen scale to measure your ingredients, especially when dividing the dough into equal pieces. Measuring cups and spoons are also essential for getting the ingredient ratios right. I like to use stainless steel measuring cups for their durability.
Resting the Dough
Don’t forget the importance of letting your dough rest. Use plastic wrap or a damp kitchen towel to cover it, ensuring it doesn’t dry out. This resting period is crucial for relaxing the gluten and making the dough easier to roll out thinly.
Storage
Once your tortillas are cooked, store them properly to keep them fresh. Use a zip-top plastic bag or an airtight container with a damp paper towel to maintain moisture. For longer storage, consider freezing them with parchment paper between each tortilla. ❄️
Nutrition Facts

Trained in classic French technique but raised on slow-cooked ribs and spicy rubs, she blends culinary skill with smoke and soul.
- Recipe for Boneless Pork Chops in Cast Iron Skillet: Sear and Baste to Juicy Perfection - October 3, 2026
- Recipe for Boneless Cross Rib Roast: Slow-Roasted Beef with Herb Crust - October 3, 2026
- Hamburgers in Sauce Recipe Crock Pot: Slow-Cooked Savory Delight - October 3, 2026