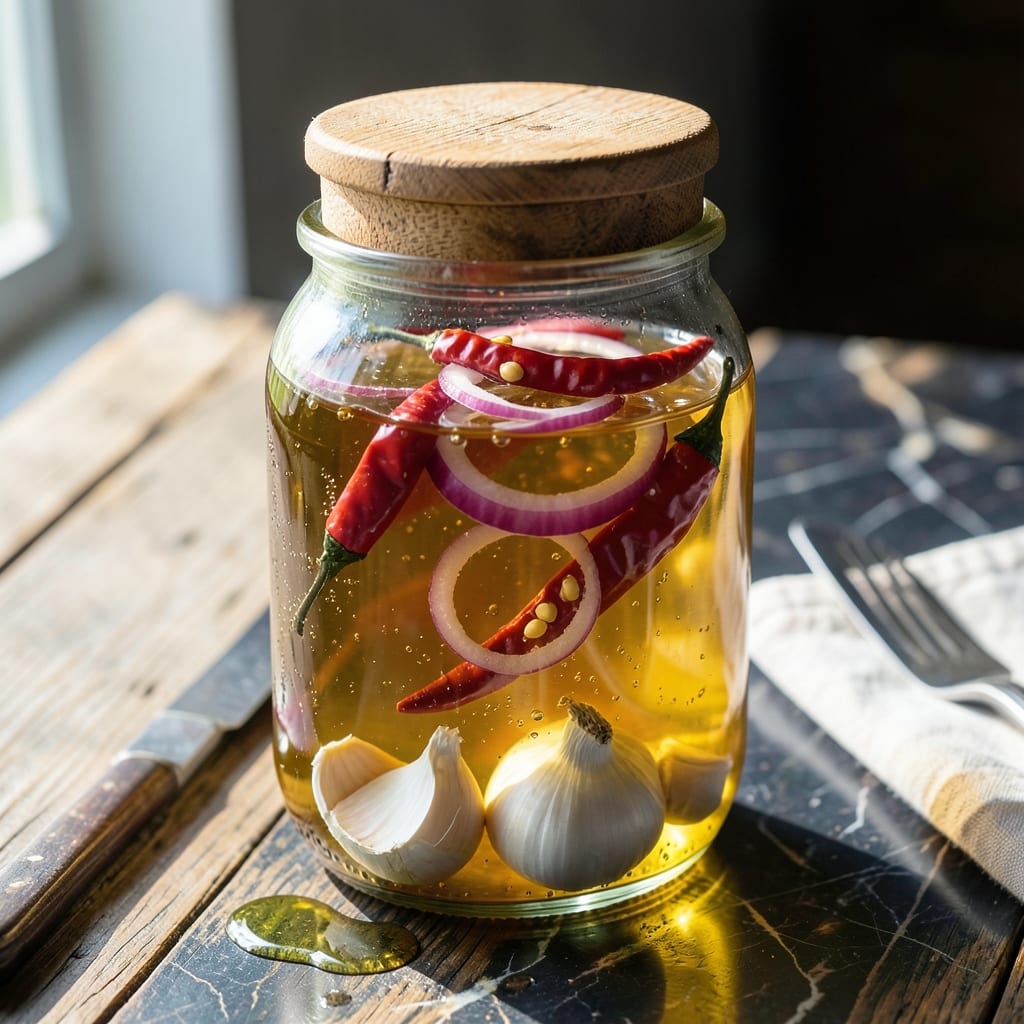
This Filipino condiment brings bright, citrusy depth to any dish with minimal effort. I discovered its versatility while traveling through the Philippines, where it graces everything from grilled meats to fresh salads.
The process is surprisingly simple: combine calamansi juice with vinegar and let time work its magic. The result is a tangy, slightly sweet liquid that enhances flavors without overpowering them.
Use it as a dipping sauce, marinade, or dressing to add complexity to your meals. The balance of acidity and subtle fruitiness makes it more interesting than plain vinegar.
Store in a clean bottle and it will keep for months, ready to transform ordinary dishes into something special.
Ingredients for Calamansi Vinegar
Nine simple ingredients transform into this bright, citrusy Filipino condiment with minimal effort.
| Ingredient | Amount | Notes |
|---|---|---|
| Calamansi Juice 🍊 | 1 cup | Freshly squeezed for best flavor |
| White Vinegar 💧 | 1 cup | Distilled or cane variety |
| Apple Cider Vinegar 🍏 | ½ cup | Adds depth to acidity |
| Garlic Cloves 🧄 | 4 cloves | Peeled and lightly crushed |
| Red Onion 🧅 | ½ whole | Thinly sliced for infusion |
| Thai Chili Peppers 🌶️ | 2 whole | Adjust quantity for heat preference |
| Kosher Salt 🧂 | 1 tsp | Diamond Crystal preferred |
| Black Peppercorns 🌶️ | ½ tsp | Lightly crushed for aroma |
| Brown Sugar 🍚 | 2 tbsp | Balances acidity with sweetness |
[recipe_ingredient_scaler]
The calamansi juice is non-negotiable here—Filipino markets or Asian grocery stores are your best bet. Look for firm, vibrant green fruit that feels heavy for its size. If you can’t find fresh, frozen calamansi juice (available at some specialty stores) works as a backup. The vinegar choice matters too; I prefer a mix of white for sharpness and apple cider for fruitiness (the Bragg brand is widely available).
No calamansi? Lime or lemon juice at a 1:1 ratio gets you close, though the flavor won’t be identical. Skip the Thai chilies if you prefer mild heat, or swap for red pepper flakes at half the amount. The brown sugar can be replaced with coconut sugar for a deeper caramel note. Don’t have whole peppercorns? Freshly ground black pepper works fine—just use a pinch less.
This keeps beautifully in a sterilized glass bottle at room temperature. The flavors meld and mellow over time, so it’s even better after 2 weeks. For maximum shelf life, store in the fridge where it’ll last up to 6 months (though it rarely makes it that long in my house).
Why You’ll Love This Recipe
- 5-Minute Mix: I just combine the calamansi juice, vinegars, and sliced garlic—no cooking, no fuss.
- Tangy Zing: The sharp calamansi cuts through the vinegar with a bright, citrusy kick that lingers.
- Dressing & More: I drizzle it over lumpia, use it in marinades, or even splash it in my morning sinigang soup.
- Fridge Staple: One batch lasts me weeks, and it costs pennies compared to store-bought versions.
Step-by-Step Instructions for Calamansi Vinegar
This straightforward process combines bold flavors into a versatile condiment that brightens any dish.
Step 1: Infuse the Vinegar Base
In a clean, dry glass jar with a lid, combine the 1 cup calamansi juice, 1 cup white vinegar, and 0.5 cup apple cider vinegar. The calamansi juice adds the signature citrus zing, while the two vinegars create a balanced acidity.
Stir gently to mix, but don’t worry about full integration yet. The flavors will meld naturally over time. I prefer using a wide-mouth jar for easier ingredient addition and stirring.
Step 2: Add Aromatics and Spices
Add the 4 cloves garlic cloves (peeled and lightly crushed), 0.5 whole red onion (thinly sliced), and 2 whole Thai chili peppers to the jar. The crushed garlic and sliced onion will infuse their flavors into the liquid without overpowering it.
For the Thai chili peppers, leave them whole for a milder heat or slice them open if you prefer a spicier result. The choice is yours based on your heat tolerance.
Step 3: Sweeten and Season the Mixture
Add the 2 tbsp brown sugar, 1 tsp kosher salt, and 0.5 tsp black peppercorns (lightly crushed) to the jar. The brown sugar balances the acidity with a touch of caramel sweetness, while the salt and peppercorns add depth to the flavor profile.
Secure the lid tightly and give the jar a good shake to distribute all the ingredients evenly. You should see the brown sugar beginning to dissolve into the liquid.
Step 4: Steep and Store for Optimal Flavor
Place the jar in a cool, dark place like a pantry or cupboard. Let it steep for at least 3 days, shaking the jar gently once a day to help the flavors meld together.
After 3 days, taste the vinegar and decide if you want a stronger infusion. For a more intense flavor, let it steep for up to 1 week. The longer it sits, the more pronounced the garlic, onion, and chili flavors will become.
Once you’re satisfied with the flavor, strain out the solids using a fine-mesh sieve. Transfer the liquid to a clean jar or bottle for storage. Your calamansi vinegar will keep in the refrigerator for up to 3 months.
Pro Tips For Making Calamansi Vinegar
- Steep Longer: I learned this the hard way—letting the garlic and red onion infuse in the vinegar mixture for at least 5-7 days (not just overnight) actually changes the outcome, giving it that deep, balanced tang.
- Strain the Pulp: After combining calamansi juice with the vinegars, always strain out the pulp and seeds through a fine mesh sieve—your vinegar will stay clear and last longer.
- Skip the Metal: Resist the urge to use metal containers for storage; I used a metal jar once and ended up with a slight metallic taste after a week. Stick to glass.
- Warm the Jar: Sounds weird, but it works: placing the sealed jar in a warm spot (like near the oven) for the first 24 hours speeds up the infusion without sacrificing flavor.
Make-Ahead Tips for Leftovers
Prep Ahead Strategy
I always start by juicing the calamansi 1-2 days before making the vinegar. This lets the juice settle so you can pour off the clear liquid, leaving sediment behind. Store the juice in an airtight container in the fridge until ready to use. 💡
Infusion Shortcut
For faster flavor development, gently heat the vinegar mixture with aromatics in a saucepan to 180°F. Remove from heat, cool completely, then transfer to your jar. This 24-hour method mimics weeks of steeping.
Batch Making
This recipe scales perfectly—just maintain the 2:2:1 ratio of calamansi to white to apple cider vinegar. I make 4 cups at a time in a large mason jar. The flavor improves with age, so having extra on hand is never a problem.
Storage Solutions
Use swing-top glass bottles for easy pouring and a tight seal. I found 16-ounce bottles at my local kitchen store. Always sterilize bottles first by boiling them for 10 minutes before filling. ❄️
Flavor Boost Tip
Before bottling, add 1 tsp toasted mustard seeds or a bay leaf to your jar during the final 24 hours of steeping. These add subtle complexity without overpowering the calamansi’s bright citrus notes.
Long-Term Aging
For the most developed flavor, let your vinegar age for 4-6 weeks before using. The acidity mellows slightly while the garlic and chili flavors deepen. I label my bottles with the date to track aging.
Nutrition Facts
Frequently Asked Questions
Can I use bottled calamansi juice instead of fresh?
Yes, but fresh is always better for vibrant flavor. If using bottled, choose 100% pure calamansi juice without added sweeteners. The flavor may be slightly less bright but still works well.
How long does homemade calamansi vinegar last?
Properly stored in a sterilized bottle in the fridge, it stays fresh for up to 6 months. The flavors actually improve over time, becoming more complex after 2 weeks.
What if I don’t have Thai chilies?
Substitute with 1/2 tsp red pepper flakes or omit entirely for a mild version. You can also add a pinch of cayenne for heat. The vinegar will still taste great.
Can I reduce the sugar in the recipe?
Yes, you can cut the brown sugar in half or replace it with 1 tbsp honey. The sugar mainly balances acidity, so adjust to your preferred sweetness level.

Trained in classic French technique but raised on slow-cooked ribs and spicy rubs, she blends culinary skill with smoke and soul.
- Recipe for Boneless Pork Chops in Cast Iron Skillet: Sear and Baste to Juicy Perfection - October 3, 2026
- Recipe for Boneless Cross Rib Roast: Slow-Roasted Beef with Herb Crust - October 3, 2026
- Hamburgers in Sauce Recipe Crock Pot: Slow-Cooked Savory Delight - October 3, 2026