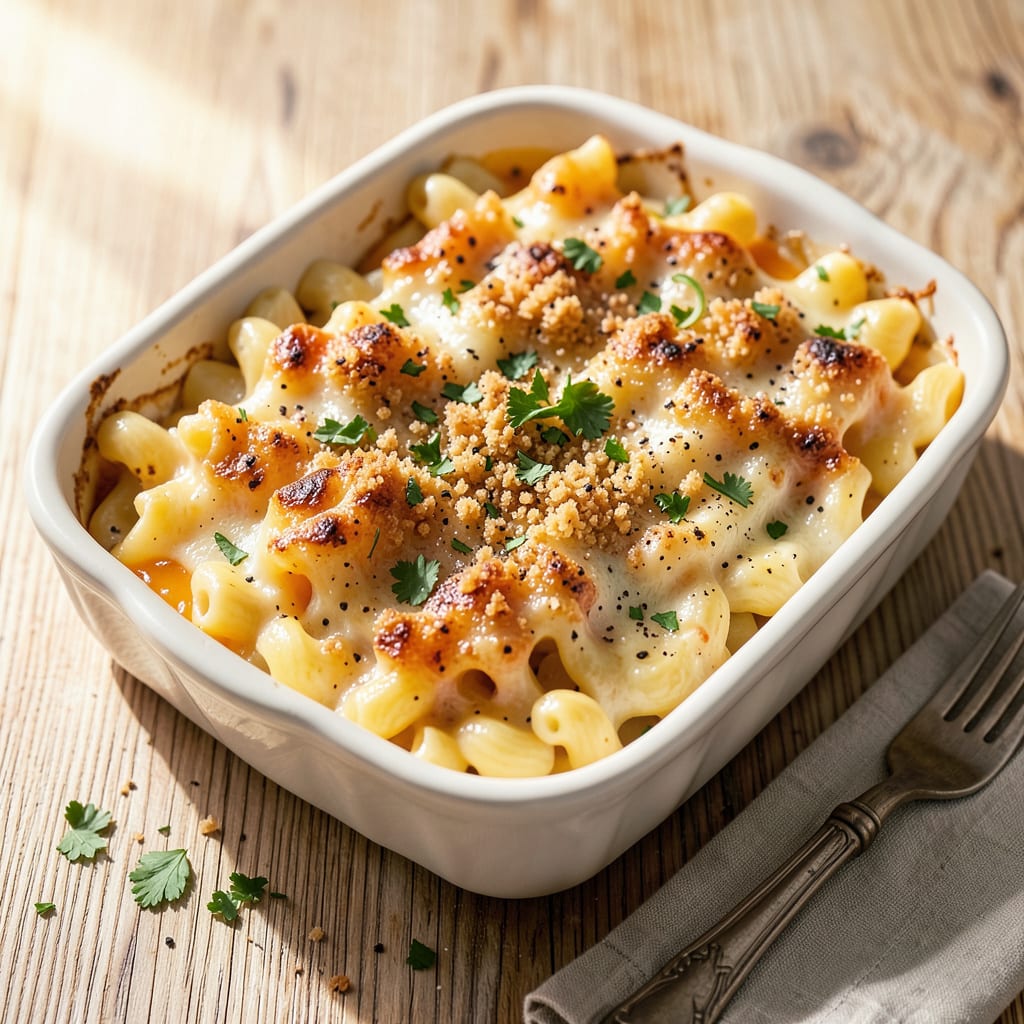
Yes, you can bake boxed mac and cheese for a creamier, crispier result. Prepare it stovetop as directed, transfer to a baking dish, top with extra cheese or breadcrumbs, and bake at 375°F until golden (10-15 minutes).
This simple trick transforms ordinary boxed mac into something special by creating a golden crust while keeping the inside ultra-creamy. 🔥 I love how the oven’s dry heat concentrates the cheese flavor, giving you that restaurant-style finish with minimal effort. The key is using just enough liquid during stovetop prep—too much and you’ll end up with a soupy bake, too little and the pasta dries out.
For best results, I recommend mixing in 1/4 cup extra shredded cheddar before baking and topping with panko breadcrumbs for maximum crunch. The oven’s even heat distribution ensures every bite has that perfect balance of crispy edges and velvety sauce.
💡 In This Article
- Why Baking Elevates Boxed Mac and Cheese Texture
- Step-by-Step Guide to Baking Boxed Mac and Cheese Perfectly
Why Baking Elevates Boxed Mac and Cheese Texture
The oven works magic on boxed mac and cheese through two key processes: the Maillard reaction and controlled moisture evaporation. When you bake at 375°F, the amino acids in cheese and proteins in pasta undergo the Maillard reaction, creating those golden-brown crispy edges and deep, nutty flavors.
This is the same chemical process that makes toasted bread and seared steaks so irresistible. Meanwhile, the dry heat gently evaporates excess liquid, concentrating the cheese sauce into a richer, creamier consistency. 🔥
What happens to the cheese is particularly fascinating. During baking, the fat molecules in cheese redistribute throughout the dish. The heat causes them to separate slightly from the proteins, then re-emulsify as the dish cools. This creates a velvety texture that’s impossible to achieve on the stovetop alone.
I’ve found that adding 1/2 cup extra shredded cheese before baking gives you that perfect pull-apart cheese stretch when serving. The oven’s even heat also ensures every noodle gets coated uniformly, unlike stovetop versions where the bottom can get gummy.
Compare this to stovetop-only preparation where you’re limited to direct heat. On the stove, the sauce tends to separate more quickly and the texture remains one-dimensional. Baking introduces textural contrast—the crispy top layer against the creamy interior—that makes each bite more exciting.
The temperature gradient in the oven (hotter at the top) creates this perfect contrast automatically. I always notice how the edges develop a slight caramelization that adds complexity to the flavor profile.
There’s also the science of starch gelatinization to consider. As the pasta continues cooking in the oven, the starches on the surface absorb any remaining liquid and swell. This creates a thicker, more luxurious sauce consistency.
The starches also help bind the cheese fats more effectively, preventing that grainy texture you sometimes get with stovetop versions. For maximum effect, I recommend baking in a shallow 2-quart dish to increase surface area for browning while maintaining creamy depth.
Don’t overlook the role of toppings in this transformation. Breadcrumbs or crushed crackers create a textural counterpoint while also protecting the cheese layer beneath from drying out. The crumbs act like tiny insulation bubbles, trapping just enough moisture to keep the interior luscious.
When I test different toppings, panko consistently gives the best crunch-to-coverage ratio, while buttery Ritz cracker crumbs add a sweet, salty dimension that complements the sharp cheddar flavors.
Timing plays a crucial role in achieving the perfect balance. At 10-12 minutes, you’ll get a softer crust with maximum creaminess inside. Push it to 15 minutes and you develop deeper browning and slightly firmer texture—ideal if you prefer more resistance in your bite.
The difference between these timing windows comes down to how much moisture you want to retain versus how much caramelized flavor you want to develop on top. ✨
One pro tip I’ve learned from years of testing: let the baked mac rest for 5-7 minutes after removing from the oven. This allows the starches to fully absorb any remaining liquid and the cheese fats to reset slightly, giving you cleaner slices when serving.
The rest time also lets the internal temperature equalize, so you don’t end up with a scalding center and lukewarm edges when digging in. This small wait makes a surprisingly big difference in the final texture and eating experience.

Trained in classic French technique but raised on slow-cooked ribs and spicy rubs, she blends culinary skill with smoke and soul.
- Recipe for Boneless Pork Chops in Cast Iron Skillet: Sear and Baste to Juicy Perfection - October 3, 2026
- Recipe for Boneless Cross Rib Roast: Slow-Roasted Beef with Herb Crust - October 3, 2026
- Hamburgers in Sauce Recipe Crock Pot: Slow-Cooked Savory Delight - October 3, 2026