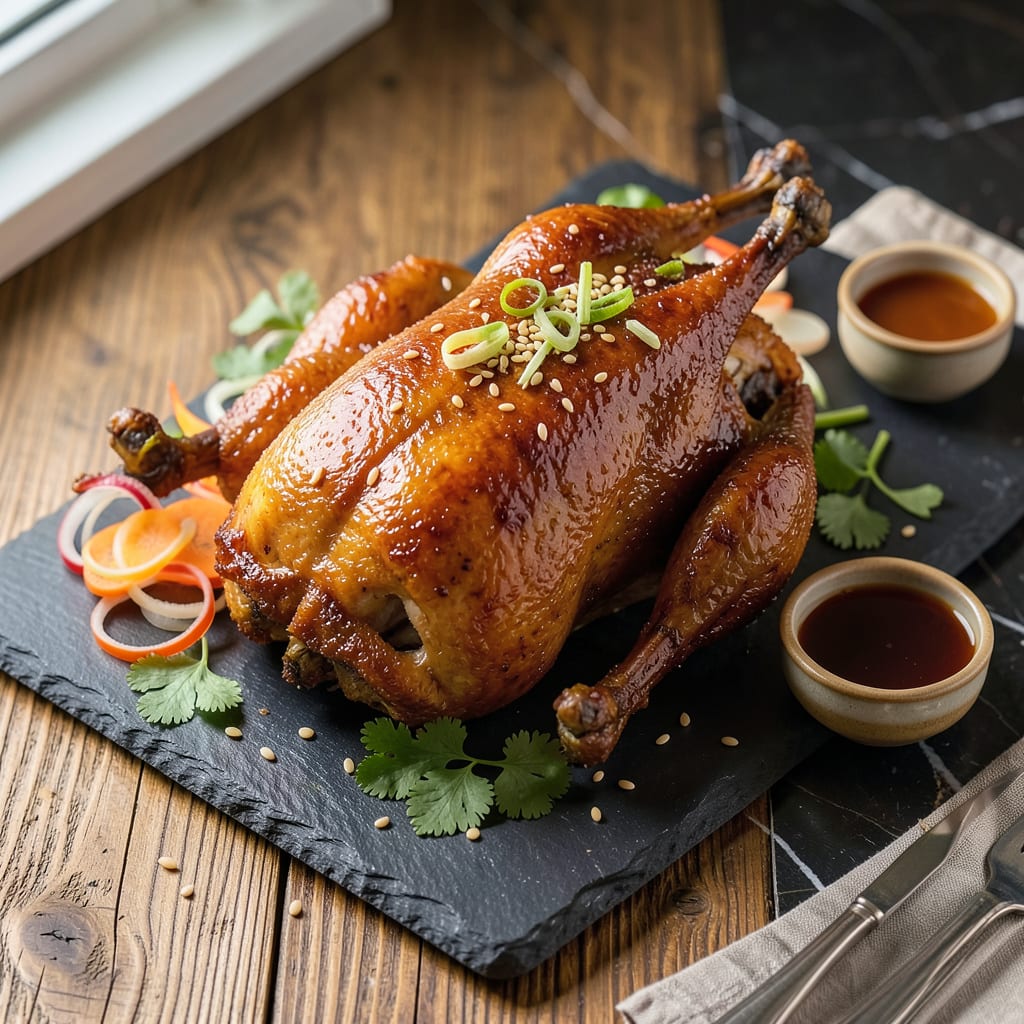
Yes, you can deep-fry a duck for incredibly crispy skin and juicy meat, but it requires proper preparation like drying the skin, maintaining oil temperature at 350°F, and frying in small batches for even cooking.
This method transforms duck into something extraordinary—the high heat renders fat rapidly while sealing in moisture. 🔥 As someone who’s experimented with both French techniques and Southern frying traditions, I can attest that the key lies in patience during prep. The skin needs to be bone-dry before hitting the oil, and maintaining that 350°F sweet spot prevents greasiness while achieving that coveted golden crunch.
What surprises most home cooks is how quickly duck absorbs heat compared to chicken. The rich fat content means you’ll get perfect crispiness in 12-15 minutes for pieces, but you must monitor closely. I always use a thermometer and keep a fire extinguisher nearby—safety first when working with hot oil at these temperatures.
💡 In This Article
- Science Behind Deep-Frying Duck for Perfect Crispiness
- Step-by-Step Guide to Deep-Frying Duck at Home
Science Behind Deep-Frying Duck for Perfect Crispiness
Deep-frying duck creates a magical transformation through two key chemical reactions. First, the Maillard reaction kicks in at 300-350°F, where amino acids and reducing sugars in the skin combine to form complex flavor compounds. This is what gives properly fried duck that deep golden-brown color and nutty, savory aroma.
The second process involves fat rendering—duck skin contains about 30% fat, which rapidly melts at high heat, creating that signature crispy texture while basting the meat underneath. ✨
The secret lies in the skin’s moisture content. Duck skin has a thick fat layer beneath it that needs to be thoroughly dried before frying. When you air-dry the duck uncovered in the fridge for 12-24 hours, you’re removing surface moisture that would otherwise cause oil splatter and prevent crisping.
The dry surface allows for immediate contact between skin and hot oil, creating that satisfying crunch within 3-5 minutes of frying. 🔥
Temperature control becomes crucial because duck fat renders at a lower temperature (284°F) than most frying oils. If your oil dips below 325°F, the duck will absorb oil instead of crisping. Conversely, temperatures above 375°F risk burning the skin before the meat cooks through.
I use a clip-on thermometer to monitor oil temp constantly—it’s the only way to guarantee that perfect balance between crispy exterior and juicy interior.
What most home cooks don’t realize is that duck’s connective tissue breaks down faster than chicken’s during frying. The collagen in duck legs and thighs starts converting to gelatin at 160°F, which is why pieces stay tender even at high frying temperatures.
This is also why duck confit works so well—the pre-cooking in fat primes the meat for that final crispy finish when fried. ⚡
The oil choice matters too. Peanut oil (smoke point 450°F) handles duck’s fat content better than vegetable oil, creating a cleaner flavor profile. I’ve found that adding a splash of duck fat to the frying oil enhances the final taste—it’s like giving the duck a flavor boost from its own rendered fat.
The science here is simple: like dissolves like, so the duck fat integrates beautifully with the frying medium.
One final pro tip: the resting period after frying is non-negotiable. When you remove duck from the oil, the internal temperature continues rising by 10-15°F as carryover cooking occurs. This is when the juices redistribute throughout the meat.
I rest fried duck pieces on a wire rack for exactly 8 minutes—long enough to set the crust but not so long that steam makes the skin soggy. 💫

Trained in classic French technique but raised on slow-cooked ribs and spicy rubs, she blends culinary skill with smoke and soul.
- Recipe for Boneless Pork Chops in Cast Iron Skillet: Sear and Baste to Juicy Perfection - October 3, 2026
- Recipe for Boneless Cross Rib Roast: Slow-Roasted Beef with Herb Crust - October 3, 2026
- Hamburgers in Sauce Recipe Crock Pot: Slow-Cooked Savory Delight - October 3, 2026