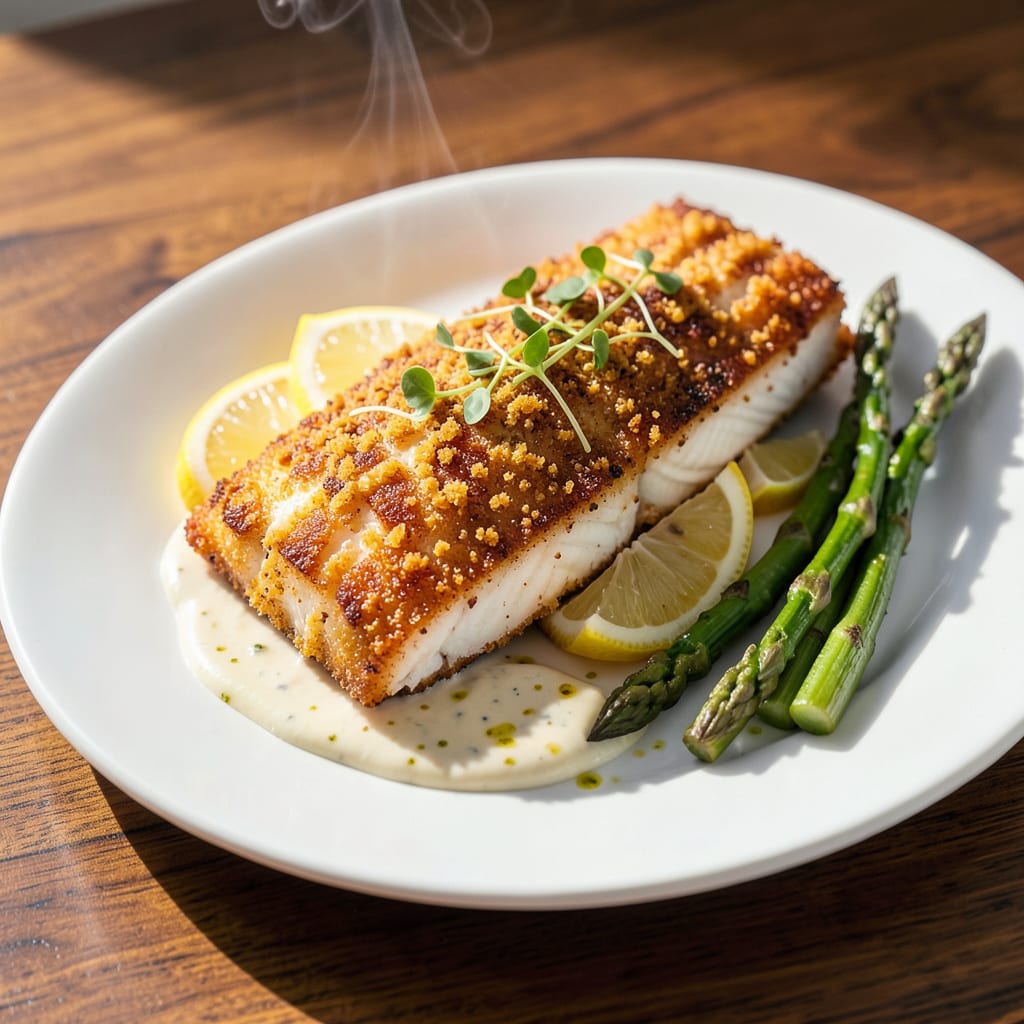
Yes, you can use Shake and Bake on fish for a quick, crispy coating. The breadcrumb mixture adheres well to firm fillets like cod or tilapia when lightly moistened first. Bake at 400°F for 12-15 minutes for best results.
This method transforms ordinary fish into a restaurant-quality dish with minimal effort. 🔥 The secret lies in the coating’s ability to create a golden crust while sealing in moisture—something I discovered during my French culinary training. I recommend using a light egg wash or mayonnaise as a binder for better adhesion, especially with delicate fillets. The high heat ensures crispiness without drying out the fish, making it perfect for busy weeknights when you want impressive results fast.
💡 In This Article
- How Shake and Bake Works on Fish Texture and Flavor
- Pro Tips for Perfect Shake and Bake Fish Every Time
How Shake and Bake Works on Fish Texture and Flavor
The magic happens when moisture meets dry coating. Fish naturally has a delicate surface that needs a binder—like egg wash or mayonnaise—to create a sticky base for the breadcrumbs.
The Shake and Bake mixture contains fine breadcrumbs, spices, and often a bit of cornstarch, which helps absorb surface moisture while forming a crispy shell during baking. When heated to 400°F, the starches gelatinize and the proteins in the binder set, locking the coating in place. 🔥
Fish absorbs flavors differently than chicken because of its lower fat content and shorter cooking time. The breadcrumb coating actually acts as a flavor barrier—preventing delicate fish from becoming overwhelmed while adding a savory crust.
I’ve found that firm, mild fish like cod, halibut, or tilapia work best because their structure holds up to the coating process. The breadcrumbs brown in 12-15 minutes, creating a textural contrast between the crisp exterior and flaky interior.
Here’s what’s actually happening in the oven: The high heat causes rapid moisture evaporation from the fish surface, which gets trapped by the breadcrumb layer. This steam helps cook the fish gently while the dry coating crisps up. Unlike frying, this method uses minimal oil—just enough in the coating mixture to promote browning.
The result is a lighter, less greasy alternative to traditional fried fish that still delivers that satisfying crunch. ✨
The flavor development comes from two key reactions. First, the Maillard reaction between the proteins in the binder and the sugars in the breadcrumbs creates those golden-brown notes. Second, the spices in the coating (typically paprika, garlic, onion) bloom under heat, releasing their aromatic oils.
For maximum flavor penetration, I recommend letting the coated fish rest for 5 minutes before baking—this gives the seasonings time to adhere properly.
Not all fish are created equal for this method. Delicate varieties like sole or flounder can fall apart during shaking, while oily fish like salmon may make the coating soggy. The ideal candidates have moderate oil content and firm flesh that can withstand the shaking process.
I’ve had great success with mahi-mahi and swai—both hold their shape beautifully while absorbing the coating flavors. 💫
Pro tip from my French training: For extra crispiness, place the coated fish on a wire rack over your baking sheet. This allows hot air to circulate underneath, preventing the steam from making the bottom soggy. The difference is remarkable—you get that all-over crunch that makes each bite satisfying.
Just be sure to spray the rack lightly with oil first to prevent sticking.

Trained in classic French technique but raised on slow-cooked ribs and spicy rubs, she blends culinary skill with smoke and soul.
- Recipe for Boneless Pork Chops in Cast Iron Skillet: Sear and Baste to Juicy Perfection - October 3, 2026
- Recipe for Boneless Cross Rib Roast: Slow-Roasted Beef with Herb Crust - October 3, 2026
- Hamburgers in Sauce Recipe Crock Pot: Slow-Cooked Savory Delight - October 3, 2026