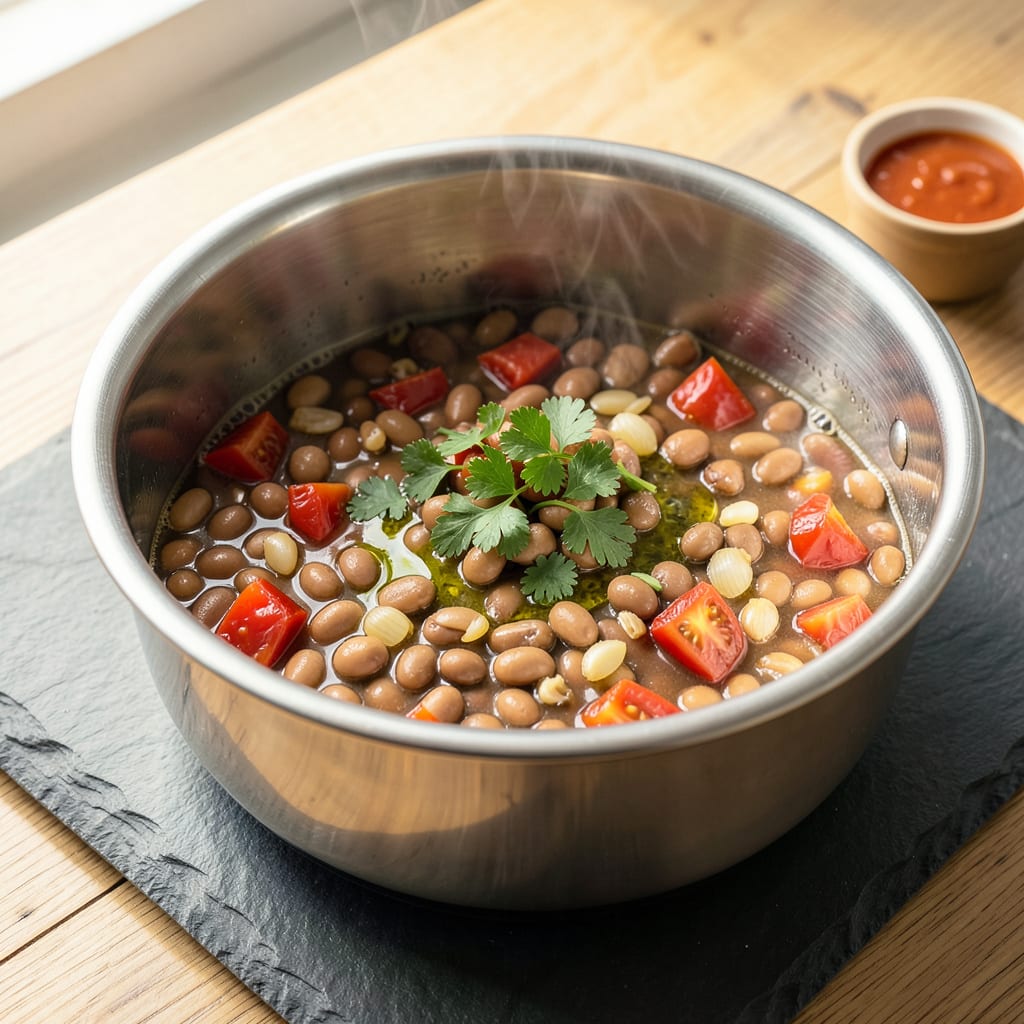
Here’s the thing—canned beans don’t have to be boring or mushy. I’ve found that 10 minutes in the Instant Pot transforms them into something creamy and flavorful, with none of that metallic canned taste. No soaking, no long simmering, just dump-and-go magic that works with whatever beans you’ve got in your pantry.
I started using this method when I needed a quick side dish that didn’t require babysitting. Just drain the beans, add some aromatics (garlic and onion are my go-tos), cover with broth or water, and let the pressure cooker do its thing. The Instant Pot softens the beans just enough while letting them absorb all the flavors you toss in—whether it’s smoky paprika, fresh herbs, or a splash of vinegar for brightness.
What you end up with is a side dish that’s way more exciting than plain canned beans—tender but not mushy, packed with whatever flavors you choose, and ready to serve in 15 minutes flat. I use these beans in soups, as a base for quick dips, or just as a simple side with grilled meats. They’re the kind of pantry staple that makes weeknight cooking feel effortless.
Between you and me, this is one of those recipes that makes you look like you put in way more effort than you actually did. The Instant Pot does all the work while you focus on the rest of the meal. Let’s get those beans cooking!
📚 In This Guide
- What You’ll Need
- Instructions
- Tips and Common Mistakes
What Youll Need
- ● Required: 1–2 (15 oz) cans of beans (black, pinto, kidney, or your favorite—drained & rinsed)
- ● 1 cup low-sodium broth (vegetable, chicken, or beef) or water
- ● 1 tbsp olive oil, butter, or cooking fat of choice
- ● 1 6-quart Instant Pot (or any electric pressure cooker)
- ● Basic seasonings: ½ tsp salt, ¼ tsp black pepper, 1 tsp garlic powder (adjust to taste)
- ○ Optional (but recommended!): ½ onion, diced (for extra depth)
- ● 2 cloves fresh garlic, minced
- ● 1 bay leaf or ½ tsp smoked paprika (for a smoky twist)
- ● 1 tbsp lemon juice or apple cider vinegar (brightens flavors)
- ● Fresh herbs (cilantro, parsley, or thyme) for garnish
- ● Cheese (feta, cotija, or shredded cheddar) or sour cream for topping
- ● Tools: Wooden spoon or silicone spatula (for stirring)
- ● Measuring cups/spoons
- ● Quick-release valve check (ensure it’s clear before cooking!)
Instructions
Here’s how to transform simple canned beans into something extraordinary—quick, easy, and packed with flavor.
Drain and Rinse the Beans
Open your cans of beans and pour them into a fine-mesh colander. I always give them a good rinse under cold running water for about 30 seconds. This removes excess sodium and starch, which helps prevent mushy beans later.
Shake the colander gently to remove all the water. You’ll notice the beans look brighter and cleaner after rinsing. This small step makes a big difference in the final texture and flavor of your dish.
Add Beans and Liquid to the Instant Pot
Transfer the drained beans to your Instant Pot. Add enough liquid to just cover the beans—I typically use 1 cup of water or broth for every 15-ounce can. The liquid helps create steam for even cooking and prevents burning.
Here’s the thing—I never skip this step, even though the beans are already cooked. The Instant Pot pressure helps the beans absorb flavors better and softens them to that perfect creamy texture we’re after.
Season and Pressure Cook
Now add your seasonings. I like to keep it simple with salt, pepper, and garlic powder, but you can use any spices you love. Stir everything gently to distribute the seasonings without breaking the beans.
Secure the lid and set the valve to sealing. Cook on high pressure for 5 minutes. I know it seems short, but remember—these beans are already cooked. We’re just enhancing their texture and flavor. The Instant Pot will take about 10 minutes to come to pressure before cooking begins.
Release Pressure and Finish
When the cooking time is up, let the pressure release naturally for 5 minutes, then carefully turn the valve to venting to release any remaining pressure. This gradual release helps the beans maintain their shape and creaminess.
Open the lid and give the beans a gentle stir. You’ll notice they’ve plumped up slightly and the liquid has thickened into a light sauce. If you prefer a creamier texture, you can mash a few beans against the side of the pot with a wooden spoon.
Adjust and Serve
Taste and adjust the seasoning if needed. I often add a splash of lemon juice or vinegar at this point to brighten the flavors. The beans should be tender but still hold their shape, with a rich, savory broth surrounding them.
Serve them warm as a side dish, or use them as a base for soups, dips, or tacos. The best part? They’ll keep in the fridge for up to 5 days, and the flavor just gets better as they sit. This simple technique turns ordinary canned beans into something truly special.
Tips and Common Mistakes
These simple tricks will help you get the most flavor and perfect texture from your canned beans every time.
Rinsing Right: That 30-second rinse in Step 1 isn’t just for show—it removes up to 40% of the sodium and starch that can make beans mushy. I shake the colander extra hard to get every last drop of water off. Trust me, this small step makes beans taste fresher and hold their shape better.
Liquid Wisdom: In Step 2, using 1 cup of broth per 15-ounce can gives better flavor than water. I learned the hard way that too much liquid makes beans soupy, while too little can cause burning. Just enough to cover the beans is perfect—you’ll see it transforms into a rich, flavorful sauce during cooking.
Pressure Perfection: The 5 minutes of high pressure in Step 3 might seem too short, but it’s exactly what canned beans need. Remember, they’re already cooked—we’re just waking them up. I set a timer for the 10 minutes it takes to come to pressure, then another for the cooking time. This prevents overcooking, which turns beans to mush.
Texture Control: After the 5-minute natural release in Step 4, I always mash just a few beans against the pot’s side. This creates a creamy base without losing all the bean shapes. A wooden spoon works best—it gives you more control than a potato masher.
Pro Tips for Canned Beans In Instant Pot
- These simple tricks will help you get the most flavor and perfect texture from your canned beans every time.
- Rinsing Right: That 30-second rinse in Step 1 isn’t just for show—it removes up to 40% of the sodium and starch that …
- Liquid Wisdom: In Step 2, using 1 cup of broth per 15-ounce can gives better flavor than water. I learned the hard wa…
Frequently Asked Questions
Can I cook canned beans directly in the Instant Pot without soaking?
Canned beans are pre-cooked, so you only need to heat and season them. Just drain, rinse, add to the Instant Pot with liquid (broth, water, or sauce), and cook on High Pressure for 3-5 minutes. No soaking required—just quick, creamy results!
Why do my canned beans turn mushy in the Instant Pot?
Overcooking is the usual culprit. Canned beans are soft already, so stick to 3-5 minutes on High Pressure (plus natural release). For firmer texture, reduce time to 2 minutes or use the Sauté function to warm them gently instead.
Can I use the Instant Pot to make canned beans taste less “canned”?
Yes! Boost flavor by sautéing aromatics (onion, garlic, spices) first, then adding beans with broth or tomato sauce. A splash of vinegar or citrus brightens them up. Try 10 mins on Sauté after pressure cooking to deepen flavors.
What’s the fastest way to cook canned beans in the Instant Pot?
Skip pressure cooking! Use the Sauté function (5-7 mins) with a bit of liquid. It’s perfect for last-minute sides or when you’re adding beans to soups/stews. Bonus: No wait time for pressure to build or release!
Are there better alternatives to canned beans for the Instant Pot?
For texture and cost savings, dried beans win—but they need soaking (or extra time). Try 1:3 bean-to-water ratio, 25-30 mins on High Pressure (no soak), or 40-50 mins (unsoaked). Frozen pre-cooked beans are another speedy swap!
Cooking canned beans in your Instant Pot is a game-changer for quick, creamy, and flavor-packed sides! 🎉 Whether you’re whipping up a last-minute meal or meal prepping for the week, this method saves time without sacrificing taste. With just a few ingredients and minimal effort, you’ll have tender, perfectly seasoned beans ready to elevate any dish.
Ready to try it? Grab a can of your favorite beans and experiment with spices—your next delicious side is just minutes away! For more Instant Pot hacks, check out our guide on one-pot meals to keep the magic going. Happy cooking! 🍽️

Trained in classic French technique but raised on slow-cooked ribs and spicy rubs, she blends culinary skill with smoke and soul.
- Recipe for Boneless Pork Chops in Cast Iron Skillet: Sear and Baste to Juicy Perfection - October 3, 2026
- Recipe for Boneless Cross Rib Roast: Slow-Roasted Beef with Herb Crust - October 3, 2026
- Hamburgers in Sauce Recipe Crock Pot: Slow-Cooked Savory Delight - October 3, 2026