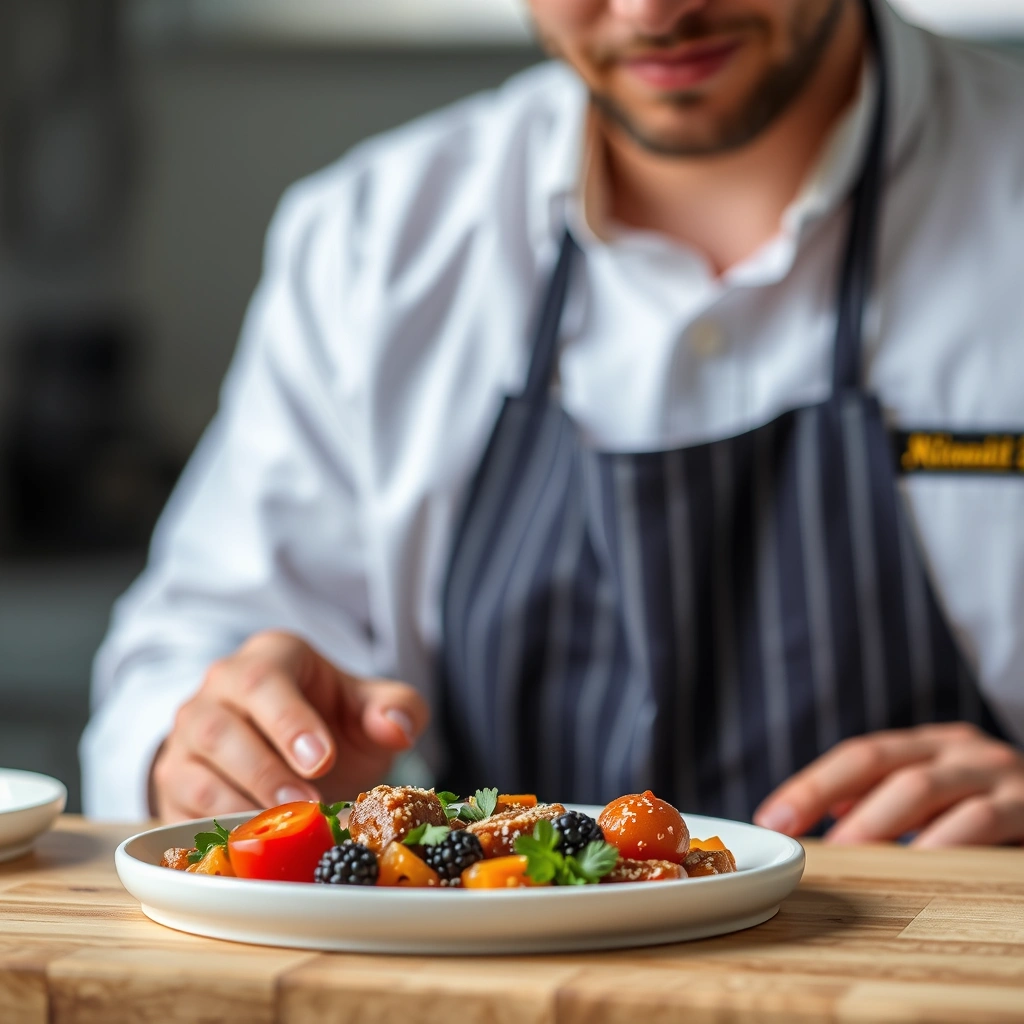
Get ready to recreate the magic of Cheddar’s famous chicken tenders right in your own kitchen! 🔥 I’ve cracked the code on their signature crispy coating and tender, juicy interior that keeps fans coming back. This copycat recipe delivers that perfect restaurant-style crunch you’ve been craving. 😋
ingredients for cheddars chicken tenders
Gather these premium ingredients to recreate the legendary Cheddar’s chicken tenders in your kitchen today.
| Ingredient | Amount | Notes |
|---|---|---|
| Chicken Breast Tenders 🍗 | 2 lb | Fresh, not frozen |
| Buttermilk 🥛 | 2 cup | Full-fat recommended |
| All-Purpose Flour 🌾 | 2 ½ cup | Unbleached preferred |
| Paprika 🌶️ | 2 tbsp | Sweet or smoked variety |
| Garlic Powder 🧄 | 1 tbsp | Fresh and fragrant |
| Onion Powder 🧅 | 1 tbsp | For enhanced savory flavor |
| Black Pepper 🖤 | 1 tbsp | Freshly ground |
| Salt 🧂 | 2 tbsp | Kosher salt preferred |
| Cayenne Pepper 🌶️ | ½ tsp | Adjust to taste |
| Vegetable Oil 🛢️ | 4 cup | For deep frying |
| Eggs 🥚 | 2 cup | Large, room temperature |
[recipe_ingredient_scaler]
Source your chicken tenders from premium butcher counters at Whole Foods or local meat markets. McCormick’s spices provide consistent quality, while Gold Medal flour creates the perfect coating texture.
For the breading, you can substitute all-purpose flour with self-rising flour for extra crispiness. Look for chicken tenders that are uniform in size and pale pink in color without any grey spots.
Store unused dry breading mixture in an airtight container for up to one month. Chicken should be marinated in buttermilk for at least 4 hours or overnight for best results.
Step-by-Step Instructions for Cheddars Chicken Tenders
Let me walk you through creating these incredibly crispy, restaurant-worthy chicken tenders right in your kitchen.
🔥 Step 1: Prepare the Marinade
I always start by combining 2 cups of buttermilk with 2 tablespoons of hot sauce in a large bowl. This tangy mixture is the secret to keeping our chicken super tender and juicy. Give it a good whisk until everything is well combined.
Next, I place the chicken tenders in the marinade, making sure each piece is fully submerged. Cover the bowl with plastic wrap and let it rest in the refrigerator for at least 4 hours, though I prefer leaving them overnight for up to 24 hours for maximum flavor penetration.
🍳 Step 2: Create the Coating
While the chicken is marinating, I prepare the seasoned flour mixture. In a large shallow dish, I combine 2 cups of all-purpose flour with my signature spice blend. The key is to really mix everything thoroughly to ensure even distribution of the seasonings.
For extra crispiness, I like to add 2 tablespoons of cornstarch to the flour mixture. This is a restaurant trick that helps create that signature crunchy exterior we’re looking for. Set this mixture aside until you’re ready to coat the chicken.
👨🍳 Step 3: Dredge and Fry
Heat your oil in a large, heavy-bottomed pot or deep fryer to 350°F. Remove the chicken from the marinade, letting excess drip off. Working with one piece at a time, dredge each tender in the seasoned flour mixture, making sure to press the coating on firmly.
Carefully lower the coated tenders into the hot oil, working in batches to avoid overcrowding. Fry for 4-5 minutes per side until they’re golden brown and reach an internal temperature of 165°F. I usually cook 3-4 tenders at a time to maintain optimal oil temperature.
Transfer the cooked tenders to a wire rack set over a baking sheet lined with paper towels. This setup helps maintain that perfect crispiness while allowing excess oil to drain away.
Storing and Reheating This Dish
For short-term storage, place leftover Cheddar’s-style chicken tenders in an airtight container and refrigerate for up to 3-4 days. I recommend laying them in a single layer with wax paper between pieces to prevent sticking. Let them cool completely before storing to prevent condensation from making the coating soggy. For best results, keep them in the coldest part of your fridge, typically the back of the middle shelf. ❄️
To freeze these delicious tenders for longer storage, wrap each piece individually in plastic wrap, then place them in a freezer-safe zip-top bag with the air pressed out. They’ll maintain their best quality for up to 2-3 months in the freezer. I always label the bag with the date and recommend freezing them when fresh rather than after refrigeration for optimal taste and texture preservation.
When it comes to reheating, the conventional oven method delivers the crispiest results. Preheat to 375°F and warm the tenders for 8-10 minutes, flipping halfway through. For a quick fix, microwave on 50% power for 1-2 minutes, though the coating won’t be as crispy. My pro tip: place a paper towel under them in the microwave to absorb excess moisture. 🔥
To maintain that signature Cheddar’s quality during reheating, I recommend using an air fryer if you have one – 3-4 minutes at 375°F works perfectly. For frozen tenders, thaw them overnight in the refrigerator before reheating. Never thaw at room temperature, as this can promote bacterial growth and affect the texture. A quick spritz of cooking oil before reheating can help restore that fresh-fried crispiness.
Nutrition Facts
485kcal
[recipe_ingredient_scaler]

Trained in classic French technique but raised on slow-cooked ribs and spicy rubs, she blends culinary skill with smoke and soul.
- Recipe for Boneless Pork Chops in Cast Iron Skillet: Sear and Baste to Juicy Perfection - October 3, 2026
- Recipe for Boneless Cross Rib Roast: Slow-Roasted Beef with Herb Crust - October 3, 2026
- Hamburgers in Sauce Recipe Crock Pot: Slow-Cooked Savory Delight - October 3, 2026