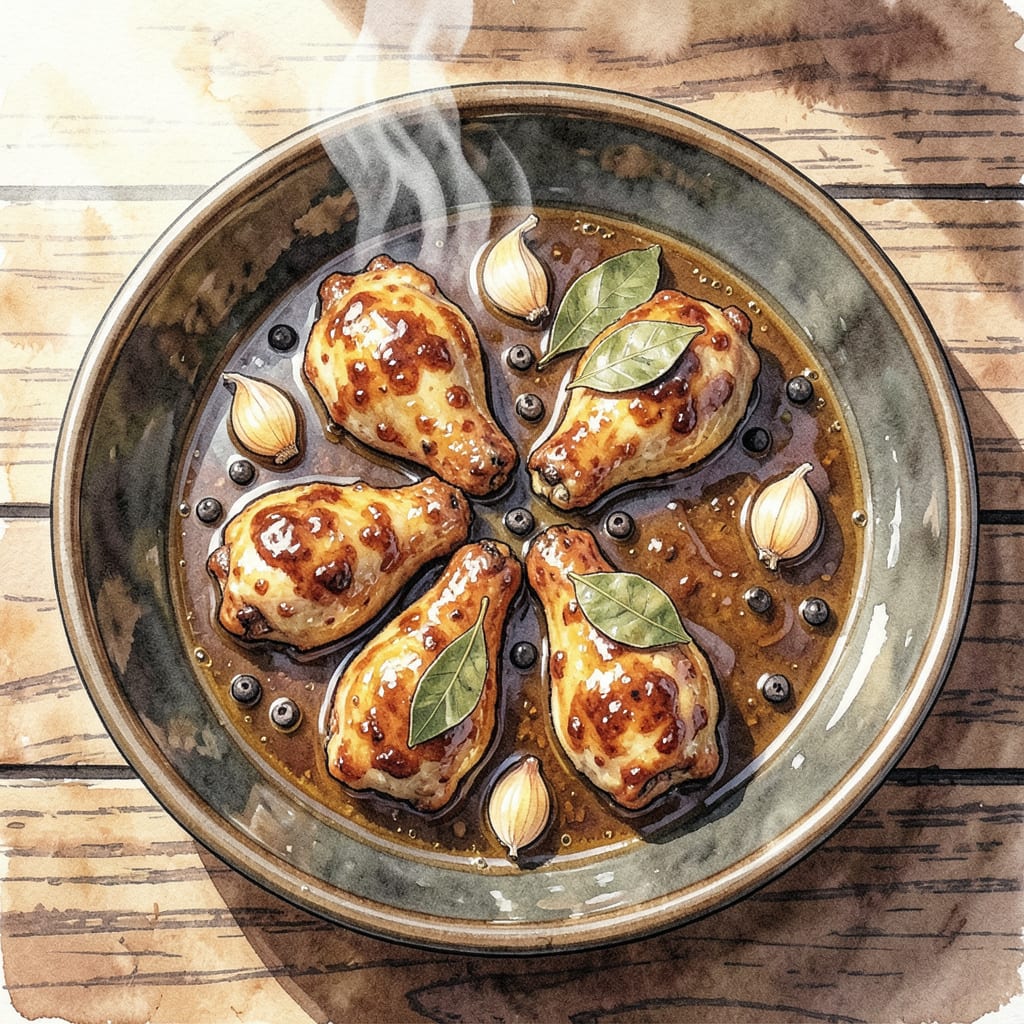
These chicken adobo wings deliver the perfect balance of sticky, tangy, and tender—every bite is packed with the bold flavors of Filipino adobo. The secret lies in the marinade, where soy sauce, vinegar, and garlic work together to create a sauce that caramelizes beautifully while keeping the meat incredibly juicy.
What sets this recipe apart is the cooking method: a quick sear followed by a slow bake ensures the wings develop a crispy exterior while staying fall-off-the-bone tender inside. Whether you’re serving them as an appetizer or the main event, these wings will disappear fast. The glaze reduces to a glossy finish, locking in moisture and delivering that signature adobo punch.
Ingredients for Chicken Adobo Wings
This recipe transforms simple ingredients into Filipino adobo magic with soy sauce, vinegar, and garlic as the foundation.
| Ingredient | Amount | Notes |
|---|---|---|
| Chicken Wings 🍗 | 3 lb | Split into drumettes and flats |
| Soy Sauce 🫙 | ¾ cup | Low-sodium preferred for balance |
| White Vinegar 🍶 | ½ cup | Distilled or cane vinegar works |
| Garlic Cloves 🧄 | 10 cloves | Minced for maximum flavor infusion |
| Bay Leaves 🌿 | 3 whole | Dried, for aromatic depth |
| Black Peppercorns 🌶️ | 1 tbsp | Whole, lightly crushed |
| Brown Sugar 🍚 | 3 tbsp | Light or dark for caramelization |
| Vegetable Oil 🫒 | 2 tbsp | High smoke point for searing |
| Green Onions 🧅 | 4 whole | Thinly sliced for garnish |
| Sesame Seeds 🌾 | 1 tbsp | Toasted for garnish |
| Cornstarch 🌾 | 1 tbsp | For thickening the glaze |
| Water 💧 | ¼ cup | For adjusting sauce consistency |
[recipe_ingredient_scaler]
The soy sauce and vinegar balance is critical. Kikkoman low-sodium provides consistent flavor without overpowering saltiness. For vinegar, Marukan rice vinegar offers a milder profile than distilled white, though both work. Fresh garlic is non-negotiable—pre-minced jars lack the necessary punch. Look for plump, firm cloves at Asian markets for superior quality. The bay leaves should be dried but still fragrant; discard if they crumble to dust.
Brown sugar can be substituted with coconut sugar at a 1:1 ratio for a deeper flavor. No cornstarch? Arrowroot powder works equally well for thickening. Vegetable oil alternatives include avocado or peanut oil—both withstand high heat. For the wings, air-chilled chicken yields crispier skin than water-chilled. Green onions and sesame seeds are garnish essentials, but cilantro or fried shallots make excellent alternatives.
The marinade keeps 3 days refrigerated before cooking, allowing flavors to develop further. Cooked wings maintain quality for 4 days in the fridge or 3 months frozen. For optimal texture, reheat frozen wings in a 375°F oven for 15-20 minutes until crisp. The glaze thickens as it cools—adjust with water if needed before serving.
Why You’ll Love This Recipe
- No-Knife Needed: Honestly, the hardest part is peeling the garlic—everything else just gets dumped in. No fancy prep, no precision chopping, just wings, soy sauce, vinegar, and a handful of cloves. I’ve made this half-asleep on a Sunday morning.
- That Tangy-Savory Punch: The soy sauce caramelizes into this sticky glaze while the vinegar cuts through the richness. Between us, I double the garlic because those crispy, golden bits mixed with the adobo sauce? Worth every extra clove.
- Game Day or Tuesday Dinner: I’ve served these at Super Bowl parties and also, yes, on a random Tuesday when I needed something fast. The wings soak up flavor whether marinated overnight or tossed together last-minute—equally solid both ways.
- Better the Next Day: Here’s what sold me—the leftovers taste even richer after a night in the fridge. The vinegar mellows, the bay leaves work their magic, and suddenly you’ve got lunch that’s *more* crave-worthy than dinner was. (And yes, they reheat beautifully.)
Step-by-Step Instructions for Chicken Adobo Wings
This method delivers perfectly balanced sweet, tangy, and savory wings with ideal texture every time.
Step 1: Prepare and Marinate the Chicken Wings
Begin by splitting the 3 lb Chicken Wings into drumettes and flats if not already separated. Pat them completely dry with paper towels to ensure maximum flavor absorption and better browning. Place the wings in a large bowl or resealable plastic bag.
In a separate bowl, whisk together the 0.75 cup Soy Sauce, 0.5 cup White Vinegar, 10 cloves Garlic Cloves (minced), 3 tbsp Brown Sugar, 3 whole Bay Leaves, and 1 tbsp Black Peppercorns (lightly crushed). Pour this marinade over the wings, ensuring all pieces are fully coated. Refrigerate for at least 2 hours, or preferably overnight for maximum flavor penetration.
Step 2: Sear the Wings for Depth of Flavor
Heat the 2 tbsp Vegetable Oil in a large skillet or Dutch oven over medium-high heat until shimmering. Remove the wings from the marinade (reserve the marinade) and pat them dry again. Working in batches to avoid overcrowding, sear the wings for 3-4 minutes per side until they develop a golden brown crust.
This searing step creates a flavor foundation through the Maillard reaction while rendering some fat. Transfer the seared wings to a plate and set aside. The wings should have visible browning but not be fully cooked through at this stage.
Step 3: Simmer in Marinade to Achieve Tenderness
Pour the reserved marinade into the same skillet and bring to a boil over medium heat. Add the seared wings back to the pan, reduce heat to low, cover, and simmer for 45-50 minutes. The wings are done when they’re fork-tender and the meat easily pulls away from the bone.
During simmering, turn the wings occasionally to ensure even cooking and flavor distribution. The sauce should reduce slightly but maintain enough liquid to baste the wings. If the liquid reduces too quickly, add 2-3 tablespoons of water to maintain the proper consistency.
Step 4: Create the Glaze and Finish the Wings
Once the wings are tender, remove them from the pan and set aside. Increase heat to medium and bring the remaining sauce to a gentle boil. In a small bowl, mix the 1 tbsp Cornstarch with 0.25 cup Water to create a slurry. Slowly whisk this into the simmering sauce and cook for 2-3 minutes until it thickens to a glossy glaze that coats the back of a spoon.
Return the wings to the pan and toss them in the glaze for 1-2 minutes to coat evenly. The glaze should cling to the wings, creating that signature sticky texture. Remove from heat when the wings are thoroughly coated and the glaze has a slight sheen.
Step 5: Garnish and Serve Immediately
Transfer the glazed wings to a serving platter. Sprinkle with the 1 tbsp Sesame Seeds (lightly toasted if preferred) and the 4 whole Green Onions (thinly sliced). The sesame seeds add nutty crunch while the green onions provide fresh contrast to the rich sauce.
Serve immediately while hot, with any remaining sauce drizzled over the top. The wings should have a perfect balance of sticky glaze, tender meat that pulls easily from the bone, and the complex flavors of sweet, tangy, and umami from the adobo marinade.
Essential Equipment for This Recipe
Large Dutch Oven
A heavy 5-6 quart Dutch oven is my go-to for this recipe. The even heat distribution ensures perfect searing and simmering without hot spots. I use my trusty Le Creuset that’s seen me through countless BBQ competitions. The tight-fitting lid traps moisture during simmering while allowing just enough evaporation for sauce reduction. 🔥
High-Quality Skillet
For searing, I reach for my 12-inch cast iron skillet—it retains heat like nothing else. A Lodge pre-seasoned works beautifully and develops that perfect crust on the wings. If you’re using stainless steel, make sure it’s heavy-bottomed to prevent scorching the marinade later.
Sharp Chef’s Knife
Cleanly separating drumettes and flats requires a razor-sharp 8-inch chef’s knife. My Wüsthof Ikon makes quick work of the joints. A dull knife will shred the meat instead of cutting through the joints cleanly. I keep mine honed with a ceramic rod between uses.
Instant-Read Thermometer
While the fork-tender test works, I always verify with my ThermoWorks Thermapen. The wings should reach 165°F internally at the thickest part. This prevents overcooking while ensuring food safety. The instant read gives me confidence, especially when cooking for crowds at local BBQ events.
Silicon Basting Brush
When glazing, a heat-resistant silicone brush helps coat every nook and cranny. I prefer the OXO Good Grips model—it won’t melt and cleans easily. The flexible head gets into all those wing crevices where flavor loves to hide. A regular brush would just dissolve in that hot adobo glaze.
Mixing Bowls
Stainless steel nested mixing bowls (I use Cuisinox) make marinating and sauce prep a breeze. The non-reactive material won’t absorb flavors, and the various sizes let me scale the recipe up or down. Plus, they nest neatly in my motorcycle saddlebags when I’m cooking at outdoor events. 💛
Nutrition Facts

Trained in classic French technique but raised on slow-cooked ribs and spicy rubs, she blends culinary skill with smoke and soul.
- Recipe for Boneless Pork Chops in Cast Iron Skillet: Sear and Baste to Juicy Perfection - October 3, 2026
- Recipe for Boneless Cross Rib Roast: Slow-Roasted Beef with Herb Crust - October 3, 2026
- Hamburgers in Sauce Recipe Crock Pot: Slow-Cooked Savory Delight - October 3, 2026