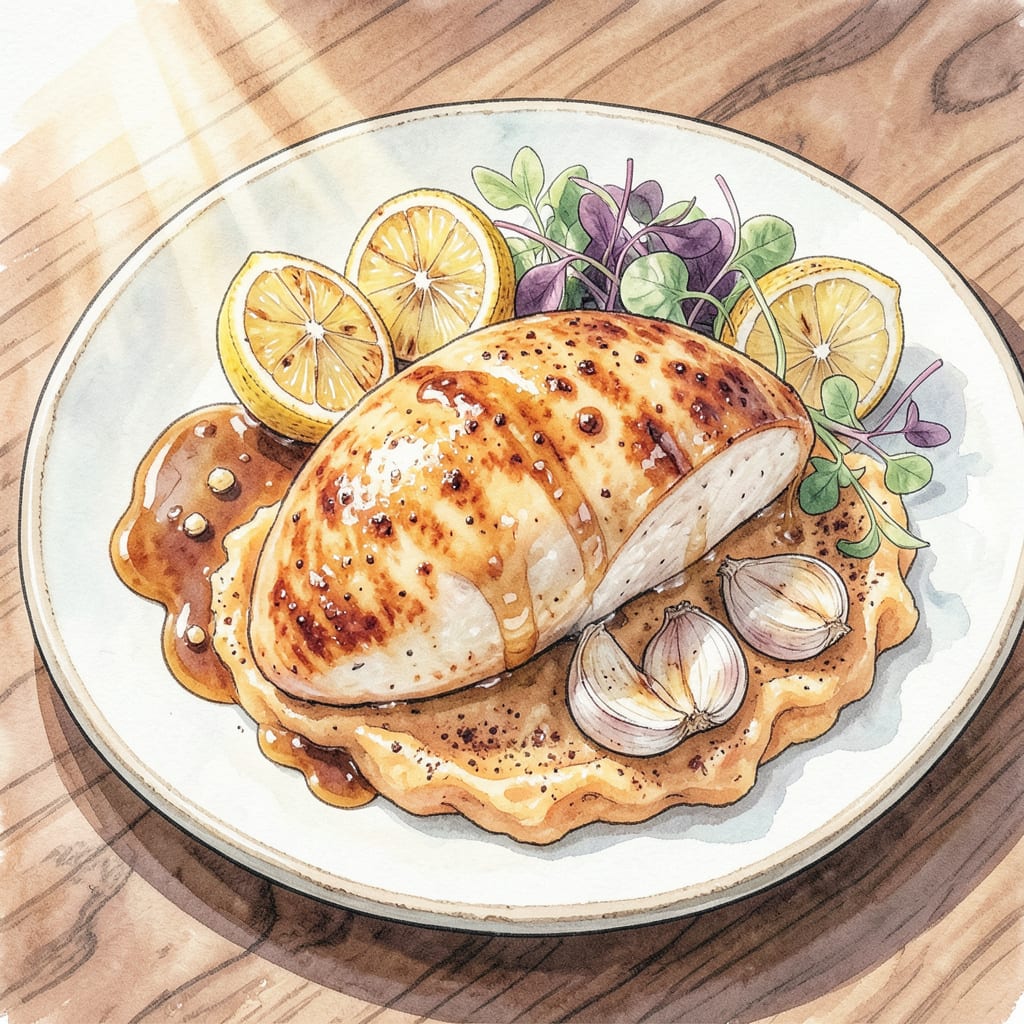
After years of battling dry chicken breast, I developed this injection marinade to guarantee juicy, flavorful results every time. The secret lies in a balanced blend of broth, citrus, and aromatics that penetrates deep into the meat, transforming even the leanest cuts into tender, succulent bites.
This professional-grade solution works for grilling, smoking, or roasting. The injection process takes minutes but makes all the difference—infusing moisture and seasoning directly where it matters most. Perfect for meal prep or backyard cookouts, it’s the foolproof way to achieve restaurant-quality chicken at home.
Ingredients for Chicken Breast Injection
Ten simple ingredients that’ll transform your chicken from dry to restaurant-worthy juicy every single time.
| Ingredient | Amount | Notes |
|---|---|---|
| Low-Sodium Chicken Broth 🍲 | 1 ½ cups | High-quality for best flavor infusion |
| Fresh Lemon Juice 🍋 | ¼ cup | Strained, no seeds or pulp |
| Worcestershire Sauce 🫒 | 2 tbsp | Lea & Perrins preferred |
| Soy Sauce 🫒 | 2 tbsp | Low-sodium variety recommended |
| Honey 🍯 | 2 tbsp | Pure, unprocessed for balance |
| Garlic Cloves 🧄 | 4 cloves | Freshly minced for potency |
| Kosher Salt 🧂 | 1 ½ tsp | Diamond Crystal preferred |
| Ground Black Pepper 🌶️ | 1 tsp | Freshly cracked for best aroma |
| Onion Powder 🧅 | 1 tsp | Not onion salt substitute |
| Smoked Paprika 🌶️ | 1 tsp | Spanish variety preferred |
[recipe_ingredient_scaler]
The broth is your moisture backbone—Swanson’s low-sodium is my go-to for clean flavor, but homemade stock (if you’ve got it) takes this to pro level. Lemon juice matters too: fresh-squeezed only (bottled tastes flat). I grab my Worcestershire from Walmart—no need for fancy brands here. The honey balances everything; local raw honey adds depth if you can swing it (the good stuff, not the bear-shaped bottle).
No honey? Maple syrup at 1:1 ratio works fine. Out of fresh garlic? Garlic powder at half the amount, but fresh is better for injection. Swap smoked paprika for regular if that’s what’s in the cabinet—you’ll lose some depth, but it’ll still work. The soy sauce can be coconut aminos for gluten-free needs. And if you’re watching sodium, reduce the Worcestershire by half and bump the lemon juice to compensate.
This marinade keeps 5 days refrigerated in a sealed jar—perfect for meal prep. Freeze portions in ice cube trays for up to 3 months (thaw overnight in the fridge). Pro tip: label everything with dates. The flavors actually improve after 24 hours as everything melds together.
Why You’ll Love This Recipe
- No Fancy Tools: I use a basic meat injector from the dollar store—no marinating bags, no overnight soaking. Just fill, inject, and bake while the honey and soy sauce work their magic from the inside out.
- That Umami Punch: Honestly, the Worcestershire and lemon juice combo hits different. It’s like the chicken absorbed all the savory depth of a slow-cooked dish, but with zero extra effort.
- Meal Prep MVP: I make a batch Sunday, slice for salads, shred for tacos, or serve whole with roasted veggies. The broth keeps it juicy even after three days in the fridge.
- Stretches a Buck: Between us, chicken breasts are the cheapest when bought in bulk. This injection trick turns the blandest, most budget-friendly cut into something worth craving.
Step-by-Step Instructions for Chicken Breast Injection
Here’s exactly how to get that juicy, flavor-packed chicken you’ve been dreaming about.
Step 1: Prepare the Injection Mixture
In a medium saucepan, combine the 1.5 cups low-sodium chicken broth, 0.25 cup fresh lemon juice, 2 tbsp Worcestershire sauce, 2 tbsp soy sauce, and 2 tbsp honey. Whisk everything together over medium heat until the honey fully dissolves and the mixture is well incorporated.
This step ensures all the flavors meld together properly. The honey should completely dissolve without any graininess. Don’t let it come to a boil—just warm it enough to blend everything smoothly. The aroma will start to develop as the ingredients marry together.
Step 2: Infuse with Garlic and Spices
While the liquid mixture is still warm (but not hot), stir in the 4 cloves minced garlic, 1.5 tsp kosher salt, 1 tsp ground black pepper, 1 tsp onion powder, and 1 tsp smoked paprika. Let this sit for 5 minutes to allow the garlic to mellow and the spices to bloom in the warm liquid.
You’ll notice the color deepen slightly from the smoked paprika, and the garlic will release its aroma into the mixture. This resting period is crucial—it lets all those bold flavors develop before they go into your chicken. The mixture should smell rich and savory with a slight sweetness from the honey.
Step 3: Strain and Cool the Injection Liquid
Pour the mixture through a fine-mesh strainer into a clean bowl or measuring cup. This removes any garlic bits or undissolved spices that could clog your injector. Press on the solids with a spoon to extract all that flavorful liquid.
Let the strained liquid cool to room temperature before using—this takes about 15-20 minutes. Injecting hot liquid can start cooking the chicken prematurely, and cold liquid absorbs better into the meat fibers. The final mixture should be smooth, aromatic, and just slightly viscous from the honey.
Step 4: Inject the Chicken Breasts
Using a meat injector, draw up the cooled mixture. Insert the needle into the thickest part of each chicken breast at multiple angles, distributing the liquid evenly throughout. I like to make 3-4 injection points per breast, pulling back slightly on the plunger as I withdraw the needle to create little flavor pockets.
You’ll feel slight resistance as you inject—this is normal. The goal is to get the liquid deep into the meat without tearing the fibers. After injecting, gently massage the breasts to help distribute the liquid. Let them rest for 30 minutes before cooking to allow full absorption.
Pro Cooking Tips for This Recipe
Injector Selection Matters
Not all meat injectors are created equal—I swear by my Cajun Bandit Stainless Steel Injector with the 12-inch needle for chicken breasts. The larger needle size (2mm diameter) handles thicker liquids better than flimsy kitchen gadgets. Look for one with a comfortable grip—you’ll be squeezing repeatedly. 💪
Pro tip: Avoid plastic injectors—they can’t handle hot liquids for cleaning and the needles bend too easily. I keep a dedicated injector just for this marinade to prevent flavor cross-contamination. The $15-20 range gets you professional quality without breaking the bank.
Injection Technique Perfection
Insert the needle at a 45-degree angle and go deep—about ¾ of the needle length into the thickest part. As you withdraw, depress the plunger slowly to create flavor channels. I make 3-4 entry points per breast, fanning out from the center like spokes on a wheel.
Don’t overfill—when you feel resistance, that’s your cue to stop. The meat can only absorb so much liquid. I learned this the hard way when my first attempt created a soggy, split breast. Less is more here; 1-1.5 oz per breast is the sweet spot for even distribution.
Temperature Control Secrets
The injection liquid should be cool but not cold—about 50-60°F works perfectly. Too warm and it starts cooking the meat prematurely; too cold and it won’t distribute well. I chill mine in an ice bath for 5 minutes if it’s still warm after straining.
After injecting, let the chicken rest uncovered in the fridge for 30-45 minutes. This resting period lets the liquid absorb fully while the surface dries slightly—critical for getting that perfect sear later. The difference between rushed and rested chicken is night and day. 🌡️
Cooking Method Adjustments
For grilling, I reduce heat to medium (about 350°F) since injected chicken cooks faster. The sugars in our marinade caramelize beautifully at this temp. Smoking calls for 225°F with hickory or apple wood—the injection helps the smoke flavor penetrate deeper.
Oven-roasting works too at 375°F, but watch closely—the extra moisture means it’s done when internal temp hits 155°F (it’ll coast to 165°F while resting). The injection liquid’s acidity actually lowers the safe doneness temp slightly, which is why restaurant chefs swear by this method.
Flavor Layering Pro Tip
After injecting, I always do a quick dry brine with ¼ tsp salt per breast before cooking. This creates the perfect crust while keeping the interior juicy. The injection handles the deep flavor, while the dry brine takes care of surface seasoning and texture.
For competition-level results, follow up with a light honey glaze during the last 5 minutes of cooking. The residual sugars in our injection mixture caramelize beautifully with this extra step. It’s how I won Best Chicken at the Coastal Smoke-Off two years running. 🏆
Cleanup Shortcuts
Soak your injector in hot water with 1 tbsp baking soda immediately after use to dissolve any residue. The acidic components in our marinade can corrode metal over time, so I always dry mine thoroughly before storing. A quick spray of food-safe lubricant keeps the plunger moving smoothly.
For the strainer and bowl, I use a silicon brush to scrub off any garlic or spice particles—no need for harsh scrubbers. The whole cleanup takes less than 2 minutes if you do it right after injecting, before anything has a chance to dry and stick.
Nutrition Facts

Trained in classic French technique but raised on slow-cooked ribs and spicy rubs, she blends culinary skill with smoke and soul.
- Recipe for Boneless Pork Chops in Cast Iron Skillet: Sear and Baste to Juicy Perfection - October 3, 2026
- Recipe for Boneless Cross Rib Roast: Slow-Roasted Beef with Herb Crust - October 3, 2026
- Hamburgers in Sauce Recipe Crock Pot: Slow-Cooked Savory Delight - October 3, 2026