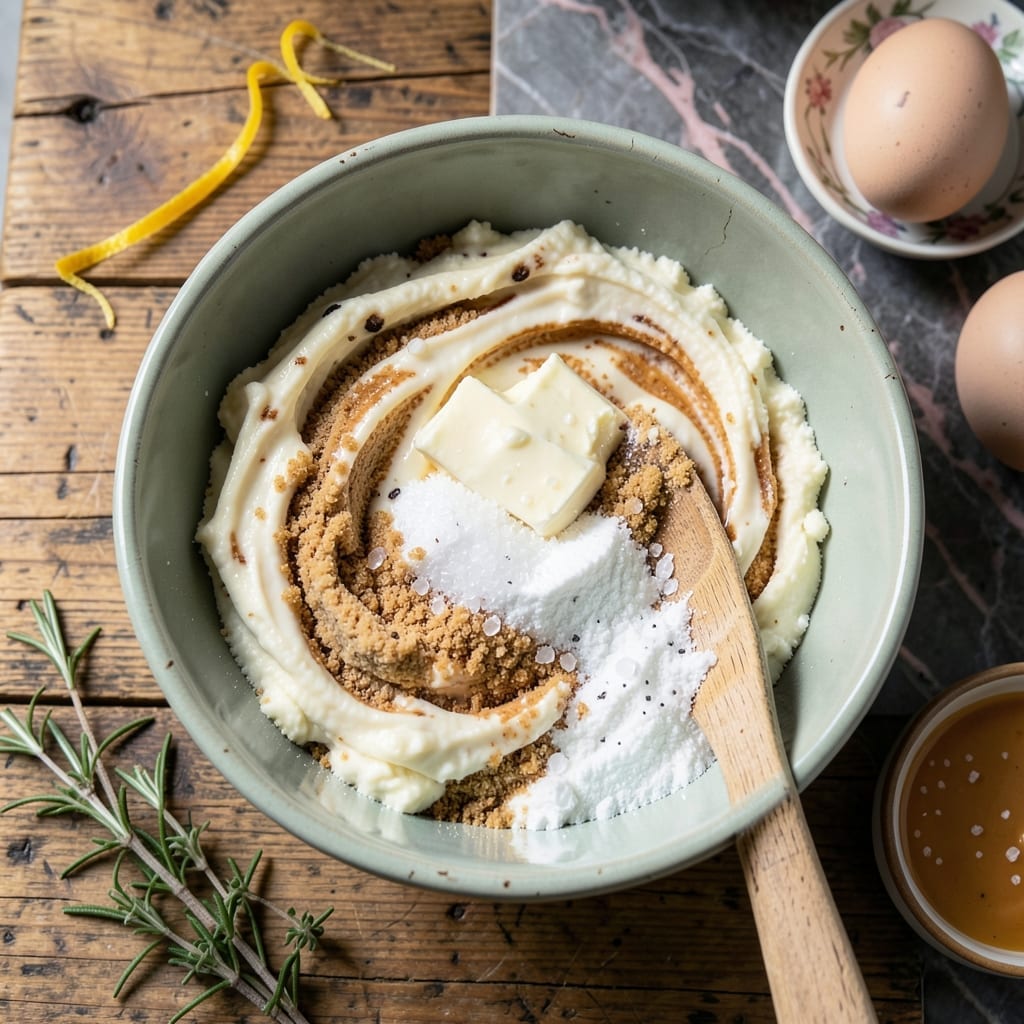
This no-mixer method delivers perfectly chewy chocolate chip cookies with soft centers every time. The secret lies in creaming butter and sugar with a wooden spoon.
You’ll achieve bakery-quality results with minimal effort. The dough develops just enough structure for ideal texture without any special equipment.
Ingredients for Chocolate Chip Cookie Recipe No Mixer
Minimal equipment, maximum flavor. These ingredients create bakery-style cookies with ease.
| Ingredient | Amount | Notes |
|---|---|---|
| All-Purpose Flour 🌾 | 2 ¼ cups | Spooned and leveled, not packed |
| Baking Soda 🧂 | 1 tsp | Ensures proper spread and rise |
| Sea Salt 🧂 | 1 tsp | Fine grain for even distribution |
| Unsalted Butter 🧈 | 1 cup | Room temperature, softened properly |
| Granulated Sugar 🍚 | ¾ cup | White sugar for crisp edges |
| Packed Light Brown Sugar 🟤 | ¾ cup | Adds moisture for chewiness |
| Large Eggs 🥚 | 2 whole | Room temperature for best incorporation |
| Vanilla Extract 🌿 | 2 tsp | Pure vanilla for depth of flavor |
| Semi-Sweet Chocolate Chips 🍫 | 2 cups | High-quality for rich pockets |
| Chopped Walnuts 🌰 | 1 cup | Optional for added crunch |
[recipe_ingredient_scaler]
The butter quality is non-negotiable. Opt for European-style unsalted butter (like Plugrá or Kerrygold) for superior flavor—82% fat content yields better texture. Ensure it’s truly room temperature (65-68°F) for proper creaming with a wooden spoon. The flour should be all-purpose, not bread flour, which would toughen the cookies. Weighing flour (280g for 2¼ cups) guarantees precision if you have a scale.
No mixer? No problem. The wooden spoon method mimics stand mixer creaming by working air into the butter-sugar mixture. Swapping brown sugar for white reduces chewiness—stick to the ratio specified. For chocolate, Ghirardelli or Guittard chips melt beautifully. Omit nuts entirely or substitute pecans if preferred. Eggs must be large—size variation affects dough consistency significantly.
Store dough wrapped tightly in plastic for up to 3 days in the fridge or freeze in scooped portions for 3 months. Baked cookies keep in an airtight container for 5 days—though they’re best the first 24 hours. The dough balls can be refrigerated overnight for deeper flavor development (a professional bakery trick).
Why You’ll Love This Recipe
- No Mixer Needed: I just stir everything together with a wooden spoon—no fancy equipment, no fuss.
- Buttery Perfection: The unsalted butter and sea salt combo hits that sweet-salty balance I crave.
- Weeknight Hero: Honestly, I can bake a fresh batch while dinner’s in the oven.
- Budget Friendly: Flour, sugar, butter—pantry staples I always have on hand.
Step-by-Step Instructions for Chocolate Chip Cookies No Mixer
This method delivers bakery-quality results using only a bowl and wooden spoon.
Step 1: Cream Butter and Sugars by Hand
In a large bowl, combine the 1 cup Unsalted Butter with the 0.75 cup Granulated Sugar and 0.75 cup Packed Light Brown Sugar. Use a wooden spoon to vigorously mix for 3-4 minutes until the mixture lightens in color and becomes fluffy.
The butter must be properly softened—it should dent when pressed but not be greasy. This step incorporates air, which creates those coveted crisp edges and chewy centers. The brown sugar adds moisture for that perfect texture.
Step 2: Incorporate Eggs and Vanilla
Add the 2 whole Large Eggs one at a time, mixing thoroughly after each addition. Stir in the 2 tsp Vanilla Extract until fully combined. The mixture may appear slightly curdled at this stage, but this is normal and will resolve when you add the dry ingredients.
Room temperature eggs incorporate more smoothly into the butter mixture. The vanilla extract should be pure for optimal flavor depth. This wet mixture forms the base of your cookie dough‘s rich, buttery foundation.
Step 3: Combine Dry Ingredients and Create Dough
In a separate bowl, whisk together the 2.25 cups All-Purpose Flour, 1 tsp Baking Soda, and 1 tsp Sea Salt. Gradually add this dry mixture to the wet ingredients, stirring with your wooden spoon just until combined—do not overmix.
The baking soda ensures proper spread and rise, while the sea salt provides even distribution of flavor. Stop mixing as soon as you no longer see flour streaks to prevent developing too much gluten, which would make your cookies tough.
Step 4: Fold in Chocolate Chips and Nuts
Stir in the 2 cups Semi-Sweet Chocolate Chips and 1 cup Chopped Walnuts until evenly distributed throughout the dough. Use a folding motion to gently incorporate these additions without overworking the dough.
The chocolate chips should be high-quality for rich pockets of melted chocolate in every bite. The walnuts add a satisfying crunch that contrasts beautifully with the soft cookie base. This is your final mixing step before chilling.
Step 5: Chill, Shape, and Bake
Cover the bowl and refrigerate the dough for 1 hour (or up to 24 hours). Preheat your oven to 350°F and line baking sheets with parchment paper. Scoop 2-tablespoon portions of dough and roll into balls, placing them 2 inches apart on the prepared sheets.
Bake for 11-13 minutes until the edges are golden brown but the centers still look slightly underdone. They’ll continue cooking on the hot pan after removal. Let cool on the baking sheet for 5 minutes before transferring to a wire rack. The result will be cookies with crisp edges and soft, chewy centers.
Pro Tips For Making Chocolate Chip Cookie Recipe No Mixer
- Soften Butter Right: Leave unsalted butter out for 1-2 hours until it gives slightly when pressed—not melted, just pliable. I learned this the hard way after my first batch spread into flat pancakes.
- Chill the Dough: Pop the dough in the fridge for at least 30 minutes before baking. My grandmother swore by this, and she was right: it keeps the cookies thick and chewy.
- Cream Thoroughly: Use a wooden spoon to beat the butter and sugar together for 3-4 minutes until light and fluffy. Sounds tedious, but it actually changes the outcome.
- Measure Flour Properly: Spoon flour into your measuring cup and level it off—don’t scoop directly from the bag. After burning three batches, I finally figured out this was the culprit.
Essential Equipment for Perfect Results
Bowls and Spoons
A large, wide stainless steel mixing bowl gives you room to cream butter and sugar effectively. I prefer 12-inch diameter bowls from Winco—they’re durable and affordable. A sturdy wooden spoon with a flat bottom helps incorporate air into the mixture.
Measuring Tools
Accurate measurements are key for consistent results. I use OXO Good Grips measuring cups and spoons—they’re easy to read and have comfortable handles. A kitchen scale (Escali Primo is my go-to) ensures precise flour measurements every time.
Baking Essentials
Invest in half-sheet pans (18×13 inches) from Nordic Ware for even baking. Line them with parchment paper or silicone mats to prevent sticking. A cookie scoop (2-tablespoon size) helps portion dough uniformly for even baking. 💡
Cooling Setup
Wire cooling racks are essential for allowing air circulation. I recommend stackable racks from Wilton to save space. Let cookies cool on the baking sheet for 5 minutes before transferring—they’ll firm up enough to move without breaking.
Optional Upgrades
A bench scraper helps divide dough evenly and clean your work surface. Silicone spatulas from Spatulart scrape every bit of dough from the bowl. These aren’t required but make the process smoother. 🔥
Storage Solutions
For dough storage, use airtight containers or wrap tightly in plastic. Baked cookies stay fresh in glass containers with tight lids. I’ve found that Anchor Hocking jars work perfectly for keeping cookies soft for days.
Nutrition Facts
Frequently Asked Questions
Can I use melted butter instead of softened?
Yes, but the texture will differ. Melted butter creates thinner, crispier cookies. For chewy centers, stick with softened butter creamed by hand for 3-4 minutes.
Why do we chill the dough?
Chilling prevents spreading and deepens flavor. The 1 hour rest lets flour hydrate for better texture. Skipping this step may result in flat cookies.
How do I know when they’re done?
Look for golden brown edges with soft centers. They’ll continue cooking on the pan for 5 minutes after removal. Overbaking makes them dry.
Can I make these gluten-free?
Yes! Swap the all-purpose flour for a 1:1 gluten-free blend. Let the dough rest 30 minutes longer for best texture.

Trained in classic French technique but raised on slow-cooked ribs and spicy rubs, she blends culinary skill with smoke and soul.
- Recipe for Boneless Pork Chops in Cast Iron Skillet: Sear and Baste to Juicy Perfection - October 3, 2026
- Recipe for Boneless Cross Rib Roast: Slow-Roasted Beef with Herb Crust - October 3, 2026
- Hamburgers in Sauce Recipe Crock Pot: Slow-Cooked Savory Delight - October 3, 2026