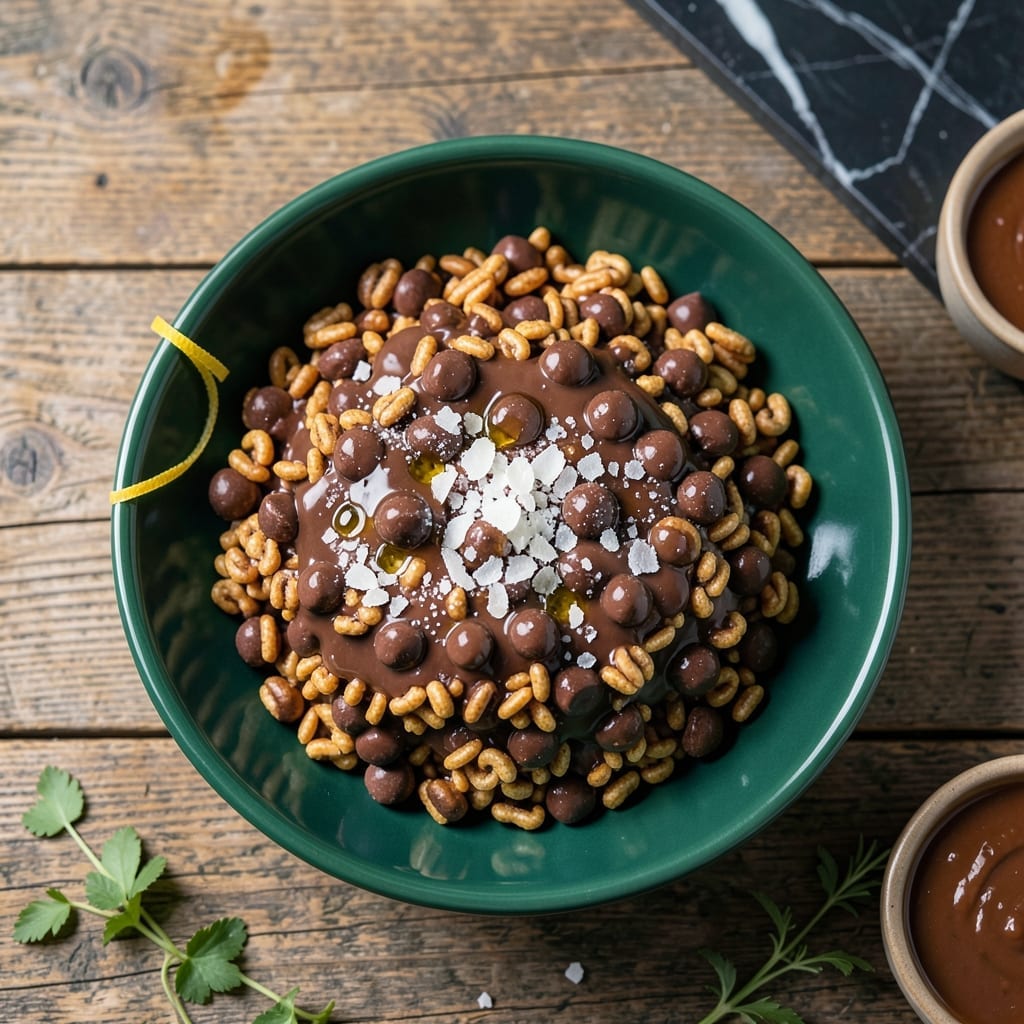
This chocolate crunch topping delivers the perfect textural contrast for any dessert. I developed this recipe to add professional-quality crunch to ice cream, cakes, and pastries.
The technique combines melted chocolate with crispy elements to create a topping that stays crunchy even when poured over cold desserts. It requires no special equipment and uses simple pantry ingredients.
You’ll achieve a glossy, crackly finish with satisfying texture in every bite. The chocolate sets quickly, so you can use it immediately after making.
Ideal for sundaes, cupcakes, or as a garnish for plated desserts. This topping elevates any sweet treat with minimal effort.
Ingredients for Chocolate Crunch Topping
Eight simple ingredients create this glossy, crackly topping for desserts of all kinds.
| Ingredient | Amount | Notes |
|---|---|---|
| Semi-Sweet Chocolate Chips 🍫 | 1 ½ cups | High-quality for best melt |
| Rice Cereal 🥣 | 3 cups | Plain, unsweetened preferred |
| Coconut Oil 🥥 | 2 tbsp | Refined for neutral flavor |
| Granulated Sugar 🍚 | 2 tbsp | Optional for extra sweetness |
| Vanilla Extract 🌿 | 1 tsp | Pure for best flavor |
| Sea Salt 🧂 | ¼ tsp | Fine grain for even distribution |
| Pretzel Sticks 🥨 | 1 cup | Crushed for salty crunch |
| Almonds 🌰 | ½ cup | Sliced or chopped, toasted |
[recipe_ingredient_scaler]
The chocolate quality is paramount here. Ghirardelli or Guittard semi-sweet chips melt smoothly without seizing. For the rice cereal, Kellogg’s Rice Krispies are the gold standard—consistent texture and neutral flavor. Coconut oil adds shine and helps the chocolate set; refined ensures no coconut taste. Find these at any grocery store—no specialty shopping required.
Swap semi-sweet for bittersweet chocolate if you prefer less sweetness. No rice cereal? Cornflakes or crispy corn cereal work in a pinch. For nut-free versions, omit almonds or use sunflower seeds. The pretzels add saltiness—skip if watching sodium. Vanilla extract can be replaced with almond extract for a different flavor profile.
Store in an airtight container at room temperature for up to 2 weeks. The coconut oil may soften in warm kitchens—briefly chill before using. Freezes beautifully for 3 months if making ahead.
Why You’ll Love This Recipe
- 5-Minute Magic: I melt the chocolate chips with coconut oil in the microwave, stir in cereal, and it’s ready before the oven even preheats.
- Addictive Crunch: That first bite of crispy rice cereal coated in rich semi-sweet chocolate—honestly, I’ve caught myself sneaking handfuls straight from the pan.
- Endless Uses: I sprinkle it on ice cream, press it into bark, or just eat it by the spoonful. Between us, it’s my secret weapon for last-minute desserts.
- Pantry Staples: All the ingredients live in my cupboard already: cereal, sugar, vanilla, chocolate chips. No extra shopping, no fuss.
Step-by-Step Instructions for Chocolate Crunch Topping
This method ensures maximum crunch and flavor distribution with every bite.
Step 1: Melt and Temper the Chocolate Base
In a microwave-safe bowl, combine 1.5 cups Semi-Sweet Chocolate Chips and 2 tbsp Coconut Oil. Microwave in 20-second bursts, stirring between each, until fully melted and smooth. This gentle approach prevents scorching and maintains the chocolate’s glossy finish.
Stir in 1 tsp Vanilla Extract and 2 tbsp Granulated Sugar until fully dissolved. The vanilla enhances the chocolate depth, while the sugar adds subtle caramelization. Ensure no sugar granules remain visible to prevent grainy texture in the final topping.
Step 2: Incorporate Dry Components
In a large mixing bowl, combine 3 cups Rice Cereal, 1 cup Pretzel Sticks (lightly crushed), and 0.5 cup Almonds. The rice cereal provides airy crispness, pretzels add salty contrast, and almonds contribute nutty depth.
Pour the melted chocolate mixture over the dry ingredients. Using a silicone spatula, fold gently but thoroughly until every piece is evenly coated. The chocolate should create a thin, glossy layer without pooling at the bottom of the bowl.
Step 3: Spread and Set the Mixture
Line a baking sheet with parchment paper and spread the chocolate-coated mixture in an even layer. Press down lightly with the spatula to create a compact but not dense surface. This encourages clustering while maintaining individual crunch elements.
Sprinkle 0.25 tsp Sea Salt evenly over the top. The fine grains will adhere to the chocolate surface, enhancing all the sweet and salty flavors in each bite. Allow the mixture to set at room temperature for 30-45 minutes until firm.
Step 4: Break and Store the Finished Topping
Once fully set, break the chocolate layer into irregular clusters of varying sizes. The uneven pieces provide visual appeal and create different mouthfeel experiences—some delicate, some hearty.
Store in an airtight container at room temperature for up to 2 weeks. The topping maintains its crunch best when kept dry, so ensure the container is sealed tightly after each use. This makes enough for 4 generous servings over desserts or ice cream.
Pro Tips For Making Chocolate Crunch Topping
- Melt Low and Slow: Use a double boiler or microwave in 20-second bursts to melt the chocolate and coconut oil—high heat seizes chocolate and turns it grainy. I learned this the hard way after ruining a batch with impatient stirring.
- Toast the Cereal: Lightly toast the rice cereal in a dry pan for 2-3 minutes before mixing—it adds a deeper crunch and prevents sogginess. Sounds weird, but it works.
- Skip the Sugar Rush: Halve the granulated sugar if your chocolate chips are already sweet—too much makes the topping cloying. My grandmother swore by this, and she was right.
- Press, Don’t Stir: After mixing, press the topping firmly onto your dessert with a spatula so it sets even and sticks. This isn’t the prettiest method, but it’s the tastiest.
Make-Ahead Tips for Leftovers
Prep Ahead Strategy
I always make this topping 1-2 days before serving. The flavors meld beautifully, and the crunch stays perfect. Just store it in an airtight container at room temperature. 💡
Double Batch Benefits
This recipe scales perfectly—simply double all ingredients. Spread the mixture on two baking sheets to maintain even thickness. You’ll have enough for 8 servings or multiple desserts.
Freezing for Later
For long-term storage, freeze in a single layer on a tray first, then transfer to a freezer bag. It keeps for 3 months and thaws in 10 minutes at room temperature.
Quick Assembly Tip
Measure all dry ingredients the night before and store in a bowl. In the morning, just melt the chocolate and combine. This cuts prep time in half.
Portion Control
Divide the finished topping into small containers for easy grab-and-go use. Each ½ cup portion is perfect for topping a single dessert.
Reviving Crunch
If it loses crispness, spread on a baking sheet and bake at 300°F for 5 minutes. It’ll taste freshly made. ✨
Nutrition Facts
Frequently Asked Questions
Can I use milk chocolate instead of semi-sweet?
Yes, but it will be sweeter. Semi-sweet is recommended for balance, but milk chocolate works if that’s your preference. The topping may soften slightly faster in warm conditions.
How do I prevent the topping from melting on ice cream?
Chill the topping for 10 minutes before adding it. Use it right from the freezer for maximum crunch. The cold temperature helps it hold its shape longer.
Can I make this nut-free?
Omit almonds and replace with ½ cup toasted oats or sunflower seeds. Ensure all ingredients are processed in nut-free facilities if allergies are a concern.
Why did my topping turn out soft?
This usually happens if the chocolate wasn’t fully set before breaking. Spread the mixture thinner next time and let it set for the full 45 minutes.

Trained in classic French technique but raised on slow-cooked ribs and spicy rubs, she blends culinary skill with smoke and soul.
- Recipe for Boneless Pork Chops in Cast Iron Skillet: Sear and Baste to Juicy Perfection - October 3, 2026
- Recipe for Boneless Cross Rib Roast: Slow-Roasted Beef with Herb Crust - October 3, 2026
- Hamburgers in Sauce Recipe Crock Pot: Slow-Cooked Savory Delight - October 3, 2026