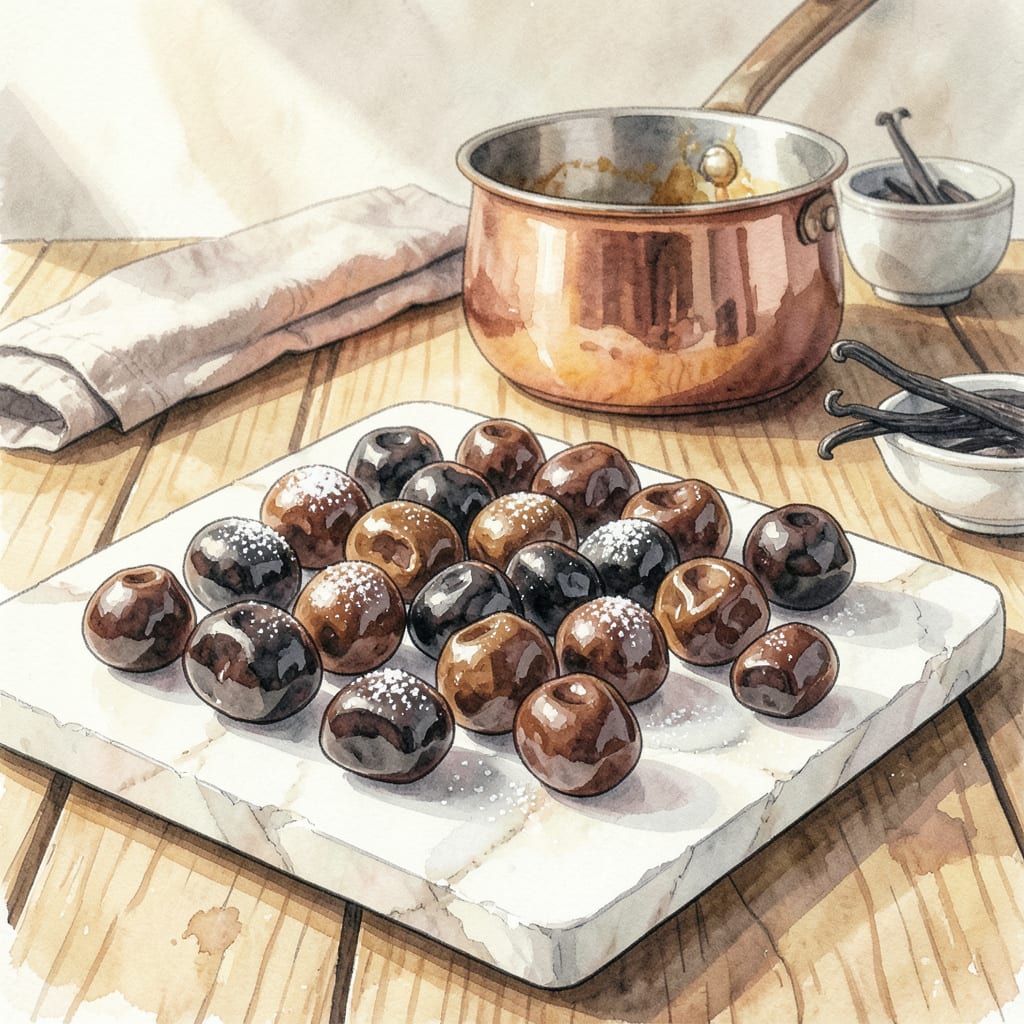
Creating professional-quality chocolate hard candy at home is simpler than you might expect. The key lies in precise temperature control and quality ingredients—no specialized equipment beyond a candy thermometer is required. This recipe delivers that satisfying snap and glossy finish that makes store-bought versions pale in comparison.
With just 30 minutes of active time, you’ll master the technique for perfectly set chocolate candy. The process involves cooking sugar to the hard-crack stage, incorporating cocoa for depth, then pouring into molds for that classic polished look. Variations like peppermint or espresso can easily transform the base recipe into custom flavors.
Ingredients for Chocolate Hard Candy
Precision meets simplicity with these professional-grade ingredients for glossy, snap-worthy chocolate candy.
| Ingredient | Amount | Notes |
|---|---|---|
| Granulated White Sugar 🍬 | 2 cups | Ultra-fine preferred for smooth texture |
| Light Corn Syrup 🧃 | ½ cup | Prevents sugar crystallization |
| Water 💧 | ¼ cup | Filtered for purity |
| Unsweetened Cocoa Powder 🍫 | ½ cup | Dutch-process for richer color |
| Unsalted Butter 🧈 | 2 tbsp | European-style preferred |
| Vanilla Extract 🌿 | 1 tsp | Pure extract, not imitation |
| Salt 🧂 | ¼ tsp | Fine sea salt for balance |
| Peppermint Extract 🌿 | ½ tsp | Optional for mint variation |
| Instant Espresso Powder ☕ | 1 tsp | Optional for mocha variation |
| Food Coloring Gel 🎨 | 2 drops | Optional for tinted candies |
[recipe_ingredient_scaler]
The sugar quality is paramount for achieving the hard-crack stage. Ultra-fine granulated sugar dissolves more evenly than standard granulated, preventing graininess. Light corn syrup acts as an interferent to inhibit crystallization—Karo is the most reliable brand for consistent results. For the cocoa powder, Dutch-process varieties (like Guittard or Valrhona) provide superior color and depth without acidity. European-style butter (such as Plugrá) contains less water, yielding a glossier finish in the final candy.
For flavor variations, peppermint extract should be pure, not artificial—LorAnn Oils offers professional-grade options. The espresso powder can be any instant variety, but Medaglia d’Oro provides the most robust flavor. Food coloring gels (like AmeriColor) are preferred over liquids as they won’t alter the candy’s texture. If omitting the cocoa for a vanilla version, increase vanilla extract to 1 tablespoon and consider adding 1/4 teaspoon citric acid for brightness.
Store all ingredients in airtight containers away from moisture. Sugar and cocoa powder remain stable for 12-18 months if kept cool and dry. Extracts maintain potency for 2-3 years unopened, but test before use if older than 1 year. The finished candy keeps for 2-3 weeks at room temperature in parchment-lined containers, though humidity will reduce shelf life. For long-term storage, vacuum-sealing extends freshness to 6 months.
Why You’ll Love This Recipe
- I’ll be real: if you can measure sugar and stir, you can make this. The hardest part is waiting for it to cool—just granulated sugar, cocoa powder, corn syrup, water, and butter melting together like they’re meant to be.
- Five-Ingredient Magic: I’ll be real: if you can measure sugar and stir, you can make this. The hardest part is waiting for it to cool—just granulated sugar, cocoa powder, corn syrup, water, and butter melting together like they’re meant to be.
- That Snap-Worthy Crunch: Honestly, the first bite is what hooked me. The deep cocoa flavor hits first, then that sharp, clean break (no sticky mess) followed by the slow melt of buttery sweetness. It’s like if a chocolate bar and toffee had the perfect lovechild.
- Gift-Worthy in 30: Between us, I’ve wrapped these in parchment with twine for teacher gifts, stuffed them in jars for hostess thank-yous, and even tossed a few in my purse for “emergency” moments. They keep for weeks—if they last that long.
Step-by-Step Instructions for Chocolate Hard Candy
Precision and timing are everything when making hard candy—follow these steps for perfect results.
Step 1: Combine and Dissolve the Sugar Mixture
In a heavy-bottomed saucepan, combine the 2 cups Granulated White Sugar, 0.5 cup Light Corn Syrup, and 0.25 cup Water. Stir gently with a silicone spatula just until the sugar is moistened—avoid stirring once the mixture begins to heat, as this can cause sugar crystallization.
Place the saucepan over medium-high heat and bring to a boil. Clip a candy thermometer to the side of the pan, ensuring the bulb is submerged but not touching the bottom. The mixture will bubble vigorously as it heats; resist the urge to stir.
Step 2: Incorporate Cocoa and Reach Hard Crack Stage
Once the sugar mixture reaches 250°F, whisk in the 0.5 cup Unsweetened Cocoa Powder until fully dissolved and smooth. This step requires quick action—the temperature will drop temporarily but will rise again as you continue heating.
Continue cooking without stirring until the thermometer reads 300-310°F (hard crack stage). At this temperature, the syrup will form brittle threads when dropped into cold water. Watch closely, as the mixture can burn quickly once it approaches this range.
Step 3: Add Flavorings and Finish the Candy Base
Remove the pan from heat and immediately stir in the 2 tbsp Unsalted Butter, 1 tsp Vanilla Extract, and 0.25 tsp Salt. The mixture will bubble up dramatically—this is normal. For peppermint variation, add the 0.5 tsp Peppermint Extract; for mocha, add the 1 tsp Instant Espresso Powder.
If using 2 drops Food Coloring Gel, stir it in now. Work quickly but carefully, as the candy will begin to set. The final mixture should be glossy and smooth, with no sugar crystals visible.
Step 4: Shape and Set the Candy
Pour the hot candy mixture onto a silicone mat or parchment-lined baking sheet. For traditional hard candy, use a heatproof spatula to spread it to ¼-inch thickness. For lollipops, pour into prepared molds immediately.
Allow the candy to cool completely at room temperature for 20-30 minutes until hard and brittle. Avoid refrigerating, as this can cause the candy to become sticky. The finished pieces should have a glossy sheen and snap cleanly when broken.
Essential Equipment for This Dish
Precision Thermometer
A digital candy thermometer is non-negotiable for this recipe—I use the ThermoWorks Dot because it reads temperatures in 1-second intervals and has a clip for hands-free monitoring. The difference between 295°F (soft crack) and 305°F (hard crack) is just 10 degrees, but it determines whether your candy snaps or bends. 🌡️
Heavy Saucepan
Thin pots create hot spots that burn sugar. My go-to is a 3-quart All-Clad stainless steel saucepan—its even heat distribution prevents scorching. The heavy bottom also helps maintain steady temperature during the critical 250-310°F range where we add cocoa. Avoid nonstick; the high heat can damage the coating over time.
Silicone Tools
Silicone spatulas and mats are heat-resistant up to 600°F, making them perfect for stirring molten sugar. I keep a 12-inch silicone mat from Silpat dedicated to candy-making—it creates a nonstick surface for pouring and cooling. For molds, food-grade silicone lollipop forms release candies cleanly without sticking.
Heatproof Gloves
Handling 300°F sugar syrup requires protection. I wear nitrile-coated gloves (like Ansell HyFlex) that allow dexterity while shielding from burns. They’re also useful when breaking warm candy sheets into pieces. Real talk: I’ve learned the hard way that oven mitts are too bulky for precise pouring.
Parchment Paper
When silicone mats aren’t available, pre-cut parchment sheets (I use If You Care brand) work beautifully. The key is to lightly grease the surface with neutral oil using a pastry brush—this prevents the candy from adhering as it cools. Cut sheets to fit your baking trays before starting; you won’t have time once the sugar reaches temperature.
Cooling Rack
A wire cooling rack elevates candy sheets for faster, more even cooling. I place mine over a baking sheet to catch any drips. This setup prevents the bottom from becoming sticky while allowing air circulation. For lollipops, invert the molds on the rack after 5 minutes of initial setting to prevent flat spots. ✨
Nutrition Facts

Trained in classic French technique but raised on slow-cooked ribs and spicy rubs, she blends culinary skill with smoke and soul.
- Recipe for Boneless Pork Chops in Cast Iron Skillet: Sear and Baste to Juicy Perfection - October 3, 2026
- Recipe for Boneless Cross Rib Roast: Slow-Roasted Beef with Herb Crust - October 3, 2026
- Hamburgers in Sauce Recipe Crock Pot: Slow-Cooked Savory Delight - October 3, 2026