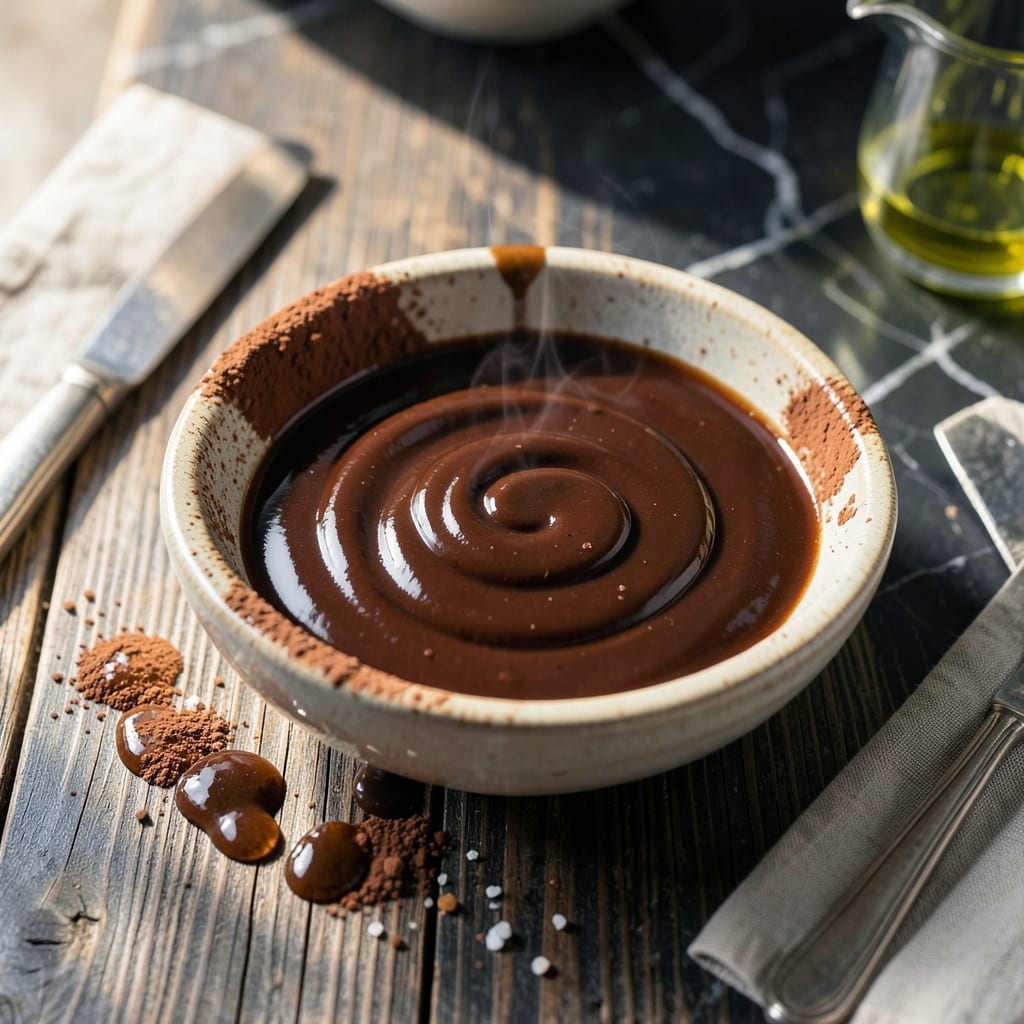
This cocoa-based chocolate sauce delivers rich, velvety depth without specialty ingredients. Simple pantry staples combine in minutes for a glossy drizzle that’s far superior to store-bought versions.
Use it warm over ice cream, as a fruit dip, or stirred into coffee. The sauce thickens as it cools but reheats beautifully, making it versatile for desserts and drinks alike.
Ingredients for Chocolate Sauce Recipe Cocoa Powder
Eight simple ingredients transform into a decadent, dairy-free chocolate sauce with serious depth.
| Ingredient | Amount | Notes |
|---|---|---|
| Unsweetened Cocoa Powder 🍫 | ½ cup | Dutch-process for smoother flavor |
| Granulated Sugar 🍚 | ¾ cup | Organic preferred for clean taste |
| Coconut Milk 🥥 | ½ cup | Full-fat canned for creaminess |
| Vegan Butter 🧈 | 2 tbsp | Or refined coconut oil |
| Vanilla Extract 🌿 | 1 tsp | Pure vanilla, not imitation |
| Sea Salt 🧂 | ¼ tsp | Fine grain for even distribution |
| Maple Syrup 🍁 | 2 tbsp | Adds natural sweetness and depth |
| Water 💧 | ¼ cup | To adjust consistency |
[recipe_ingredient_scaler]
The cocoa powder is non-negotiable for that deep chocolate base. Hershey’s Special Dark or Ghirardelli Dutch-process are my go-tos—both deliver that rich, velvety finish without bitterness. For the coconut milk, Native Forest or Thai Kitchen full-fat cans work best (the light stuff won’t give you that luscious texture). Vegan butter brands like Earth Balance or Miyoko’s melt beautifully into the mix.
No Dutch-process cocoa? Natural works too, but you might taste a faint bitterness—balance it with an extra teaspoon of maple syrup. Swap coconut milk for any full-fat plant milk (oat milk adds creaminess too). Out of vegan butter? Refined coconut oil at a 1:1 ratio does the trick. The vanilla extract is worth the splurge—Nielsen-Massey is my favorite, but store-brand pure works fine.
This sauce thickens as it cools but reheats like a dream. Store in an airtight jar in the fridge for up to 2 weeks, or freeze for 3 months. Microwave 20-second bursts to loosen before using. The flavor actually deepens after a day—perfect for making ahead.
Why You’ll Love This Recipe
- Five Minute Fix: I can make this while the ice cream melts—just cocoa, sugar, coconut milk, and a splash of vanilla in one saucepan.
- Deep Chocolate Hit: The unsweetened cocoa and coconut milk create this rich, velvety sauce that tastes way more indulgent than the effort.
- Drizzle on Everything: I’ve used it on pancakes, fruit, even straight from the spoon. Honestly, it’s my dessert wildcard.
- Budget Pantry Hero: All shelf-stable staples, and a batch costs pennies compared to store-bought. Plus, leftovers keep for a week.
Step-by-Step Instructions for Chocolate Sauce with Cocoa Powder
Master this technique for a glossy, decadent sauce that elevates any dessert.
Step 1: Combine Dry Ingredients and Liquids
In a medium saucepan, whisk together the 0.5 cup Unsweetened Cocoa Powder and 0.75 cup Granulated Sugar until no lumps remain. This ensures even distribution and prevents clumping when liquid is added.
Gradually pour in the 0.5 cup Coconut Milk while whisking continuously. The mixture will thicken slightly as the cocoa powder absorbs the liquid—this is normal. Add the 0.25 cup Water next, whisking until the consistency is smooth and uniform.
Step 2: Incorporate Remaining Ingredients and Heat
Add the 2 tbsp Vegan Butter, 2 tbsp Maple Syrup, and 0.25 tsp Sea Salt to the saucepan. Place over medium heat and stir frequently with a silicone spatula, scraping the bottom and sides to prevent scorching.
The mixture will begin to simmer gently after 3-4 minutes. Watch for small bubbles forming at the edges—this indicates it’s heating evenly. Continue stirring until the vegan butter is fully melted and the sauce takes on a glossy sheen.
Step 3: Simmer and Thicken to Desired Consistency
Once the sauce reaches a low simmer, reduce the heat to medium-low and let it cook undisturbed for 2-3 minutes. You’ll notice the sauce darkening slightly and thickening as it reduces.
After the initial simmer, stir in the 1 tsp Vanilla Extract. Remove the saucepan from heat immediately—the residual heat will finish incorporating the vanilla. The sauce should coat the back of a spoon with a velvety texture, flowing slowly when drizzled.
Step 4: Cool and Adjust Consistency
Transfer the sauce to a heatproof bowl and let it cool at room temperature for 10-15 minutes. As it cools, it will thicken further. If it becomes too dense, whisk in 1-2 teaspoons of warm water to loosen it to your preferred drizzling consistency.
Taste and adjust sweetness if needed, though the combination of granulated sugar and maple syrup should provide a balanced flavor. The sauce is now ready to use and will keep in an airtight container in the refrigerator for up to 1 week.
Pro Tips For Making Chocolate Sauce Recipe Cocoa Powder
- Whisk Out Lumps: Sift the cocoa powder first, then whisk it into the coconut milk before heating—I learned this the hard way after fishing out bitter clumps from my sauce.
- Low and Slow: Keep the heat at medium-low; anything higher and the sugar will scorch before the butter fully melts, giving your sauce a burnt taste.
- Use Full-Fat Coconut: Skip the light coconut milk—it’s too thin and won’t give you that rich, velvety texture that makes the sauce cling to desserts.
- Bloom the Cocoa: Mix the cocoa powder with 2 tablespoons of hot coconut milk first and let it sit for 2 minutes—sounds weird, but it deepens the chocolate flavor without extra effort.
Essential Equipment for Great chocolate sauce recipe cocoa powder
Must-Have Tools
To whip up a smooth and luscious chocolate sauce, you’ll need a few essentials. A medium-sized saucepan is key for heating your ingredients evenly—opt for stainless steel or non-stick for easy cleanup. A whisk ensures your cocoa powder blends seamlessly into the liquids, preventing clumps 🥘. Don’t forget a heatproof spatula to scrape every last bit of rich sauce from the pan!
Nice-to-Have
For next-level precision, a double boiler (or a heatproof bowl over simmering water) helps control the temperature, avoiding scorching. A fine-mesh strainer guarantees an ultra-smooth texture, and a kitchen scale (like the OXO Good Grips) ensures accurate measurements for consistent results every time ✨.
Budget Alternatives
No fancy gear? No problem! Use a microwave-safe bowl for melting if you don’t have a saucepan. A fork can stand in for a whisk, and a plastic spatula works just fine for scraping. Even a mason jar can double as a mixing vessel—just shake it up for a quick, no-fuss blend 💡!
Nutrition Facts

Trained in classic French technique but raised on slow-cooked ribs and spicy rubs, she blends culinary skill with smoke and soul.
- Recipe for Boneless Pork Chops in Cast Iron Skillet: Sear and Baste to Juicy Perfection - October 3, 2026
- Recipe for Boneless Cross Rib Roast: Slow-Roasted Beef with Herb Crust - October 3, 2026
- Hamburgers in Sauce Recipe Crock Pot: Slow-Cooked Savory Delight - October 3, 2026