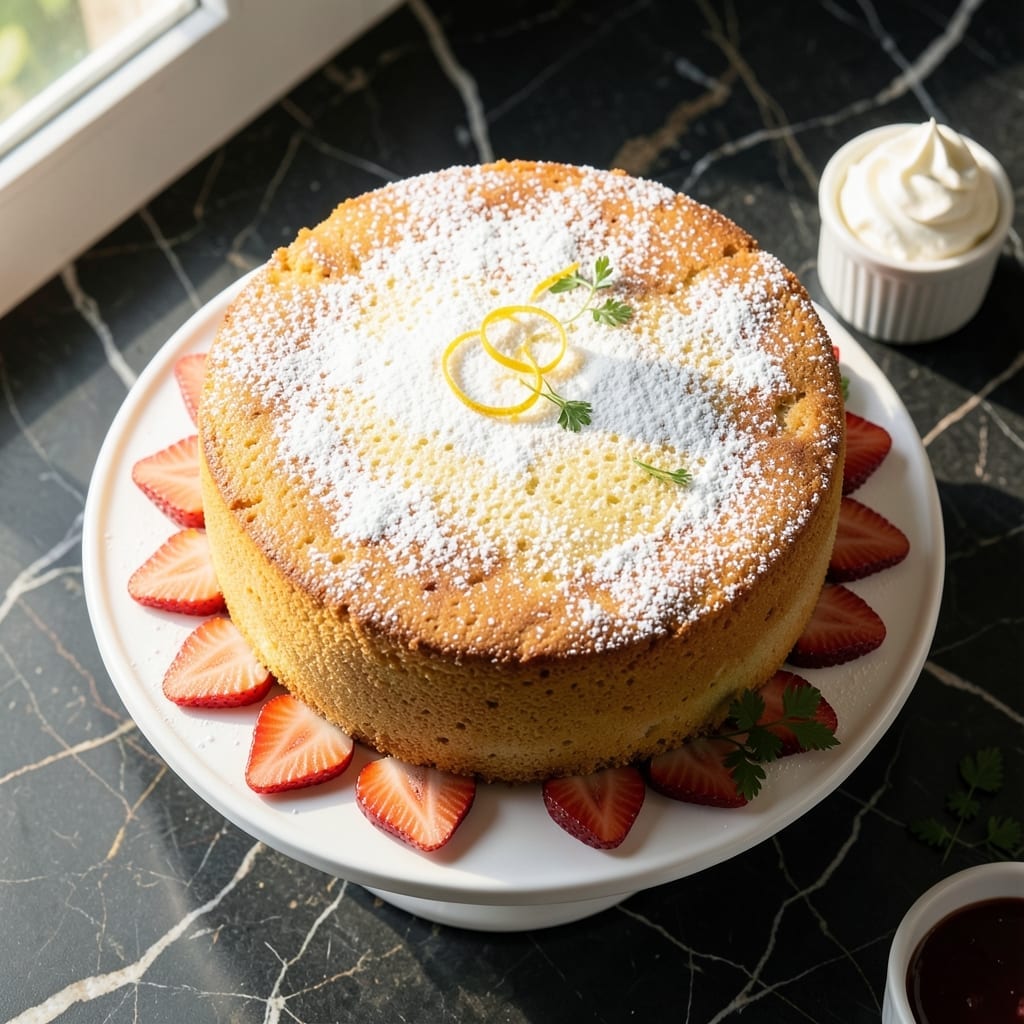
The foundation of great baking lies in mastering the classics, and this sponge cake represents the pinnacle of traditional technique. Light as air yet sturdy enough to hold its shape, it’s a testament to precision and patience.
What makes this recipe special is its simplicity—basic ingredients transformed through careful method. The key is in the folding: gentle hands create that signature airy texture. No shortcuts here, just proven technique.
You’ll end up with a golden cake that’s tender, moist, and perfectly balanced in sweetness. This is the kind of recipe that builds confidence and becomes a go-to for celebrations.
Serve it plain, dusted with powdered sugar, or layered with fresh fruit and cream. A true classic that never goes out of style.
Ingredients for Classic Sponge Cake
A handful of classic ingredients transformed into something extraordinary through precision and care.
| Ingredient | Amount | Notes |
|---|---|---|
| Cake Flour 🌾 | 1 ½ cups | Sifted for lightness |
| Granulated Sugar 🍚 | 1 ½ cups | Divided into two portions |
| Large Eggs 🥚 | 6 whole | Room temperature, separated |
| Unsalted Butter 🧈 | ½ cup | Melted and cooled slightly |
| Vanilla Extract 🌿 | 2 tsp | Pure extract preferred |
| Salt 🧂 | ¼ tsp | Fine grain for even distribution |
| Cream of Tartar 🥄 | ½ tsp | Stabilizes egg whites |
| Whole Milk 🥛 | ¼ cup | Room temperature for blending |
| Baking Powder 🧪 | 1 ½ tsp | Ensures proper rise |
| Powdered Sugar ✨ | ¼ cup | For dusting finished cake |
[recipe_ingredient_scaler]
The cake flour is non-negotiable for that signature lightness—King Arthur is my go-to, but any high-quality brand works. Room temperature eggs are essential (cold ones won’t whip properly), so set them out 30 minutes before starting. The butter should be melted but not hot—if it sizzles when you add it, you’ve gone too far. For vanilla, Nielsen-Massey is worth the splurge, but imitative extracts work in a pinch.
No cake flour? All-purpose minus 2 tbsp per cup, replaced with cornstarch gets you close. Eggs must be fresh—old ones won’t hold enough air. The cream of tartar can be swapped for lemon juice or white vinegar (same amount), but it’s better to just keep a jar in your pantry. Whole milk is ideal, but 2% works too—avoid skim as the fat matters here.
Sponge cakes are best served the day they’re made, but leftovers keep 2-3 days at room temperature in an airtight container. For longer storage, wrap tightly and freeze for up to 1 month. Dust with powdered sugar just before serving to keep that pristine look.
Why You’ll Love This Recipe
- One Bowl Wonder: I love that I can mix everything in a single bowl—no fancy equipment, just cake flour, eggs, and butter coming together effortlessly.
- Buttery Vanilla Dream: The combo of unsalted butter and real vanilla extract gives it that rich, melt-in-your-mouth flavor I crave every time.
- Endless Possibilities: Honestly, it’s my blank canvas—dress it up with berries, dust it with powdered sugar, or layer it for a birthday cake.
- Budget-Friendly Staples: Between us, the ingredients are pantry basics, and it still tastes like a bakery special. I’ll be real: leftovers (if there are any) make great trifle.
Step-by-Step Instructions for Classic Sponge Cake
Master the technique for a perfectly light, airy texture with these precise steps.
Step 1: Prepare the Egg Whites and Yolk Mixture
Separate the 6 whole Large Eggs while they’re cold for easier handling, then let them come to room temperature. In a clean, grease-free bowl, combine the egg whites with 0.5 tsp Cream of Tartar. This stabilizes the whites and ensures maximum volume.
In a separate large bowl, whisk together the egg yolks with 1.5 cups Granulated Sugar (reserving none for later) until the mixture is pale and thick, about 3-4 minutes. The sugar should be fully dissolved and the mixture should ribbon off the whisk.
Step 2: Sift Dry Ingredients and Combine with Butter
Sift together 1.5 cups Cake Flour, 1.5 tsp Baking Powder, and 0.25 tsp Salt three times to aerate the flour. This is crucial for a light texture. In a small saucepan, melt 0.5 cup Unsalted Butter and let it cool slightly.
Alternately add the sifted dry ingredients and 0.25 cup Whole Milk to the yolk mixture, beginning and ending with the flour. Mix just until combined after each addition. Stir in the melted butter and 2 tsp Vanilla Extract until fully incorporated.
Step 3: Whip Egg Whites to Stiff Peaks
Using a stand mixer or hand mixer, beat the egg whites on medium speed until foamy. Gradually increase the speed to high and whip until the whites form stiff, glossy peaks—about 4-5 minutes. The peaks should hold their shape when the whisk is lifted.
Be careful not to overbeat, as this can cause the whites to become dry and grainy. The bowl should feel cool to the touch when the whites are properly whipped. This step is critical for the cake’s signature airy texture.
Step 4: Fold Everything Together Gently
Add about one-third of the whipped egg whites to the yolk batter and fold gently with a spatula to lighten the mixture. Then, add the remaining whites in two additions, folding just until no streaks remain. The batter should be smooth and voluminous.
Pour the batter into an ungreased 10-inch tube pan immediately. Do not grease the pan—the batter needs to climb the sides to achieve its height. Run a knife through the batter to remove any large air pockets.
Step 5: Bake and Cool Properly
Bake in a preheated 325°F oven for 50-60 minutes or until the top springs back when lightly touched and a toothpick inserted comes out clean. The cake should be a light golden brown and pull slightly away from the sides of the pan.
Invert the pan onto a wire rack and let the cake cool completely upside down, about 1 hour. This prevents the cake from collapsing as it cools. Once cool, run a knife around the edges and tube, then invert onto a serving plate. Dust with 0.25 cup Powdered Sugar before serving.
Pro Tips For Making Classic Sponge Cake
- Room Temperature Eggs: Take your eggs out of the fridge at least 30 minutes before starting—cold eggs won’t whip up to the volume you need for that light, airy texture.
- Fold Gently: When adding flour to the egg mixture, use a spatula and fold in a J-shaped motion—overmixing here will knock the air right out of your batter.
- Skip Cold Butter: Your butter should be soft but not melted, about 65°F. I learned this the hard way when my cake turned dense and greasy.
- Test with a Skewer: Don’t rely on time alone—insert a clean skewer into the center and if it comes out clean, your sponge is done, even if the top looks pale.
Storing and Reheating This Recipe
Room Temperature Storage
Once completely cooled, store your cake in an airtight container at room temperature for up to 2-3 days. I use a glass cake keeper with a tight seal to maintain freshness. Avoid plastic wrap directly on the surface as it can make the top sticky. 💡
Refrigeration Tips
For longer freshness, refrigerate in an airtight container for up to 5 days. Bring to room temperature before serving to restore its light texture. I often add a slice of bread to the container to prevent drying out.
Freezing for Later
Wrap the cooled cake tightly in plastic wrap followed by aluminum foil before freezing. It keeps well for up to 1 month. Thaw overnight in the refrigerator while still wrapped to prevent condensation. ❄️
Reheating Methods
For best results, warm individual slices in the oven at 300°F for 5-10 minutes. This revives the soft texture without drying it out. Microwave reheating isn’t recommended as it can make the cake rubbery.
Serving After Storage
Always dust with powdered sugar just before serving, even if stored. This keeps the presentation fresh. If the cake seems dry, a light brushing with simple syrup can restore moisture.
Nutrition Facts
Frequently Asked Questions
Why do eggs need to be room temperature?
Room temperature eggs whip up to greater volume. Cold eggs won’t hold as much air, resulting in a denser texture. Set them out 30 minutes before starting for best results.
Can I use all-purpose flour instead of cake flour?
Yes, but remove 2 tablespoons per cup of all-purpose flour and replace with cornstarch. This mimics cake flour’s lower protein content for a lighter crumb.
How can I tell when it’s done baking?
The top should spring back when touched and pull slightly from the pan edges. A toothpick inserted should come out clean after 50-60 minutes at 325°F.
Why must the pan remain ungreased?
The batter needs to climb the sides to achieve height. Greasing prevents this climb, causing the cake to collapse. The tube pan’s design relies on this grip.

Trained in classic French technique but raised on slow-cooked ribs and spicy rubs, she blends culinary skill with smoke and soul.
- Recipe for Boneless Pork Chops in Cast Iron Skillet: Sear and Baste to Juicy Perfection - October 3, 2026
- Recipe for Boneless Cross Rib Roast: Slow-Roasted Beef with Herb Crust - October 3, 2026
- Hamburgers in Sauce Recipe Crock Pot: Slow-Cooked Savory Delight - October 3, 2026