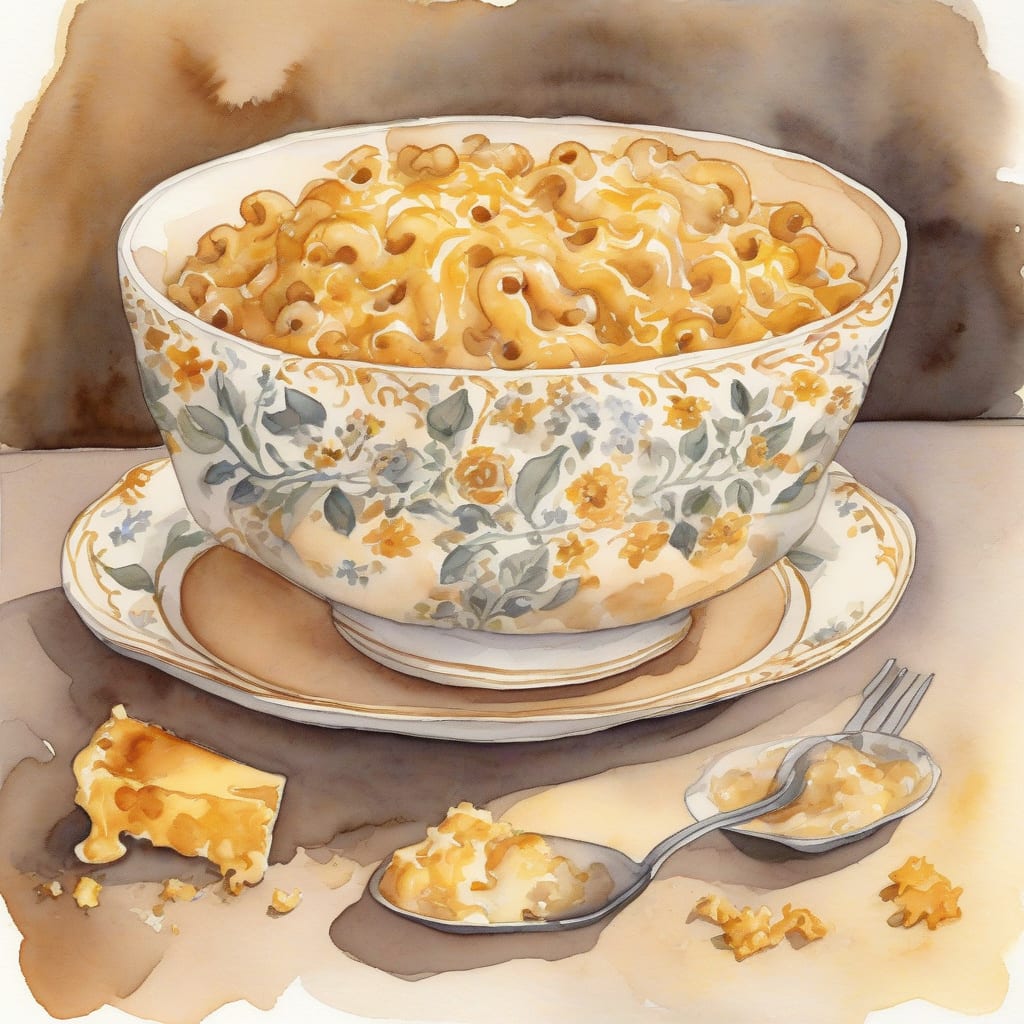
As a pitmaster with a passion for blending traditional BBQ with French technique, I’m excited to share my Community BBQ Mac and Cheese recipe that’s sure to become the star of any gathering. This creamy dish combines the comfort of macaroni and cheese with the bold flavors of BBQ.
The secret to making this mac and cheese truly special lies in the balance of textures and flavors. By incorporating tender pasta, a rich cheese sauce, and a crispy topping, we create a dish that’s both familiar and excitingly new. It’s comfort food elevated.
To achieve the perfect balance, we’ll be baking the mac and cheese at 375°F for about 25-30 minutes, or until it’s golden brown and bubbly on top. This recipe is perfect for a community BBQ, as it’s easy to scale up or down depending on the size of your gathering.
What makes this recipe the best is its versatility – serve it alongside grilled meats, as a side dish, or even as a main course. Either way, it’s sure to be a crowd-pleaser at your next community BBQ or potluck gathering.
Ingredients for Community Bbq Mac and Cheese
Gather these ingredients for a creamy, comforting mac and cheese with a BBQ twist.
| Ingredient | Amount | Notes |
|---|---|---|
| Elbow Macaroni 🍝 | 1 lb | Cavatappi or shells work too |
| Unsalted Butter 🧈 | 4 tbsp | For roux and topping |
| All-Purpose Flour 🌾 | ¼ cup | For thickening sauce |
| Whole Milk 🥛 | 2 cups | Full-fat for creaminess |
| Cheddar Cheese 🧀 | 2 cups | Sharp or extra-sharp |
| Gruyère Cheese 🧀 | 1 cup | Freshly grated preferred |
| Parmesan Cheese 🧀 | ½ cup | Nutty, aged variety |
| Paprika 🌶️ | 1 tsp | Smoked for BBQ flavor |
| Garlic Powder 🧄 | ½ tsp | Not garlic salt |
| Onion Powder 🧅 | ½ tsp | Adds depth |
| Salt 🧂 | 1 tsp | Kosher or sea salt |
| Black Pepper 🌶️ | ¼ tsp | Freshly ground preferred |
| Panko Breadcrumbs 🍞 | 1 cup | For crispy topping |
The cheese makes this dish. Sharp cheddar gives bold flavor, while Gruyère adds that perfect nutty taste. I like to mix and match—whatever’s on sale at Whole Foods or Trader Joe’s. Freshly grated is best (pre-grated gets clumpy). For the pasta, cavatappi or shells work great if you want to mix it up.
No Gruyère? Fontina or Gouda can sub in a pinch. Want more kick? Add some cayenne pepper or hot sauce to taste. The Panko topping is worth the extra minute—crush it yourself for the best texture. If you’re feeling fancy, try adding some caramelized onions or roasted garlic to the mix.
This keeps beautifully—4-5 days in the fridge, reheats like a dream. Freeze individual portions for up to 3 months. When you’re ready to bake, just add a few extra minutes to the cooking time if it’s coming straight from the fridge or freezer.
Why You’ll Love This Recipe
- I’ll be real: I love that this recipe makes great leftovers – the flavors meld together even more beautifully after a day in the fridge, and it’s a great way to use up ingredients I already have on hand.
- Quick Comfort: I can whip up this community BBQ mac and cheese in under 30 minutes, which is a lifesaver on busy weeknights.
- Cheesy Perfection: The combination of cheddar cheese and a roux made with unsalted butter and all-purpose flour creates a ridiculously creamy sauce that coats every piece of elbow macaroni perfectly.
- Crowd-Pleasing Flexibility: This recipe is my go-to for potlucks and family gatherings because it’s easy to scale up or down depending on how many people I’m feeding.
Step-by-Step Instructions for Community BBQ Mac and Cheese
Here’s the method that delivers the creamiest, most comforting mac and cheese with a perfect BBQ twist.
Step 1: Cook the Elbow Macaroni to Al Dente Perfection
Bring a large pot of salted water to a rolling boil – I like to use 1 tablespoon of salt for every 4 cups of water. Add the 1 lb Elbow Macaroni and cook until it’s 1 minute shy of the package instructions for al dente. You want it slightly underdone because it’ll finish cooking in the sauce. Reserve 1 cup of pasta water before draining – this starchy liquid is crucial for achieving the perfect sauce consistency.
The pasta should still have a bit of bite when you bite into it. If you’re using a different shape like cavatappi or shells, keep an eye on the texture rather than the time. Drain the macaroni and set it aside while you prepare the sauce.
Step 2: Create the Creamy Cheese Sauce
In a large saucepan, melt 2 tablespoons of the Unsalted Butter over medium heat. Once melted, whisk in the 0.25 cup All-Purpose Flour to create a roux, cooking for 1-2 minutes until it forms a smooth, light golden paste. The mixture should have a nutty aroma and be free of lumps.
Slowly pour in the 2 cups Whole Milk, whisking constantly to prevent lumps from forming. Bring the mixture to a simmer and cook for 2-3 minutes until it thickens and coats the back of a spoon. Remove from heat and stir in the 2 cups Cheddar Cheese, 1 cup Gruyère Cheese, and 0.5 cup Parmesan Cheese until fully melted and smooth. Add the 1 tsp Paprika, 0.5 tsp Garlic Powder, 0.5 tsp Onion Powder, 1 tsp Salt, and 0.25 tsp Black Pepper, stirring to combine.
Step 3: Combine Pasta and Sauce, Then Transfer to Baking Dish
Add the cooked macaroni to the cheese sauce and stir until it’s fully coated. If the sauce seems too thick, add a splash of the reserved pasta water to loosen it to your desired consistency. The mixture should be creamy but not soupy.
Transfer the macaroni and cheese mixture to a greased 9×13 inch baking dish. I like to use the remaining 2 tablespoons of Unsalted Butter to dot the top of the macaroni – this creates a beautifully golden crust during baking.
Step 4: Add Crispy Topping and Bake to Golden Perfection
In a small bowl, mix together the 1 cup Panko Breadcrumbs and a pinch of the remaining cheese (if you like extra cheesiness on top). Sprinkle this breadcrumb mixture evenly over the macaroni and cheese. The Panko breadcrumbs will create a wonderfully crispy texture that contrasts beautifully with the creamy pasta.
Bake in a preheated oven at 375°F for 25-30 minutes, or until the top is golden brown and the sauce is bubbly around the edges. For an extra crispy top, broil for an additional 2-3 minutes – watch closely to prevent burning. The result should be a perfectly balanced dish: creamy inside, crispy outside, and full of that amazing BBQ flavor from the smoked paprika.
Pro Tips For Making Community Bbq Mac And Cheese
- Don’t Overcook Pasta: Cook your Elbow Macaroni until it’s just al dente. Overcooking will make it mushy and unpleasant in the finished mac and cheese.
- Roux is Key: Take your time making the roux with Unsalted Butter and All-Purpose Flour – cook it for at least 2 minutes to remove the raw flour taste. This step makes a real difference in the final flavor.
- Gradual Cheese Addition: Add your Cheddar Cheese gradually to the sauce, stirring constantly, to prevent lumps from forming. I learned this the hard way—after burning through a block of cheese trying to fix a lumpy mess.
- Pre-Shredded Cheese Works: Use pre-shredded Cheddar Cheese to save time on prep work. It melts just as well as freshly shredded cheese and cuts down on overall cooking time.
Make-Ahead Tips for This Recipe
Advance Prep Strategies
To make your community BBQ mac and cheese shine, you can prepare components ahead of time. Cook the macaroni al dente and store it in an airtight container in the refrigerator for up to 24 hours. The cheese sauce can also be made ahead and refrigerated for 2-3 days or frozen for up to 3 months. 🔥
Reheating the Cheese Sauce
When reheating the cheese sauce, do it gently over low heat, whisking constantly to prevent separation. If it’s too thick, add a splash of whole milk or heavy cream to achieve the desired consistency. For frozen sauce, thaw overnight in the refrigerator before reheating.
Assembly and Baking
Assemble the mac and cheese just before baking by combining the cooked pasta and reheated cheese sauce. Transfer the mixture to a greased 9×13 inch baking dish and top with Panko breadcrumbs. You can prepare the breadcrumb topping ahead and store it in an airtight container at room temperature for up to 1 day.
Make-Ahead Baking Options
If you prefer to bake the mac and cheese ahead of time, you can assemble it, cover it tightly with plastic wrap or aluminum foil, and refrigerate for up to 1 day. When ready to serve, bake at 375°F for 25-30 minutes, removing the cover for the last 5-10 minutes to crisp the top.
Transporting to the BBQ
For transporting to a community BBQ, bake the mac and cheese until it’s just set, then let it cool slightly. Transfer it to a covered dish or wrap it tightly in foil to keep it warm during transport. When you arrive, reheat it on a grill or at the BBQ’s cooking station to get that perfect crispy top.
Nutrition Facts
Frequently Asked Questions
Can I prepare the mac and cheese ahead of time for a community BBQ?
Yes, you can prepare components ahead of time! Cook the macaroni al dente and store it in an airtight container in the refrigerator for up to 24 hours. The cheese sauce can be made ahead and refrigerated for 2-3 days or frozen for up to 3 months.
How do I reheat the cheese sauce without it separating?
Reheat the cheese sauce gently over low heat, whisking constantly to prevent separation. If it’s too thick, add a splash of whole milk or heavy cream to achieve the desired consistency. For frozen sauce, thaw overnight in the refrigerator before reheating.
Can I customize this recipe for different tastes?
Absolutely! You can add various ingredients to suit different tastes. Consider mixing in caramelized onions, roasted garlic, or a sprinkle of cayenne pepper to give it an extra kick. You can also experiment with different types of cheese or add-ins like cooked bacon or ham.
How do I transport the mac and cheese to a BBQ?
Bake the mac and cheese until it’s just set, then let it cool slightly. Transfer it to a covered dish or wrap it tightly in foil to keep it warm during transport. When you arrive at the BBQ, reheat it on a grill or at the BBQ’s cooking station to get that perfect crispy top.

Trained in classic French technique but raised on slow-cooked ribs and spicy rubs, she blends culinary skill with smoke and soul.
- Recipe for Boneless Pork Chops in Cast Iron Skillet: Sear and Baste to Juicy Perfection - October 3, 2026
- Recipe for Boneless Cross Rib Roast: Slow-Roasted Beef with Herb Crust - October 3, 2026
- Hamburgers in Sauce Recipe Crock Pot: Slow-Cooked Savory Delight - October 3, 2026