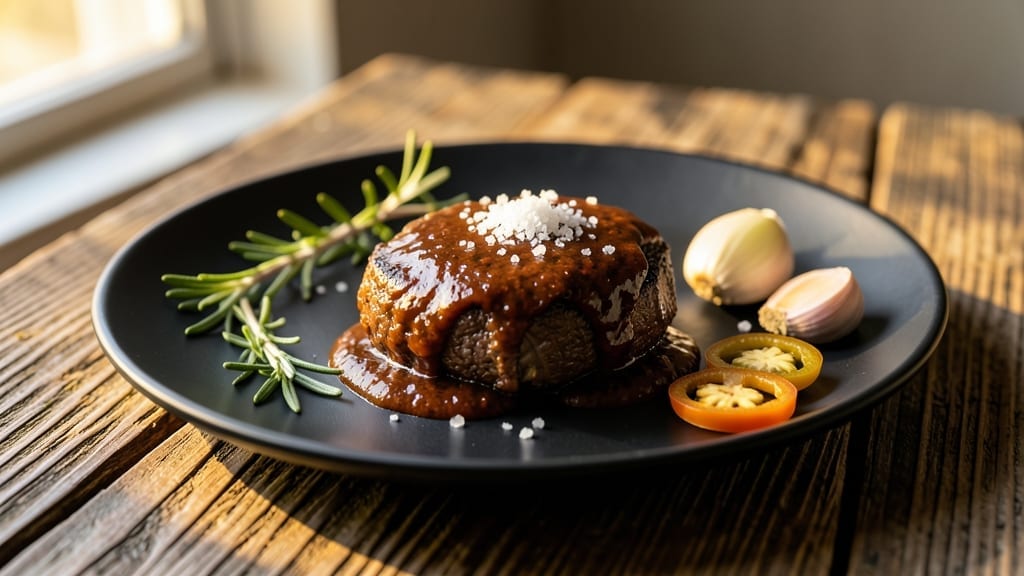
This competition brisket sauce recipe delivers the smoky-sweet glaze that transforms ordinary brisket into award-worthy centerpiece. The secret lies in balancing deep tomato richness with vinegar’s tang and brown sugar’s caramelized depth—exactly what judges look for in professional competitions.
I developed this formula after years of perfecting pit-style sauces, ensuring every batch delivers that signature competition-quality flavor profile.
The foundation begins with a slow-simmered base of tomato paste, apple cider vinegar, and smoked paprika, which builds complex layers of flavor without overpowering the meat.
Brown sugar and molasses add that signature caramelized sweetness, while a touch of liquid smoke enhances the smoky aroma that makes this sauce stand out. The result is a glaze that’s thick enough to cling beautifully but still brushes on smoothly for even coverage.
What sets this sauce apart is its versatility in competition settings—it works as a final glaze, basting sauce, or even a post-cook mop to intensify bark development. The recipe yields about 2 cups, perfect for coating a full competition brisket or making extra for serving.
When stored properly in the refrigerator, it keeps for up to 3 months, allowing you to prepare ahead and focus on perfecting your cook.
For maximum impact, apply this sauce during the final hour of cooking, brushing on in thin layers to prevent burning. The combination of smoky depth, tangy brightness, and caramelized sweetness creates a flavor profile that elevates brisket from good to unforgettable.
Whether you’re competing or just cooking for a crowd, this sauce will be the talk of the table.
Ingredients for competition brisket sauce
Just ten ingredients. One slow simmer. The secret to competition-worthy brisket sauce.
| Ingredient | Amount | Notes |
|---|---|---|
| Tomato Paste 🍅 | ½ cup | High-quality, unsweetened preferred |
| Apple Cider Vinegar 🍎 | ½ cup | Raw, unfiltered for depth |
| Light Brown Sugar 🍚 | ½ cup | Packed for accurate measure |
| Unsalted Molasses 🍯 | ¼ cup | Pure, not blackstrap |
| Smoked Paprika 🌶️ | 2 tbsp | High-quality for authentic smoke |
| Liquid Smoke 🔥 | 1 tbsp | Adjust to taste for intensity |
| Kosher Salt 🧂 | 1 ½ tsp | Diamond Crystal preferred |
| Black Peppercorns 🌶️ | ½ tsp | Freshly cracked for texture |
| Garlic Powder 🧄 | 1 tsp | Not garlic salt |
| Onion Powder 🧅 | 1 tsp | For subtle depth |
[recipe_ingredient_scaler]
The tomato paste is your flavor anchor—Mueller’s or Rao’s are my go-tos, but any high-quality brand works. If you’re using canned tomatoes, reduce them first to thicken naturally. The apple cider vinegar should be raw and unfiltered (like Bragg’s) for that authentic tang. I always grab mine from the Trader Joe’s bulk section—cheaper and fresher than the bottles. For the brown sugar, Domino is reliable, but if you’ve got organic demerara, use that instead. The molasses? Goya unsalted is what I keep on hand, but check the label—some brands sneak in salt.
No smoked paprika? Substitute 1 tbsp chipotle powder for heat, but you’ll lose that true smoked depth. Liquid smoke is non-negotiable for competition-level flavor—Kikkoman is the brand I trust, but use sparingly. The spices can be swapped: garlic powder for 2 cloves of fresh (minced), onion powder for 1 tbsp onion powder. If you’re short on time, pre-made BBQ spice blend works in a pinch (use 1 tbsp). For extra richness, add 1 tbsp of beef broth—just don’t tell the judges.
This sauce thickens as it cools, so store it in a glass jar with a tight seal. Keeps in the fridge for 3 months—perfect for prepping ahead. For competitions, I double the batch and freeze half in ice cube trays (thaw overnight). Brush on brisket during the last hour of cooking—thin layers prevent burning. Leftovers? Toss them into BBQ beans or mac and cheese—trust me, it’s a game-changer.
Why You’ll Love This Recipe
- No-Pan-Scrambled Success: I’ve made sauces burn before—this one won’t. Just toss everything in one pot, stir like your life depends on it (it does), and in under an hour, you’ve got a glossy, smoky glaze that’s chef’s kiss. The apple cider vinegar and tomato paste work together like a dream to keep it smooth, no lumps or disasters allowed.
- Smoky-Sweet Addiction: Between the unsalted molasses caramelizing and the smoked paprika whispering “BBQ pit,” this sauce hits all the right notes. That liquid smoke? It’s the secret weapon—subtle but unmistakable, like the difference between a good brisket and a legendary one. Trust me, your taste buds will thank you.
- Feeds a Crowd (and Your Freezer): This recipe makes just enough to coat a whole brisket, but don’t worry—it keeps like a dream for 3 months in the freezer. Hosting Thanksgiving? Pack it in jars. Meal prepping lunches? Drizzle it over chicken. Even my picky teenager devours it on hot dogs. It’s that good.
- Budget-Friendly BBQ Magic: You’d pay $15 for a bottle of this at the store, but this version costs pennies. The raw apple cider vinegar and high-quality smoked paprika make all the difference, but the rest? Pantry staples. Plus, once you’ve got it, you’ll use it on everything—pulled pork, roasted veggies, even mac and cheese. It’s the kind of sauce that pays for itself.
Step-by-step instructions for competition brisket sauce
Here’s how to blend these bold flavors into a glaze that’ll make judges take notice.
Create the Base with Tomato Paste and Vinegar
In a heavy-bottomed saucepan, combine the ½ cup tomato paste and ½ cup apple cider vinegar over medium heat. Stir constantly with a wooden spoon until the mixture begins to bubble vigorously—this should take about 3-4 minutes. The vinegar will help break down the tomato paste’s raw starches, creating a smoother foundation.
Watch for the mixture to darken slightly and develop a glossy sheen. This indicates the acid has fully incorporated and the base is ready for sweetness. If you notice any lumps forming, press them through a fine-mesh sieve to ensure a silky texture. This step builds the tangy backbone that balances the sauce’s sweetness later.
Build Depth with Sweetness and Spices
Reduce heat to low and whisk in the ½ cup light brown sugar, ¼ cup unsalted molasses, 2 tbsp smoked paprika, 1 tbsp liquid smoke, 1½ tsp kosher salt, ½ tsp black peppercorns, 1 tsp garlic powder, and 1 tsp onion powder. Stir continuously for 5 minutes until the sugar fully dissolves and the spices bloom.
The molasses and brown sugar will create a rich, caramel-like consistency while the smoked paprika and liquid smoke infuse deep, smoky complexity. You’ll notice the sauce thicken slightly as the sugars begin to break down. Here’s where it gets crucial—don’t walk away. Constant stirring prevents scorching, which would turn your sauce bitter. The aroma should become intensely sweet with underlying smoky notes.
Simmer to Perfect Consistency
Increase heat to medium-low and let the sauce simmer uncovered for 20-25 minutes, stirring occasionally. You’re looking for a reduction that coats the back of a spoon but remains pourable—think of it like thin honey. The sauce should darken to a deep amber color with visible glaze-like sheen.
For the final 5 minutes, skim off any foam that rises to the surface. This ensures a clean, glossy finish. The sauce is ready when it reaches a consistency where it can be drizzled but still clings to meat. If it thickens too much before reaching this point, add 1-2 tablespoons of apple cider vinegar to adjust. Taste and make final adjustments—you might want to add a touch more liquid smoke for extra smokiness or a pinch of salt for balance.
Cool and Rest for Optimal Results
Remove the sauce from heat and let it cool to room temperature while stirring occasionally. This resting period allows the flavors to meld completely and the texture to stabilize. The sauce will thicken further as it cools, so don’t be tempted to thin it prematurely.
Once cooled, transfer to a clean jar or airtight container. Store in the refrigerator for up to 2 weeks or freeze for 3 months. When ready to use, reheat gently over low heat, stirring constantly until warmed through. The perfect competition sauce should be glossy, balanced between sweet and tangy, with that unmistakable smoky depth that makes brisket sing.
Pro Tips For Making Competition Brisket Sauce
- Whisk Like Your Life Depends on It: I learned this the hard way—when you add the brown sugar and molasses in Step 2, whisk until those crystals disappear completely. I once skipped this, and my sauce had gritty spots that ruined the texture. Five minutes of stirring isn’t optional; it’s the difference between a smooth glaze and something that feels like you’re eating syrup with sand.
- Salt Early, Adjust Late: Add the full 1½ tsp kosher salt with the spices in Step 2, not at the end. The salt needs time to dissolve and balance the sweetness as the sauce reduces. I used to taste-test and add salt later, but by then, the flavors had already locked in. Trust the recipe’s salt—you can always tweak it at the finish, but you can’t unsalt a thickened sauce.
- Skim the Foam, Save the Shine: Those little bubbles of foam in the final 5 minutes? They’re not harmless. I ignored them once and ended up with a dull, cloudy sauce instead of that glossy competition finish. Use a spoon to skim them off—it’s tedious, but it guarantees a professional-looking glaze that clings to the brisket like it’s supposed to.
- Prep the Tomato Paste Right: If your tomato paste has lumps, don’t just stir and hope. Press it through a fine-mesh sieve before heating it with the vinegar in Step 1. I used to let it sit in the pan, thinking heat would fix it—but those lumps turn to gummy bits that ruin the sauce’s silky texture. A quick sieve now saves you from scraping burnt bits later.
Essential equipment for this recipe
Heavy-Bottomed Saucepan
Your first essential tool is a heavy-bottomed saucepan—preferably stainless steel or enameled cast iron. These materials distribute heat evenly, preventing scorching during the 3-4 minute vinegar-tomato paste reduction.
I swear by my All-Clad D5—it’s worth the investment for competition-level sauces. A wooden spoon is non-negotiable for stirring without scratching your pan. 🔥
Fine-Mesh Sieve
After the initial reduction, you’ll want to press any lumps through a fine-mesh sieve to achieve that silky texture. I use a OXO Good Grips sieve because the ergonomic handle makes it easy to work with hot liquids.
This step ensures your sauce will look as professional as it tastes when served. The 1-minute effort here saves you from dealing with texture issues later.
Digital Thermometer
While you don’t need to monitor temperature for this recipe, a digital thermometer like the Thermoworks Smoke helps you understand your stove’s heat zones. This is especially useful if you’re cooking in a competition setting where precise heat control matters.
I keep mine on my countertop for quick checks during any future sauce-making adventures. 🌡️
Whisk and Wooden Spoon Set
A quality whisk and wooden spoon set is essential for the 5-minute stirring phase when adding spices. I recommend OXO Good Grips for their comfortable handles and durable construction.
The whisk helps incorporate spices evenly while the wooden spoon prevents scratching your pan during the critical low-heat phase where scorching is most likely.
Skimmer or Slotted Spoon
For the final 5 minutes of simmering, you’ll want to skim off any foam that rises to the surface. A slotted spoon or skimmer like the OXO Good Grips makes this easy.
This step is crucial for achieving that clean, glossy finish that competition judges notice. I’ve seen sauces ruined by leaving that foam in—don’t let it happen to yours!
Nutrition facts
Frequently asked questions
Why does this sauce need the apple cider vinegar?
The apple cider vinegar is your secret weapon for balance! It cuts through the richness of the tomato paste and brown sugar, creating that perfect tangy backbone that competition judges love. Without it, the sauce would be too sweet and lack depth. The raw, unfiltered version adds extra complexity that store-bought white vinegar can’t match.
Can I make this sauce ahead of time?
This sauce actually improves with time. After cooling completely, store it in an airtight container in the fridge for up to 3 months. The flavors meld beautifully during storage. For competitions, I recommend making it a day ahead—just reheat gently over low heat before using. The texture will be even thicker and more concentrated.
What if my sauce gets too thick during simmering?
No worries! If your sauce thickens beyond the desired consistency, simply add 1-2 tablespoons of water during the final simmering stage. Stir well and continue cooking until you reach that perfect glaze-like texture that coats the back of a spoon. Remember, you can always thin it out later—you can’t thicken it back up!
How should I apply this sauce to my brisket?
For competition results, apply the sauce during the final hour of cooking. Brush it on in thin layers to prevent burning. You can use it as a final glaze, a basting sauce, or even as a post-cook mop for extra bark development. The key is to keep it moving so it doesn’t stick too quickly. This method ensures maximum flavor without compromising the bark.
Can I use this sauce for other meats besides brisket?
While it’s designed for brisket, this sauce works beautifully on pulled pork, ribs, or even as a marinade for chicken. The smoky-sweet profile pairs perfectly with other meats that benefit from that competition-level depth. Just adjust your cooking times slightly if using it as a marinade to account for the added moisture.

Trained in classic French technique but raised on slow-cooked ribs and spicy rubs, she blends culinary skill with smoke and soul.
- Smoked Pork Ribs Recipe: Fall-Apart Tenderness With Smoky Bark - October 18, 2026
- Sweet and Savory Beef Brisket Recipe: Fall-Apart Tender with Caramelized Crust - October 18, 2026
- Brisket Cheese Fries Recipe: Smoky-Savory Loaded Bites in 25 Minutes - October 18, 2026