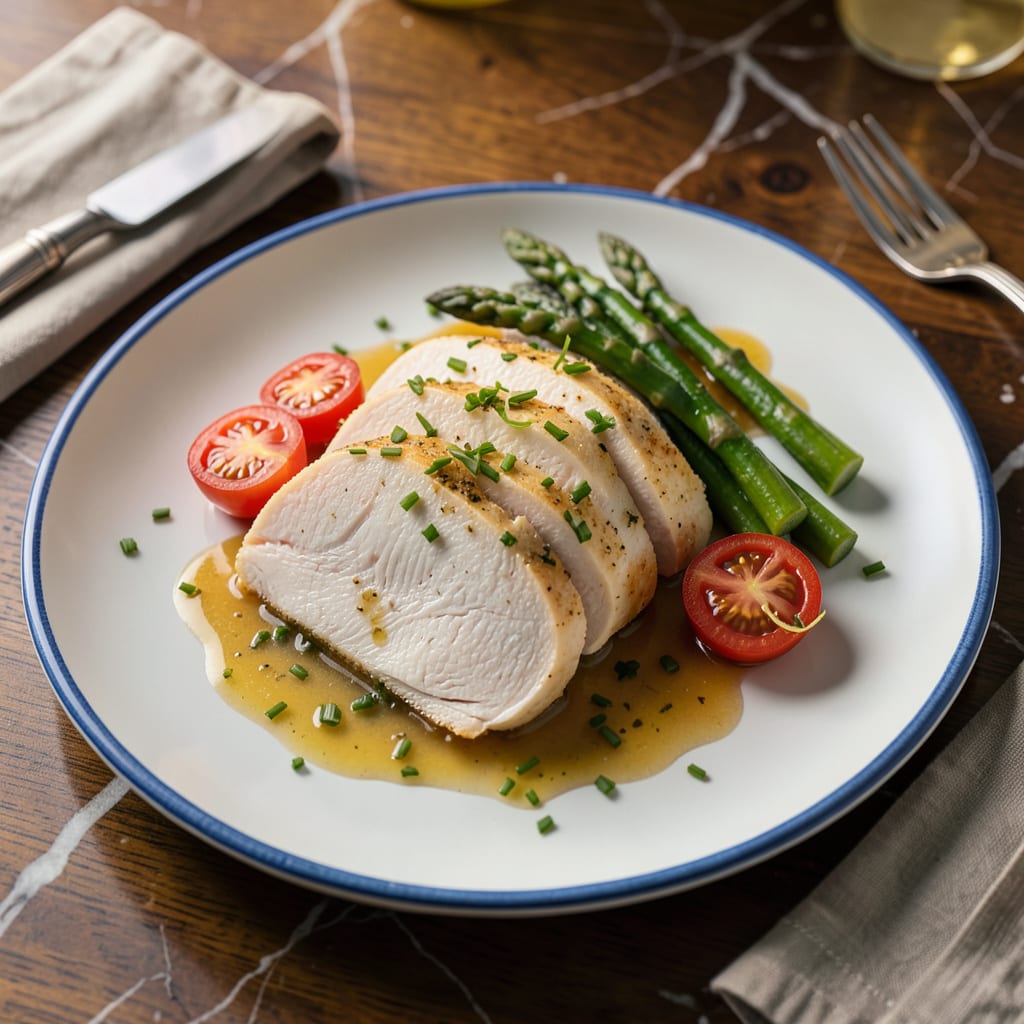
I’ll be real with you—I used to think microwaving chicken was a recipe for rubbery disappointment. But after years of experimenting (and more than a few dry, sad meals), I cracked the code for juicy results that actually work. No oven, no stovetop, just your microwave and a few smart tricks.
Here’s the thing—microwaves get a bad rap for drying out meat, but they can actually be your secret weapon for quick, tender chicken. The key is controlling moisture and power levels. I’ve tested this with boneless breasts, thighs, even drumsticks, and the right technique keeps them succulent every time. You’ll need a meat thermometer (non-negotiable for safety) and about 15 minutes start to finish.
What you’ll get is perfectly cooked chicken that’s tender enough to cut with a fork, with no weird rubbery texture. I like to finish mine with a quick sear in a hot pan for color, but that’s optional. The real magic happens in the microwave with proper seasoning, power settings, and one simple moisture trick I swear by.
Serve it sliced over salads, shredded for tacos, or as a quick protein boost for weeknight meals. Fair warning: once you try this, you’ll never dismiss microwave chicken again. Let’s get that bird cooking right.
📚 In This Guide
- What You’ll Need
- Instructions
- Tips and Common Mistakes
What Youll Need
- ● 1–2 boneless, skinless chicken breasts (6–8 oz each) or 4–6 chicken tenders (thawed if frozen)
- ● Microwave-safe dish (glass or ceramic, 8×8-inch or larger) with a lid or microwave-safe plastic wrap
- ● 1–2 tbsp olive oil, butter, or cooking spray (to prevent sticking)
- ● Salt & pepper (to taste) or your favorite seasoning blend (garlic powder, paprika, or Italian herbs work great!)
- ● 1–2 tbsp liquid (water, chicken broth, or lemon juice for moisture)
- ● Meat thermometer (to check doneness—165°F is the safe zone! 🌡️)
- ● Kitchen tongs or fork (for flipping/serving)
- ● Fresh herbs (parsley, cilantro) or a squeeze of lemon (for garnish)
Instructions for Cooking Chicken in the Microwave
Here’s how to get perfectly cooked, juicy chicken using just your microwave—no oven required.
Prepare the Chicken for Even Cooking
Start by selecting boneless, skinless chicken breasts or thighs of similar thickness. I recommend cutting them into 1-inch thick pieces so they cook evenly. If you’re using whole breasts, slice them horizontally to create even cutlets—this prevents the outer edges from drying out while waiting for the center to cook.
Pat the chicken pieces completely dry with paper towels. This step is crucial because excess moisture creates steam, which can make the chicken rubbery instead of tender. Arrange the pieces in a single layer on a microwave-safe plate, leaving about ½ inch of space between them so they don’t steam each other.
Season and Cover for Moisture Retention
Season both sides of the chicken generously with salt and pepper. For extra flavor, you can add a sprinkle of garlic powder or paprika, but keep it simple—microwave cooking intensifies flavors. I like to add a light drizzle of olive oil or a quick spray of cooking spray to help the seasoning adhere and prevent sticking.
Cover the plate with a microwave-safe lid or damp paper towel. This creates a steam environment that keeps the chicken moist while it cooks. The key is to trap just enough steam without creating a soggy texture. If using paper towels, make sure they’re damp but not dripping wet—you want gentle steam, not a pool of water.
Cook in Short Intervals for Perfect Doneness
Microwave the chicken on high power for 3 minutes, then carefully remove the plate and flip each piece. This is where most people go wrong—they either overcook in one long burst or undercook by not checking. Return the chicken to the microwave and cook for another 2-3 minutes, depending on thickness.
Check for doneness by cutting into the thickest piece—the meat should be opaque white throughout with no pink, and the juices should run clear. If needed, continue cooking in 1-minute increments until fully done. Remember that chicken continues cooking slightly after removal, so it’s better to err on the side of slightly underdone at this stage.
Rest and Verify Juiciness
Transfer the cooked chicken to a clean plate and let it rest for 3-5 minutes before serving. This resting period allows the juices to redistribute throughout the meat instead of running out when you cut into it. You’ll notice the chicken firms up slightly as it rests—this is normal and indicates proper cooking.
To verify juiciness, cut into a piece and check that the meat appears moist but not watery. The texture should be tender and slightly springy, not rubbery or dry. If you’ve followed these steps, you’ll have perfectly cooked chicken that’s ready to use in salads, sandwiches, or as a main dish with your favorite sides.
Tips and Common Mistakes
Microwave cooking can be tricky, but these insights will help you avoid common pitfalls and achieve perfect results every time.
Even Cooking Secret: The 1-inch thickness mentioned in Step 1 isn’t just a suggestion—it’s critical. I’ve found that pieces thicker than this often develop dry outer layers while the center catches up. Use a ruler if you’re unsure, especially with whole breasts. This small step makes the difference between rubbery and tender chicken.
Moisture Control: When damping your paper towel in Step 2, here’s what nobody tells you—wrings it out completely, then give it one more squeeze. Too much moisture creates a soggy steam bath rather than the gentle environment we want. The chicken should glisten when done, not sit in liquid.
The Flip Factor: Those 3 minutes in Step 3 aren’t arbitrary. Microwaves cook from the outside in, so flipping at this exact midpoint ensures even exposure. I use tongs to avoid piercing the meat, which would let precious juices escape. The second 2-3 minute interval then finishes the cooking without overdoing any one side.
Resting Reality: The 3-5 minute rest in Step 4 isn’t optional downtime—it’s when the magic happens. Cutting too soon releases all the juices you worked to preserve. I set a timer for this step because it’s tempting to skip when you’re hungry. You’ll actually see the chicken firm up slightly as it rests, which is the proteins relaxing after cooking.
Pro Tips for Cooking Chicken In Microwave
- Microwave cooking can be tricky, but these insights will help you avoid common pitfalls and achieve perfect results e…
- Even Cooking Secret: The 1-inch thickness mentioned in Step 1 isn’t just a suggestion—it’s critical. I’ve found that …
- Moisture Control: When damping your paper towel in Step 2, here’s what nobody tells you—wrings it out completely, the…
Frequently Asked Questions
Got questions about microwaving chicken? You’re not alone! Here are the most common concerns—and quick answers—to help you nail it every time.
Is it safe to cook raw chicken in the microwave?
Yes, but only if cooked to an internal temp of 165°F (74°C). Use a meat thermometer to check, and avoid uneven cooking by cutting chicken into even pieces. Never microwave frozen chicken without thawing first—it can create cold spots where bacteria thrive.
How long does it take to cook chicken in the microwave?
Boneless breasts (1 inch thick) take 6–8 minutes on high, flipped halfway. Dark meat (thighs/drumsticks) needs 8–10 minutes. Pro tip: Cover with a damp paper towel to trap steam and prevent dryness. Always let it rest 2–3 minutes post-microwave!
Why does my microwaved chicken turn rubbery or dry?
Overcooking is the #1 culprit! Microwaves cook fast, so check temp early. Also, skip the plastic wrap—it traps too much moisture, making chicken soggy. For juicier results, marinate for 30+ minutes or brush with olive oil before cooking.
Can I microwave chicken from frozen?
Technically yes, but it’s risky. Frozen chicken cooks unevenly, leaving some parts underdone. Thaw overnight in the fridge or use the defrost setting first. If in a rush, cut into small pieces and increase cook time by 50%, stirring halfway.
What’s the best alternative if I don’t have a microwave-safe dish?
Use a glass or ceramic plate—just avoid metal, foam, or plastic unless labeled “microwave-safe.” In a pinch, a microwave-safe paper plate works for short cook times (under 5 minutes). Always cover with a vented lid or damp towel to prevent splatters.
Cooking chicken in the microwave is faster, easier, and more energy-efficient than traditional methods—without sacrificing flavor or juiciness! 🍗 With the right prep, timing, and seasoning, you can enjoy tender, perfectly cooked chicken in minutes. Whether you’re meal prepping or whipping up a quick dinner, this method is a game-changer for busy home cooks.
Ready to try it? Grab your favorite seasonings and experiment with different cuts—boneless thighs, breasts, or even drumsticks—to find your perfect microwave masterpiece! For extra inspiration, check out our 5-minute microwave chicken recipes next.

Trained in classic French technique but raised on slow-cooked ribs and spicy rubs, she blends culinary skill with smoke and soul.
- Recipe for Boneless Pork Chops in Cast Iron Skillet: Sear and Baste to Juicy Perfection - October 3, 2026
- Recipe for Boneless Cross Rib Roast: Slow-Roasted Beef with Herb Crust - October 3, 2026
- Hamburgers in Sauce Recipe Crock Pot: Slow-Cooked Savory Delight - October 3, 2026