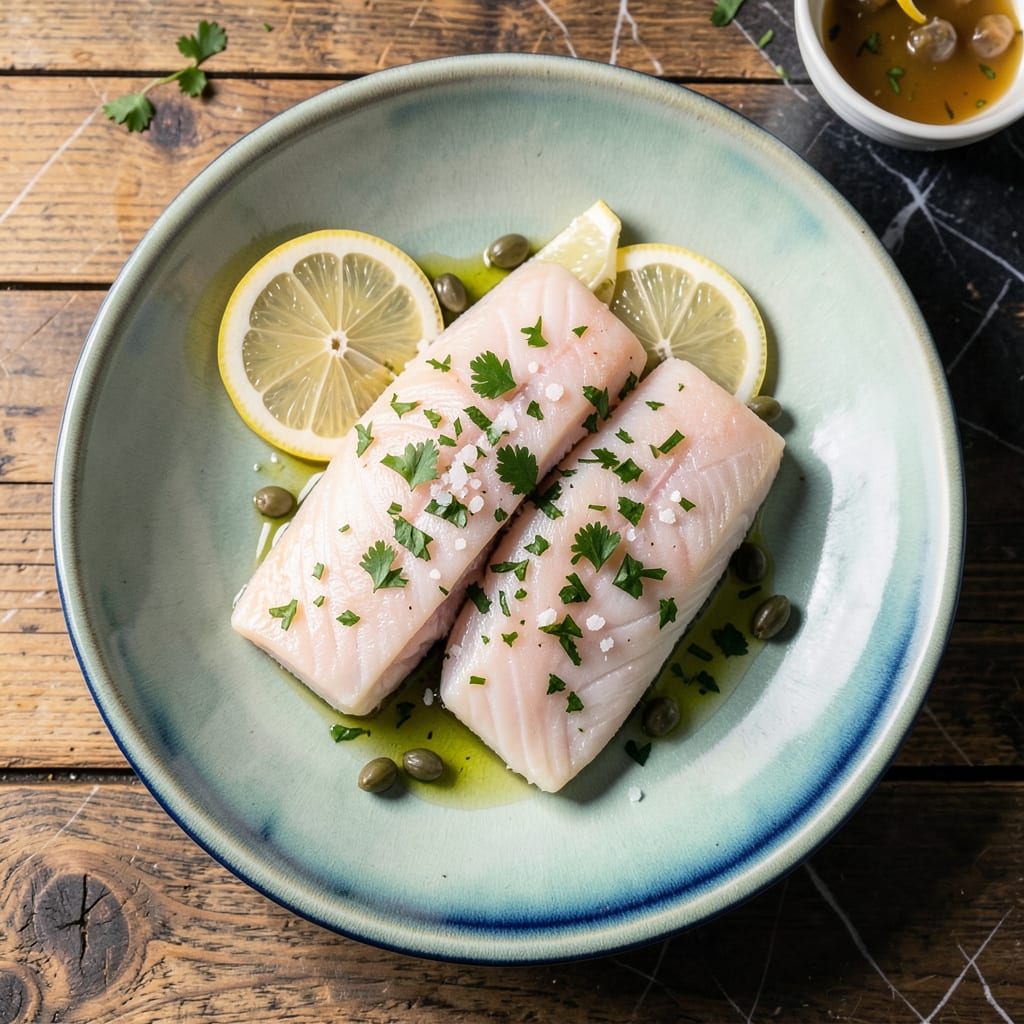
Let me tell you, Costco’s frozen cod is a weeknight game-changer when you know how to handle it right. I’ve cooked more of these pre-portioned fillets than I can count, and the secret to flaky, tender results is all in the thawing and timing. No fancy techniques needed—just 15 minutes and a few simple steps stand between you and perfectly cooked fish.
Here’s the thing—most people overcomplicate frozen fish. I skip the overnight thaw and go straight from freezer to cook with a quick cold water bath (10 minutes max). The fillets come out moist every time, with that delicate texture that makes cod so special. And because Costco’s portions are consistent, you get even cooking without guesswork.
Whether you’re baking, air frying, or pan-searing, the key is pulling the cod at exactly 145°F—that’s when it’s opaque but still juicy. I like to finish with a squeeze of lemon and a sprinkle of fresh parsley, but honestly, this fish shines with just salt and pepper. The mild flavor pairs with everything from roasted veggies to rice pilaf.
Fair warning: Once you nail this method, you’ll never go back to sad, rubbery frozen fish. These fillets turn out restaurant-quality with almost no effort. Let’s get that cod cooking the right way—simple, fast, and foolproof.
📚 In This Guide
- What You’ll Need
- Instructions
- Tips and Common Mistakes
What Youll Need
- ● 1 lb (16 oz) Costco frozen cod fillets – Thawed or frozen (adjust cooking time accordingly). Look for individually vacuum-sealed pieces for best results! ❄️
- ● Cooking tools: Medium non-stick skillet (10–12 inches) or baking sheet (for oven method)
- ● Tongs or fish spatula – To flip fillets gently without breaking them 🐟
- ● Paper towels – For patting cod dry (key for crispy texture!)
- ○ Meat thermometer (optional but recommended for perfect doneness)
- ● Pantry staples: 1–2 tbsp olive oil, butter, or avocado oil (for pan-searing)
- ● ½ tsp salt (or to taste)
- ● ¼ tsp black pepper (freshly ground preferred)
- ○ Lemon wedges (optional, for brightness)
- ○ Fresh herbs (optional: parsley, dill, or thyme for garnish)
- ● Extras (if baking): Parchment paper – For easy cleanup
- ○ 1 tbsp breadcrumbs or panko (optional, for crunchy topping)
Instructions
Here’s exactly how to transform frozen cod into perfectly flaky fillets in just minutes.
Thaw the Cod Properly
Remove the frozen cod fillets from their packaging and place them in a sealed plastic bag. Submerge the bag in a bowl of cold water for 15-20 minutes until the fillets are just pliable but still slightly cool to the touch. This gentle thawing method prevents the fish from becoming waterlogged or developing a mushy texture.
Never use warm or hot water—it’ll start cooking the outer layer while the inside remains frozen. I like to check the thickest part of the fillet to ensure it’s uniformly thawed. Pat the fillets completely dry with paper towels before cooking; any excess moisture will steam the fish instead of searing it.
Season and Prepare for Cooking
Lay the thawed cod fillets on a paper towel-lined plate and pat them dry again. Season both sides generously with salt and pepper—don’t be shy, as cod needs proper seasoning to shine. For extra flavor, I sometimes add a pinch of garlic powder or smoked paprika at this stage.
Let the seasoned fillets sit at room temperature for 5-10 minutes while you preheat your pan. This brief rest allows the seasoning to penetrate slightly and ensures more even cooking. The fillets should feel cool but not cold when you’re ready to cook them.
Cook Using Your Preferred Method
For stovetop cooking, heat 2 tablespoons of oil in a nonstick skillet over medium-high heat until it shimmers but doesn’t smoke. Add the cod fillets and cook undisturbed for 3-4 minutes per side until they develop a light golden crust and the edges appear opaque.
Alternatively, for oven baking: Preheat to 400°F, place fillets on a parchment-lined baking sheet, and bake for 12-15 minutes until the fish flakes easily with a fork. The cod is done when it reaches an internal temperature of 145°F and the flesh separates into clean flakes when gently pressed with a fork.
Check for Perfect Doneness
The most reliable test is the fork method: Insert a fork into the thickest part of the fillet at a 45-degree angle and twist gently. Perfectly cooked cod will flake easily and appear uniformly opaque throughout. If it offers resistance or looks translucent in the center, give it another 1-2 minutes of cooking time.
Watch for visual cues too—the edges should curl slightly upward, and the surface should have a delicate sheen. Overcooked cod becomes dry and crumbly, so it’s better to err on the side of slightly underdone. The fish will continue cooking from residual heat after you remove it from the pan or oven.
Serve Immediately for Best Texture
Transfer the cooked cod to serving plates right away. Cod loses its delicate texture quickly as it cools, so timing is everything. I like to serve it with a squeeze of fresh lemon or a drizzle of melted butter to enhance the natural sweetness of the fish.
Pair with simple sides that complement rather than overpower—steamed vegetables, rice pilaf, or a crisp salad work beautifully. The fillets should maintain their shape when served but break apart effortlessly with your fork, revealing those perfect, moist flakes you worked so carefully to achieve.
Tips and Common Mistakes
Here’s what I’ve learned from cooking countless batches of cod—small details that make the difference between good and perfect.
Thawing Technique: The 15-20 minute cold water bath in Step 1 isn’t just about speed—it’s about texture. Warm water will start cooking the outer layer while the inside stays frozen, giving you that unpleasant rubbery exterior and icy center. I always set a timer and check the thickest part of the fillet to ensure even thawing. This method keeps the cell structure intact for that perfect flaky result we’re after.
Dryness is Key: In Step 2, when the instructions say to pat the fillets dry, they mean completely dry. Any residual moisture creates steam when it hits the hot pan, which means your cod will poach instead of sear. I use three layers of paper towels—one under the fillet, one on top, and one to press down firmly. You should hear a satisfying sizzle when the fish hits the pan, not a hiss of steam.
Heat Control: For the stovetop method in Step 3, medium-high heat is perfect for creating that delicate golden crust in exactly 3-4 minutes per side. If your oil starts smoking, your heat is too high and you risk burning the exterior before the interior cooks through. I test the oil by flicking a drop of water—it should sizzle vigorously but not pop violently. This is the sweet spot for cod’s delicate texture.
Doneness Test: The fork test in Step 4 is your best friend, but here’s what to watch for: when you insert the fork at that 45-degree angle and twist, perfectly cooked cod will separate into clean, distinct flakes that look like they’ve been carefully pulled apart. If the flakes seem connected or the flesh resists, give it the additional 1-2 minutes as mentioned. The edges will also curl slightly upward when it’s ready—this visual cue is just as reliable as the fork test.
Pro Tips for Costco Frozen Cod Cooking Instructions
- Here’s what I’ve learned from cooking countless batches of cod—small details that make the difference between good an…
- Thawing Technique: The 15-20 minute cold water bath in Step 1 isn’t just about speed—it’s about texture. Warm water w…
- Dryness is Key: In Step 2, when the instructions say to pat the fillets dry, they mean completely dry. Any residual m…
Frequently Asked Questions
How long should I cook Costco frozen cod from frozen?
Cook directly from frozen for 15–20 minutes at 400°F (200°C). Bake until the internal temp hits 145°F (63°C) and the fish flakes easily. Add 2–3 extra minutes if the fillets are thick. No thawing needed!
Can I air-fry Costco frozen cod instead of baking?
Air-fry at 375°F (190°C) for 10–12 minutes, flipping halfway. Spritz with oil for extra crispiness. Check for doneness at 145°F—it cooks faster than oven-baking! Overcooking is the usual culprit. Cod turns rubbery when heated past 145°F. Use a meat thermometer and pull it out as soon as it flakes. Pro tip: Let it rest 2 minutes off heat—it keeps cooking! Keep it simple: olive oil, salt, pepper, and lemon zest. For bold flavor, try Cajun, garlic powder, or Old Bay. Avoid heavy marinades—they can make the fish soggy. Not recommended—refreezing ruins texture and taste. Store leftovers in the fridge for up to 2 days, or use them in fish tacos or chowder ASAP. Food safety first!Why is my cod rubbery after cooking?
What’s the best seasoning for Costco frozen cod?
Can I refreeze cooked Costco cod?
Cooking Costco’s frozen cod doesn’t have to be complicated—just follow the simple steps for flaky, flavorful results every time! 🎯 Whether you bake, air-fry, or pan-sear it, this budget-friendly protein is a weeknight hero. Ready to try it? Grab a bag on your next Costco run and experiment with your favorite seasonings (lemon-pepper is a fan favorite!). For extra inspiration, check out our easy cod recipes to keep mealtime exciting!

Trained in classic French technique but raised on slow-cooked ribs and spicy rubs, she blends culinary skill with smoke and soul.
- Recipe for Boneless Pork Chops in Cast Iron Skillet: Sear and Baste to Juicy Perfection - October 3, 2026
- Recipe for Boneless Cross Rib Roast: Slow-Roasted Beef with Herb Crust - October 3, 2026
- Hamburgers in Sauce Recipe Crock Pot: Slow-Cooked Savory Delight - October 3, 2026