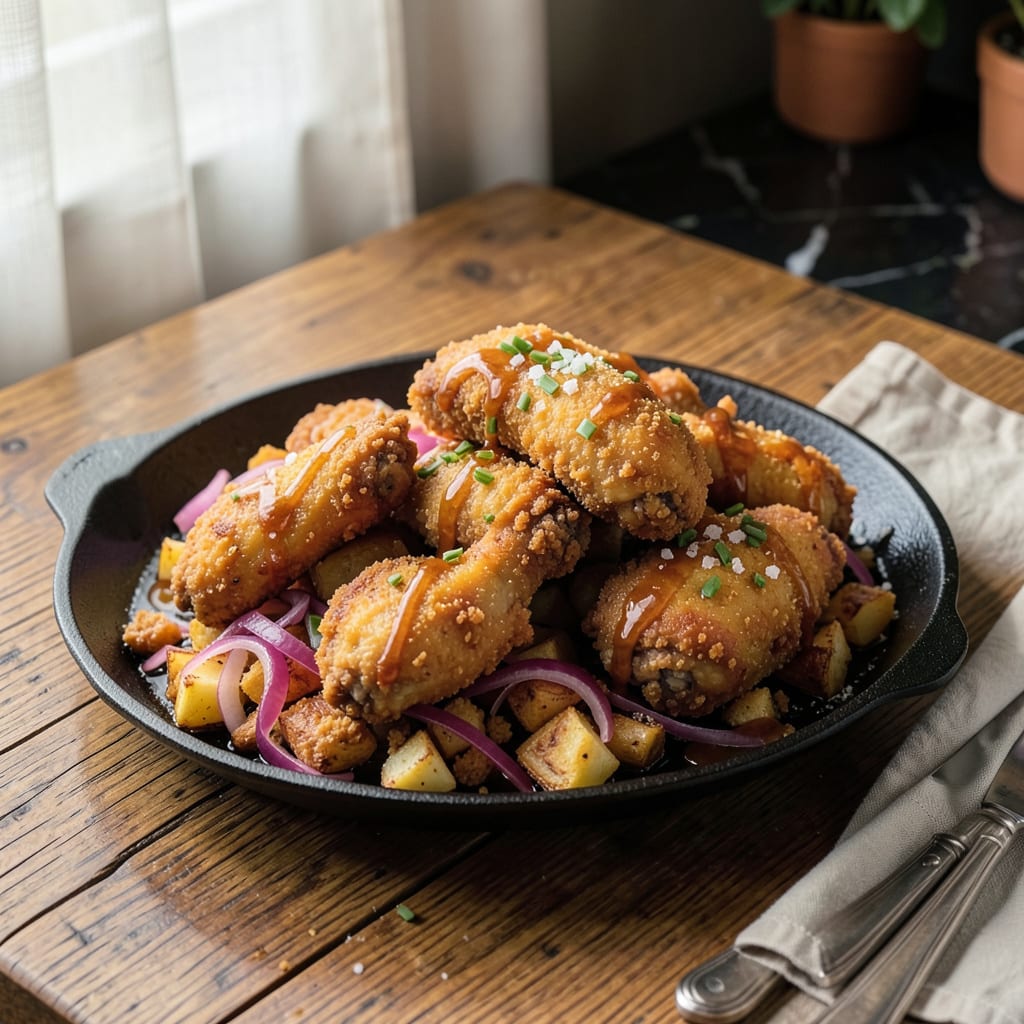
Nothing ruins fried chicken faster than batter that slides right off when you bite in. I’ve been there—standing over a hot fryer, watching my beautiful coating detach like a bad toupee. After years of trial and error (and more than a few grease burns), I finally cracked the code for crispy, stay-put batter that clings to chicken like it’s glued on.
Here’s the thing—most recipes skip the crucial prep steps that make or break your coating. We’re talking about properly drying the chicken (paper towels are your best friend), using a thin layer of flour as a “glue” before the wet batter, and maintaining the right oil temperature. I learned this the hard way during my first BBQ competition when my chicken looked perfect until the judges took their first bite.
The real game-changer? A two-step dredging process that creates layers for the batter to grip onto. First comes the flour, then the wet batter, then back to flour or breadcrumbs. This builds a foundation that locks everything in place. I also swear by adding a tablespoon of cornstarch to my flour mix—it creates that extra crispy crunch that makes people ask for seconds.
Whether you’re frying, air-frying, or oven-baking, these techniques work every time. No more sad, naked chicken pieces floating in your fryer. Just golden, crispy perfection that stays put from first bite to last. Let’s get that batter to behave.
📚 In This Guide
- What You’ll Need
- Instructions
- Tips and Common Mistakes
What Youll Need
- ● Chicken: 1–2 lbs (450–900g) boneless, skinless chicken breasts or thighs (cut into even strips or pieces for best results). Pat dry thoroughly with paper towels! 🧻
- ● Flour: 1–1.5 cups all-purpose flour (for dredging) + extra for thickening batter if needed.
- ● Liquid for batter: 1 cup buttermilk, beaten eggs (2–3), or milk (cold liquids help batter cling better!).
- ○ Seasonings: 1 tsp each salt, black pepper, paprika, and garlic powder (adjust to taste). Optional: cayenne for heat or onion powder for depth.
- ● Tools: Mixing bowls (2 medium, 1 for dry mix, 1 for wet).
- ● Whisk or fork (to smooth lumps in batter).
- ● Tongs or fork (for dipping chicken without messy hands!).
- ● Wire rack + baking sheet (for resting battered chicken before frying).
- ● Deep fryer, skillet, or air fryer (with 1–2 inches of oil at 350–375°F).
- ● Paper towels (for draining excess oil).
- ○ Optional Boosters: 1 tbsp cornstarch (for extra crispiness).
- ● 1 tsp baking powder (for a lighter batter).
- ● Hot sauce (a dash in the wet mix for tangy flavor).
Step-by-Step Instructions for Getting Batter to Stick to Chicken
This method guarantees a crispy, even coating that stays put—no more bare spots or falling-off breading.
Start with Dry, Room-Temperature Chicken
Pat the chicken pieces completely dry with paper towels. I mean really dry—any moisture creates a barrier between the meat and the batter. Pay special attention to skin folds and crevices where water tends to hide.
Let the chicken sit at room temperature for 10-15 minutes after drying. Cold chicken causes the batter to contract and pull away during frying. You’ll notice the surface becomes slightly tacky to the touch—that’s exactly what you want for maximum batter adhesion.
Create a Sticky Base Layer
Beat 2 eggs with 1 tablespoon water until frothy. The water thins the egg wash just enough to create a tacky surface without being too thick. Dip each piece of chicken in the egg mixture, letting excess drip off for 5 seconds.
Here’s the thing—don’t rush this step. You want an even, thin coating of egg wash that clings to every surface. I like to use one hand for wet ingredients and one for dry to keep things clean. The chicken should look glossy but not dripping when you move to the next step.
Apply the First Coating of Flour
Dredge the egg-coated chicken in all-purpose flour, pressing gently to adhere. Use your fingers to sprinkle flour onto any thin spots. The first coating should be light but complete—you’re building a foundation, not a thick crust yet.
Shake off excess flour by gently tapping the chicken against your hand. You’ll see a thin, even white layer covering the entire piece. This initial flour coating creates microscopic ridges that the final batter will grip onto during frying.
Double-Dip for Maximum Adhesion
Return the floured chicken to the egg wash for a second dip, then back into the flour for a final coating. This double-dipping technique creates multiple layers that interlock, preventing the batter from separating during cooking.
For the final flour coating, press firmly to create a thick, even layer. The chicken should look completely white with no bare spots showing through. Let the coated pieces rest on a wire rack for 5 minutes before frying—this helps the coating set and adhere even better.
Fry at the Right Temperature
Heat your oil to 350-375°F and maintain this temperature throughout frying. Too-low heat makes the batter absorb oil and fall off; too-high heat burns the outside before the inside cooks. Use a thermometer for accuracy.
Fry the chicken in small batches to avoid crowding, which lowers the oil temperature. You’ll know it’s working when you hear a steady sizzle and see small bubbles forming around the edges. The batter should turn golden brown in 3-5 minutes per side, creating a crispy shell that locks everything in place.
Tips and Common Mistakes
Getting that perfect crispy coating takes attention to detail—here’s what I’ve learned from years of frying chicken.
Drying is Everything: In Step 1, don’t just pat the chicken dry—press firmly with paper towels until you can’t see any moisture at all. I’ve found that spending an extra minute here prevents the batter from sliding right off during frying. The 10-15 minutes at room temperature isn’t just waiting time; it lets the surface become slightly tacky, which helps the egg wash cling better.
Egg Wash Technique: When you’re working with the 2 eggs and 1 tablespoon water mixture in Step 2, let each piece drip for the full 5 seconds. I use my fingers to gently rotate the chicken as it drips to ensure complete coverage. The water in the egg wash is crucial—it creates just the right consistency for maximum adhesion without being too thick.
Double-Dipping Secret: During Step 4, when you return the chicken to the egg wash for the second dip, make sure the first flour coating is completely dry to the touch. This creates that essential textured surface for the final layer to grip onto. The 5-minute rest before frying isn’t optional—it lets the coating set up properly, preventing it from cracking or falling off in the oil.
Temperature Control: Maintaining that 350-375°F oil temperature in Step 5 is non-negotiable. I use a clip-on thermometer and adjust the heat constantly—small batches are key here. When the chicken hits the oil, you should see immediate bubbling around the edges. The 3-5 minutes per side at this temperature creates that perfect golden brown crust without burning or absorbing excess oil.
Pro Tips for Get Batter To Stick To Chicken
- Getting that perfect crispy coating takes attention to detail—here’s what I’ve learned from years of frying chicken.
- Drying is Everything: In Step 1, don’t just pat the chicken dry—press firmly with paper towels until you can’t see an…
- Egg Wash Technique: When you’re working with the 2 eggs and 1 tablespoon water mixture in Step 2, let each piece drip…
Frequently Asked Questions
Why does my batter keep sliding off the chicken before frying?
This usually happens because the chicken is too wet or the batter lacks binding. Pat the chicken completely dry with paper towels before dredging, and chill it for 10–15 minutes after coating. A light dusting of flour or cornstarch before the batter also helps it “grab” better!
Can I use egg wash instead of flour to make batter stick?
Yes! An egg wash (1 egg + 1 tbsp water or milk) creates a sticky base for batter. Dip the chicken in egg wash before the batter, then let it rest 5 minutes. For extra crispiness, try a flour → egg wash → batter triple-dip method.
How long should I let the batter sit on chicken before frying?
Rest the battered chicken for 10–20 minutes in the fridge. This lets the coating set and adhere better. For thick batters (like tempura), fry immediately—resting can make it soggy. Pro tip: Use a wire rack (not a plate) to avoid steam softening the batter!
What’s the best oil temperature to prevent batter from falling off?
Aim for 350–375°F (175–190°C). Too-low heat makes batter absorb oil and detach; too-high burns it before it sticks. Use a thermometer! If frying without one, test with a wood chopstick—bubbles should form vigorously around it.
Are there gluten-free alternatives to help batter stick?
Swap wheat flour for rice flour, cornstarch, or gluten-free all-purpose blend. Add 1 tsp xanthan gum to improve binding. For egg-free options, use aquafaba (chickpea brine) or buttermilk as a sticky dip before battering.
Getting batter to stick perfectly to chicken is all about prep, technique, and patience—whether you’re drying the meat, using a flour slurry, or nailing the right oil temp. 🎯 With these foolproof steps, you’re now ready to create that golden, crispy coating every time!
Ready to put it to the test? Grab your favorite chicken recipe, fire up that oil, and start frying with confidence. Your crispiest, crunchiest chicken is just a batter dip away! 🍗✨

Trained in classic French technique but raised on slow-cooked ribs and spicy rubs, she blends culinary skill with smoke and soul.
- Recipe for Boneless Pork Chops in Cast Iron Skillet: Sear and Baste to Juicy Perfection - October 3, 2026
- Recipe for Boneless Cross Rib Roast: Slow-Roasted Beef with Herb Crust - October 3, 2026
- Hamburgers in Sauce Recipe Crock Pot: Slow-Cooked Savory Delight - October 3, 2026