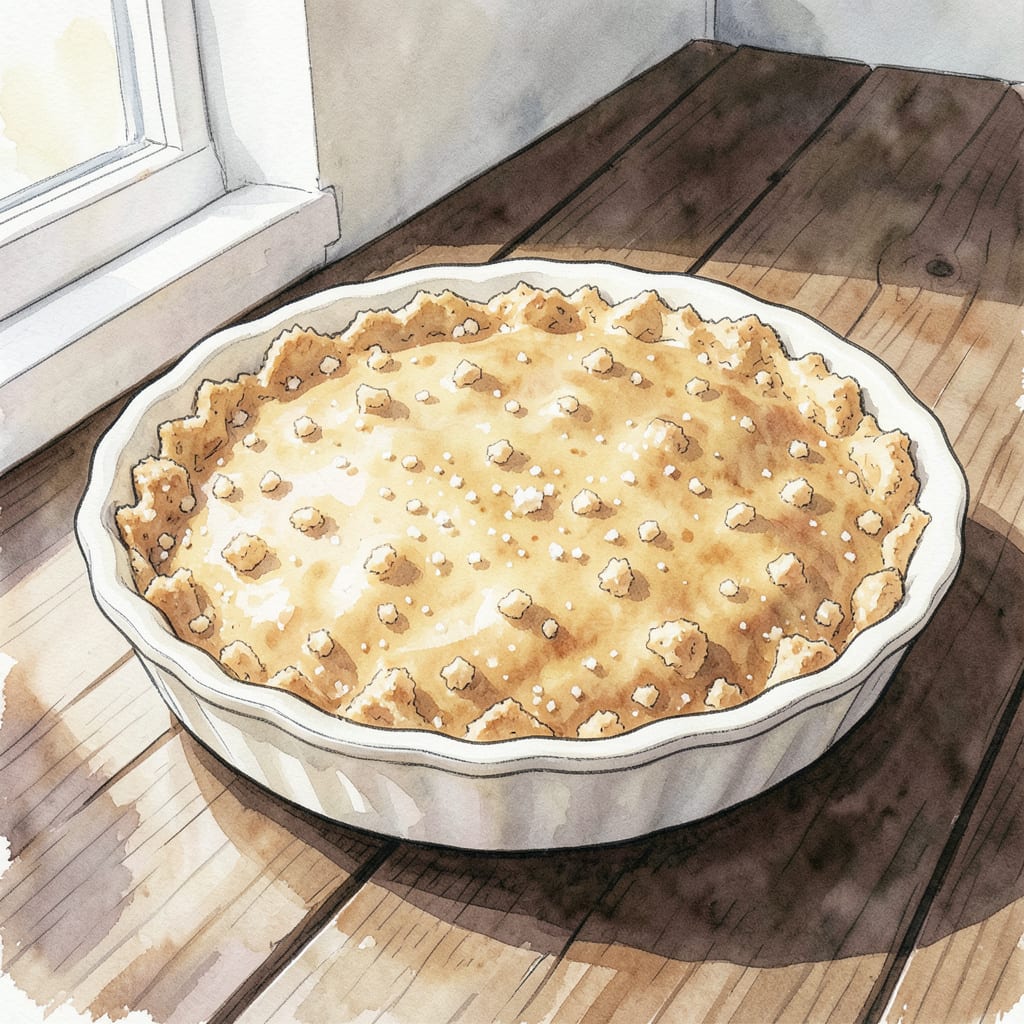
I’m excited to share my simple cracker crust recipe that’s perfect for desserts. 🔥 This crunchy base is made easy with just a few ingredients and can be customized with your favorite fillings or toppings.
Ready in just 10-15 minutes, this crust is baked to perfection at 350°F. The result is a deliciously crunchy base that pairs well with creamy cheesecakes, rich chocolate pies, or fruity fillings. Let’s get started!
Ingredients for Cracker Crust
Simple ingredients for a crunchy dessert base that’s ready in minutes.
| Ingredient | Amount | Notes |
|---|---|---|
| Saltine Crackers 🥠 | 1 ½ cups | Crushed fine for crust |
| Granulated Sugar 🍮 | ¼ cup | For balancing flavor |
| Unsalted Butter 🧈 | ½ cup | Melted for binding |
| Salt 🧂 | ¼ tsp | Enhances flavor |
[recipe_ingredient_scaler]
For the best results, use saltine crackers—their saltiness balances the sweetness. You can find them in most grocery stores, usually near the soup or crackers section. Ritz crackers work too if that’s what you’ve got on hand. Just make sure they’re crushed finely for an even crust.
No unsalted butter? You can use regular butter and skip the extra salt. The sugar helps balance the saltiness from the crackers, but feel free to adjust it slightly if you’re using a different type of cracker. If you’re looking for a gluten-free option, try using gluten-free crackers—the result is still delicious.
This crust keeps well for up to 3 days at room temperature if you need to make it ahead. Store it in an airtight container to keep it crunchy. You can also freeze it for up to a month—just thaw at room temperature before using. It’s perfect for cheesecakes, pies, or any dessert that needs a crunchy base.
Step-by-Step Instructions for Cracker Crust
Let’s make this crunchy dessert base together – it’s easier than you think.
👨🍳 Step 1: Crush the Saltine Crackers
Start by crushing 1.5 cups Saltine Crackers into fine crumbs using a food processor or place them in a zip-top bag and crush with a rolling pin. I prefer using a food processor as it gives a more consistent texture. You’ll know it’s ready when the crackers are finely ground and resemble coarse sand.
Transfer the crushed crackers to a medium bowl. I like to use a bowl with straight sides to make mixing easier. At this point, the crumbs should be evenly fine – if you notice any large chunks, give it another quick pulse in the processor.
👨🍳 Step 2: Mix with Sugar and Salt
Add 0.25 cup Granulated Sugar and 0.25 tsp Salt to the crushed crackers. Mix these dry ingredients together thoroughly using a whisk or fork until they’re evenly distributed. You’ll notice how the sugar balances the saltiness of the crackers – this is where the magic happens.
The mixture should look uniform at this point, with no visible clumps of sugar or salt. Take a moment to smell the mixture – the sugar will have released a slight caramel aroma when mixed with the crackers.
🔥 Step 3: Bind with Melted Butter
Pour in 0.5 cup Unsalted Butter that has been melted until completely liquid. Stir the mixture using a fork or silicone spatula until the crumbs are evenly moistened. You’ll know it’s ready when the mixture holds together when pinched between your fingers.
The mixture should be wet enough to stick together when pressed, but not so wet that it’s soggy. If it feels dry, you can add a tiny bit more melted butter – but be careful not to make it too wet. The perfect consistency is when it holds its shape when pressed firmly.
🥘 Step 4: Press and Bake the Crust
Transfer the crumb mixture to your desired pan (I prefer a springform pan for easy removal). Press the mixture firmly and evenly into the bottom of the pan using your hands or the back of a measuring cup. Make sure it’s evenly distributed and pressed firmly into the corners.
Bake in a preheated oven at 350°F for 8-10 minutes until the crust is golden brown and fragrant. Keep an eye on it during the last few minutes as oven temperatures can vary. The crust is done when it’s lightly browned and smells nutty.
Storing and Reheating This cracker crust
Refrigerator Storage
Store your cracker crust in an airtight container in the refrigerator for up to 3 days. This keeps the crust crunchy and fresh. I like to use glass containers with tight-fitting lids to maintain freshness.
Freezer Storage
For longer storage, you can freeze the crust. Wrap it tightly in plastic wrap or aluminum foil and place it in a freezer-safe bag. It will keep for up to 1 month. When you’re ready to use it, thaw it at room temperature or in the refrigerator. ❄️
Reheating Tips
If your crust has lost some of its crunch, you can reheat it in a 350°F oven for 5-7 minutes. Keep an eye on it to prevent over-browning. This helps restore its original texture. I often reheat mine just before filling to get that perfect crunch.
Best Practices for Filling
For the best results, fill your cracker crust just before serving. If you’re making a cheesecake or cream pie, let the crust cool completely before adding the filling. This prevents the crust from becoming soggy. 🔥
Storage After Filling
Once filled, store your dessert in the refrigerator. If you’ve made a cheesecake, for example, it should be kept at a consistent refrigerator temperature until serving. Always cover it with plastic wrap or aluminum foil to prevent drying out.
Serving Suggestions
When you’re ready to serve, let the dessert sit at room temperature for about 30 minutes to take the chill off. This enhances the flavors and textures. Enjoy your delicious cracker crust dessert! 😊
Nutrition Facts

Trained in classic French technique but raised on slow-cooked ribs and spicy rubs, she blends culinary skill with smoke and soul.
- Recipe for Boneless Pork Chops in Cast Iron Skillet: Sear and Baste to Juicy Perfection - October 3, 2026
- Recipe for Boneless Cross Rib Roast: Slow-Roasted Beef with Herb Crust - October 3, 2026
- Hamburgers in Sauce Recipe Crock Pot: Slow-Cooked Savory Delight - October 3, 2026